Trim Extend
Trim the addendum extend surface with the wall.
-
Click the Addendum Extend icon.

-
Select the Trim Extend tool on the secondary
ribbon.

-
In the guide bar, select a trim option, and then right-click to confirm.
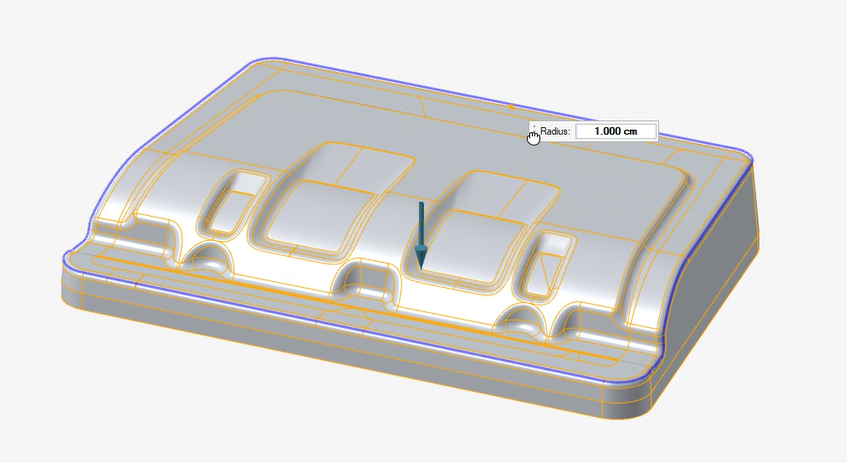
- Trim and Edge Fillet
- Trim and Face Fillet
- Trim
The selected draw part, extend surface, and wall are trimmed, then displayed as a blue wireframe.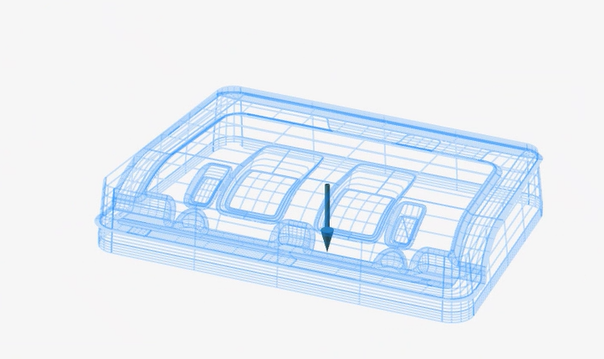
-
In the modeling window, hover and click highlighted trim surfaces you would
like to Retain.
The surfaces you select to Retain display in shaded mode as shown below.
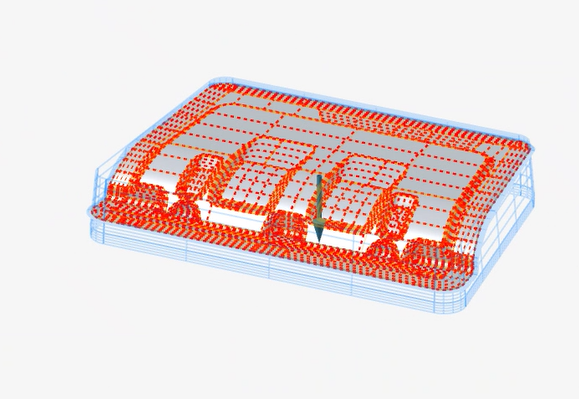 Note: In order to proceed to the next step, make sure you select surfaces with common edges. Anything that is highlighted red indicates that the selected surfaces don't have common edges.
 -
Once you select surfaces with common intersecting edges, the fillet will appear
at the intersecting edge location.