Create an Openstack Cloud Environment
Create an OpenStack cloud environment so that workload manager execution nodes can be deployed in the cloud. Provide information about the cloud environment such as region, OS image, subnet id, security group id and tags
- Navigate to the NavOps browser window.
- Go to Clouds, and then select Environments.
- Click Add Environment.
- Click Select in the required Openstack credential tile.
- For Region, select the same region associated with the Openstack virtual network.
- For Environment Name, enter a name for the cloud environment.
-
For OS Image, paste the Openstack OS image ID.
Figure 1. OS Image ID 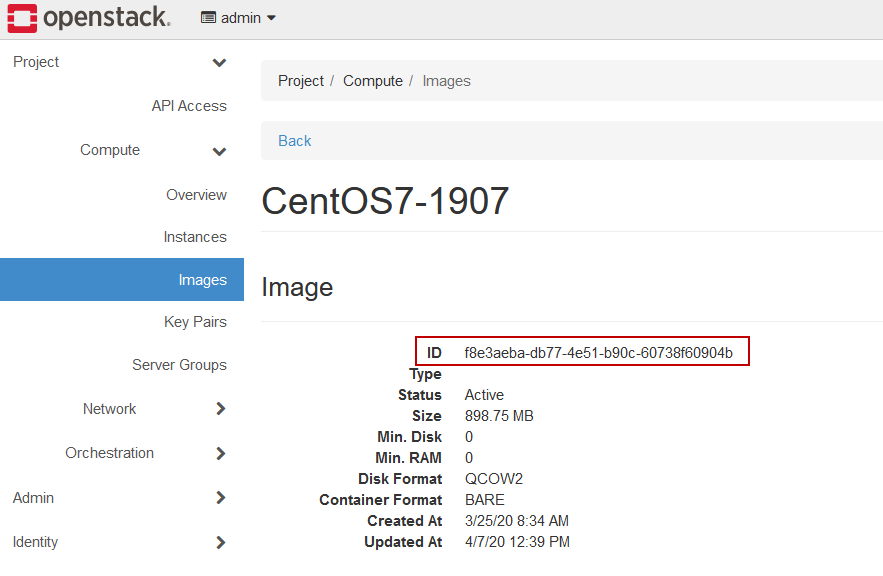
-
For Network name, paste the name of the network from
which the floating IPs will be taken.
This is required in case of a router having several networks attached for floating IPs.
Figure 2. Gateway Network 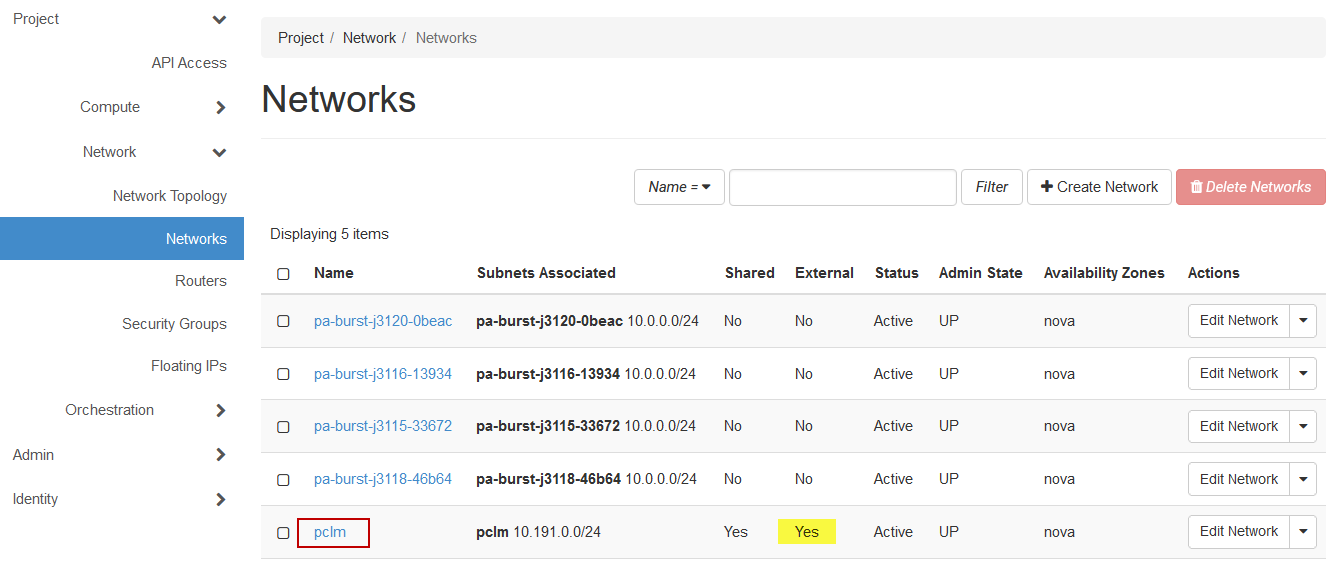
-
For Subnet name, paste the OpenStack subnet ID.
Figure 3. Subnet ID 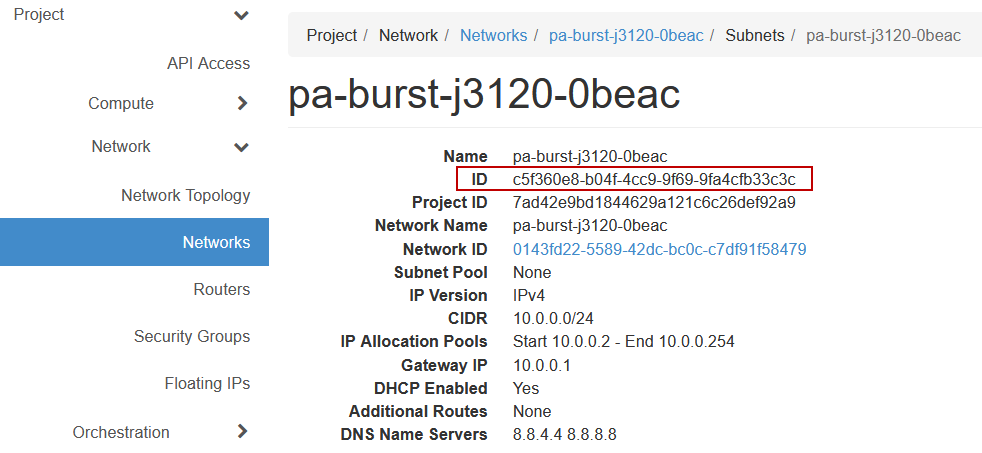
-
For Tags, enter a key-value pair to add a label to the
cloud node and press ENTER.
A tag is a label that is assigned to a cloud node. Tags enable cloud nodes to be categorized in different ways, for example, by purpose, owner, or environment.The key-value pair must be entered as key:value. The key must be less than 36 characters and the value must be less than 43 characters. The length of both the key + value should be less than 80 characters. Valid values are alphanumeric, dash (-) and an underscore ( _ ).Once the tag is added, it will appear within its own bubble.
Figure 4. Key-Value Tag 
-
Repeat the previous step to add more tags.
Figure 5. Additional Tags 
Tip: To remove a tag click on the 'x' located within the tag bubble. - Click Save to create the Openstack Cloud Environment.