The first steps of the workflow are accomplished through the GUI.
Invoke the GUI
After the library has been installed, you can invoke the GUI from either the Tools
ribbon or the command window.
Figure 1. romAI Director in Tools Menu
To invoke the GUI from the command window, type the command
romAIdirector. The GUI is shown as in the following image.Figure 2. romAI Director Window
The GUI has the following sections:
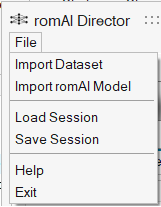
File Menu contains generic file read/write options and generic utility actions.Figure 3. romAI Director File Menu
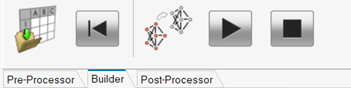
Ribbon contains buttons to invoke actions that are applicable to the selected tabs.
Figure 4. romAI Director Ribbon
Tabs provide a switching mechanism between Pre-Processor, Builder, and
Post-Processor functionalities.
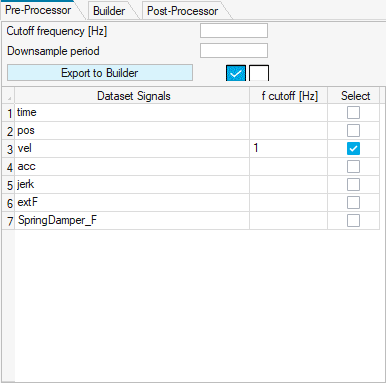
Selection Tables provide options to select signals/models. In the case of
Pre-Processor, there are utilities present on the top of the table. These utilities
are applicable to table only. Figure 5. Selection Tables in the Pre-Processor Tab
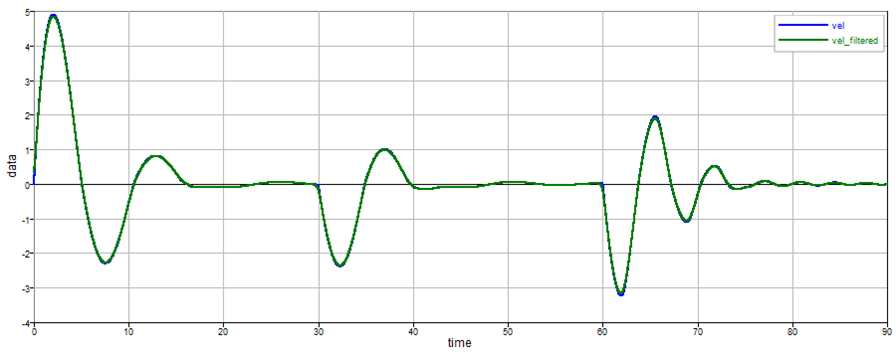
Plot Canvas shows 2D/3D plots.Figure 6. 2D Plot in romAI Director
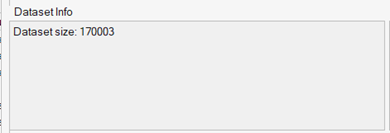
Info Panels show the information related to dataset/model.Figure 7. Dataset Info Panel
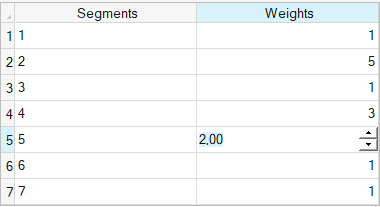
Parameter Panel lets you edit the parameters related to dataset/model.Figure 8. Parameter Panel
File name info shows the name of the files/folders in use.
Note the following commands and operations:
clear all: This command makes the romAI GUI unusable.
close all: This command closes the romAI GUI, in addition to other close commands, according
to Compose OML logic.
GUI instances: Use one GUI instance at a time. For example, you cannot open two
romAI GUIs at the same time in the same instance
of Compose.