Add a GCP Cloud Account
Add an existing GCP (Google Cloud Provider) service account to NavOps to create a cloud bursting scenario or an appliance.
Before you begin: A service account is a special
Google account that belongs to an application or a virtual machine, instead of to an
individual end user. Create a service account and give this account administrative
permissions for all Compute Engine resources. Once this task is complete, you should
have downloaded a JSON file containing the following:
- Project ID
- Client ID
- Client email
- Private key ID
- Private key
GCP documentation can be found at Understanding Service Accounts and Compute Engine IAM Roles.
You must have created a GCP service account, given it Compute Admin permissions and downloaded a JSON file containing information about the service account. The information in the JSON file is necessary to create a cloud account in NavOps.
-
Click
 .
.
-
Enter the following to add a cloud account:
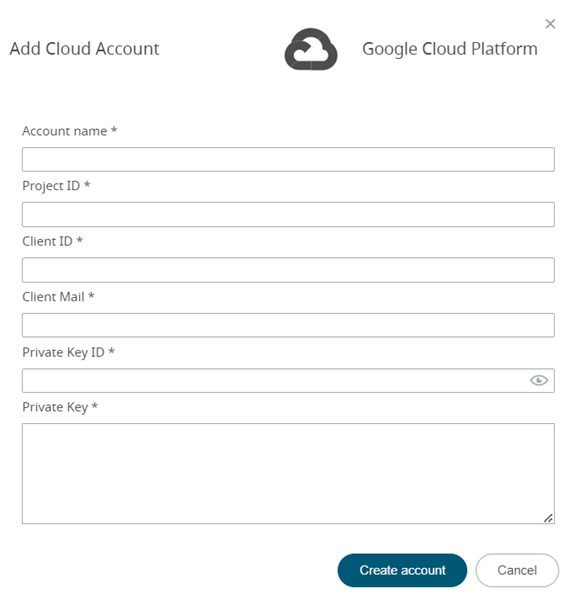
Figure 1. Add GCP Cloud AccountImportant: Do not copy the \n characters at the end of the private_key value.