Create an Appliance
Create an appliance by selecting an application, cloud provider, region for hosting the appliance, and configure the cluster.
Currently, appliances on Azure can use Altair Drive storage. Other cloud platforms do not support integration with Altair Drive.
- Select an appliance model, to create an appliance.
- Provide a name for the appliance.
- Select an application (batch or interactive) from the list. You can choose one or more applications from the list.
- Set the application arguments and the its values.
- Select the cloud provider from the list.
- Select the region for hosting the appliance.
- Configure the cluster by selecting the nodes and other details for the cluster.
- Create and deploy the appliance.
-
Launch Altair NavOps.
The list of appliances is displayed.
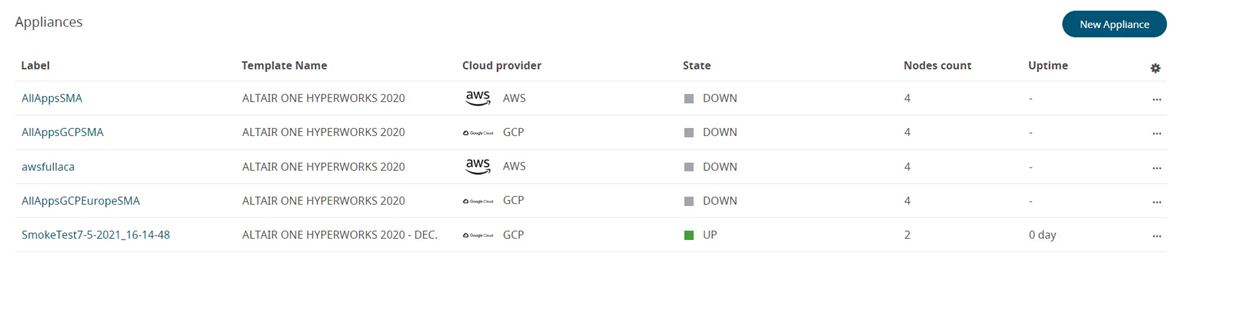
Figure 1. AppliancesThe list displays the Appliance Name, Model Name selected for the appliance, Cloud Provider, Appliance State, Nodes Count and Uptime (number of days the appliance is up and running).
Note: Click to change the column list of the
Nodes table.
to change the column list of the
Nodes table. -
Click New Appliance on the top to create a new
appliance.
The appliance models are displayed.
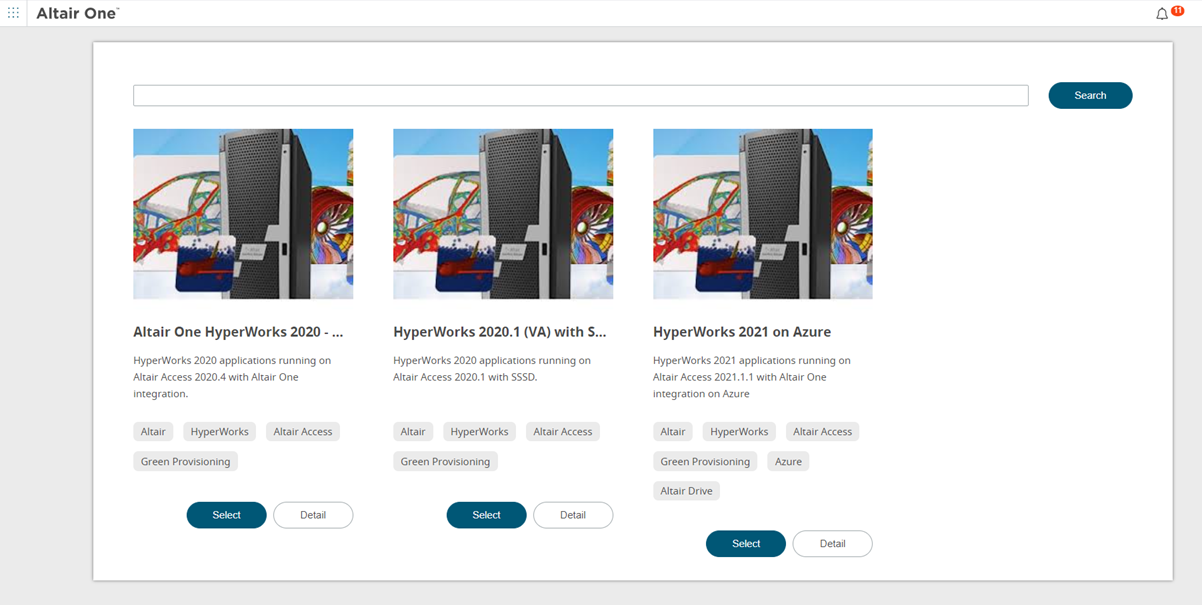
Figure 2. Appliance ModelsThe information about the model is provided with its version and tags.
Click Detail to view more information about the model.
-
Click Select to view the appliance model details.
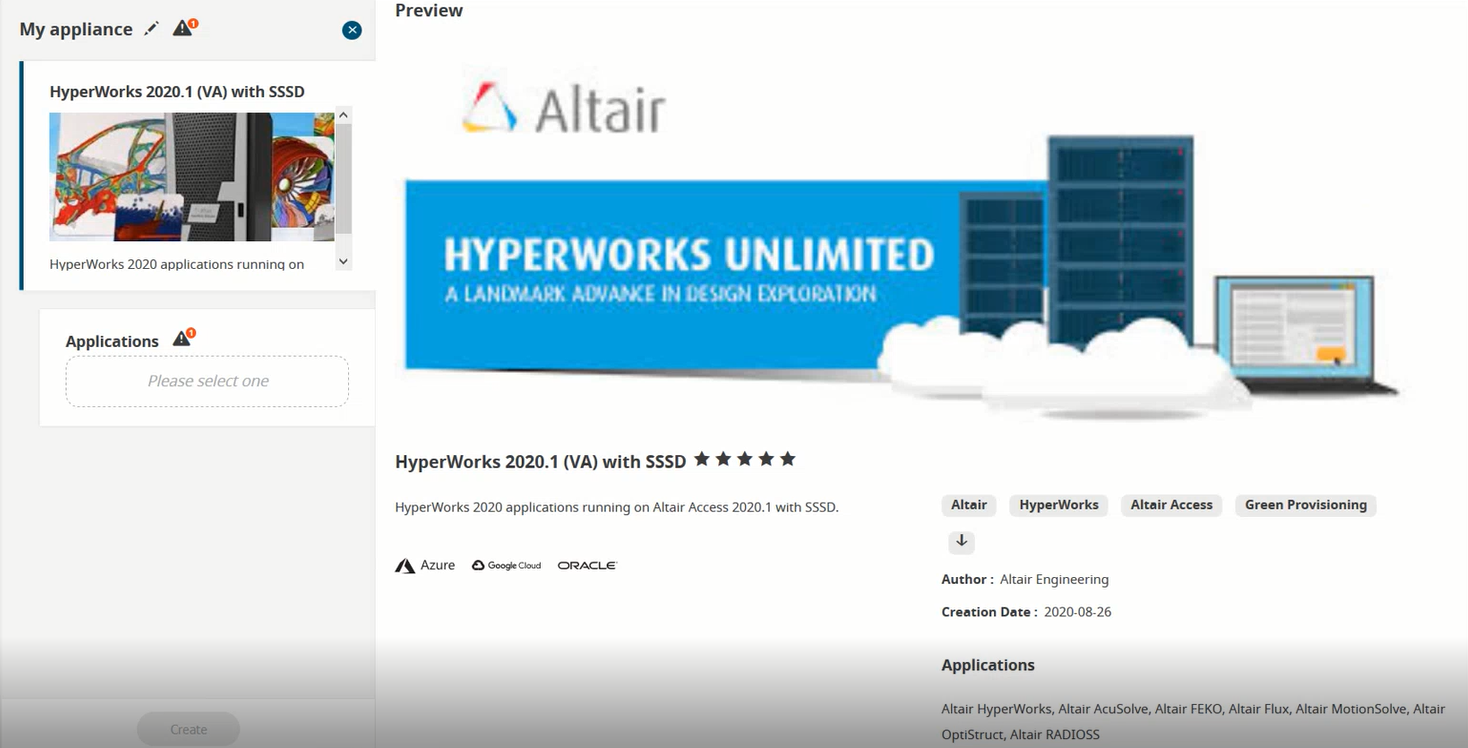
Figure 3. Appliance Model Details -
Click
 in My appliance and enter a name
for the appliance.
in My appliance and enter a name
for the appliance.
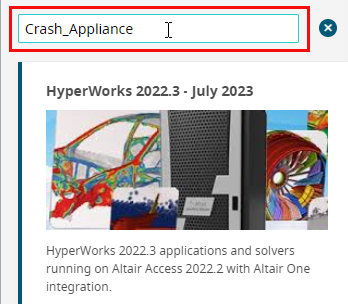
Figure 4. Appliance Name -
Click Please select one to select an application from
the list.
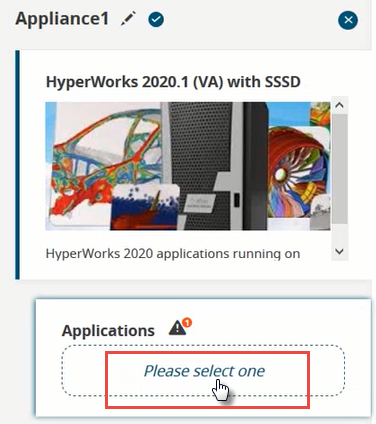
Figure 5. Add ApplicationThe list of batch and interactive applications is listed.Choose one or multiple applications from the list.Tip: Interactive application (Altair NavOps) information is displayed below the application icon. -
Click Add.
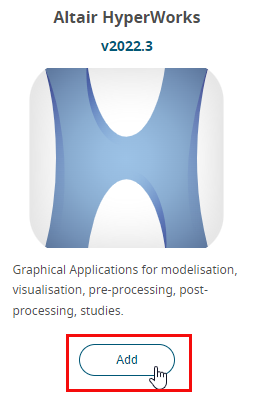
Figure 6. Add an ApplicationThe application is added and displayed in the Applications section.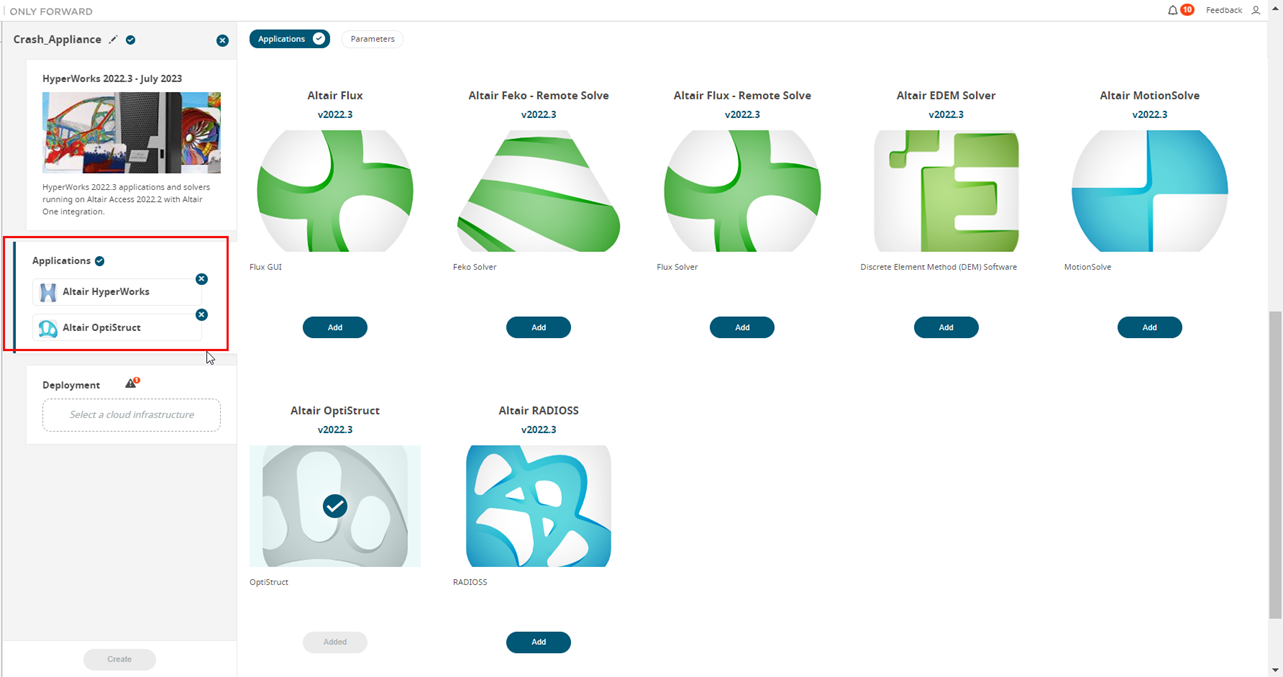
Figure 7. Added ApplicationNote: Click to remove the application from the
application table.
to remove the application from the
application table. -
Click Select a cloud infrastructure to view the
registered cloud infrastructures.
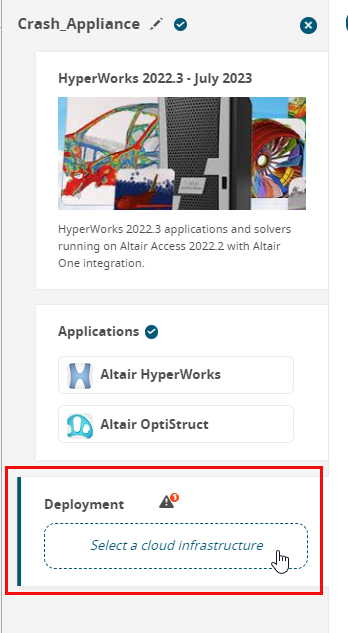
Figure 8. Cloud Infrastructure -
Choose one of the following cloud infrastructure:
- Altair managed cloud account such as AWS, Azure, and GCP. Select the required account to configure.
- Your own cloud accounts registered in Altair NavOps to configure.
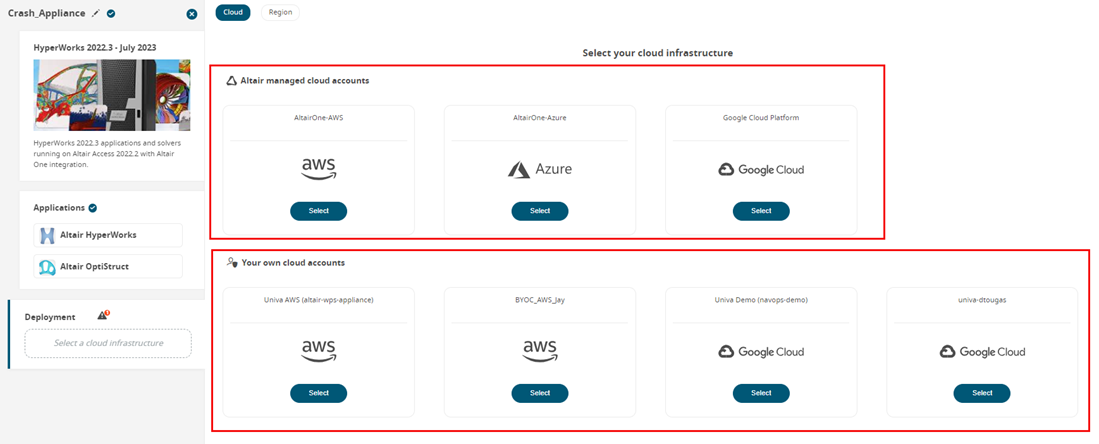
Figure 9. Add Cloud Infrastructure -
Select a geographical region for your cloud infrastructure.
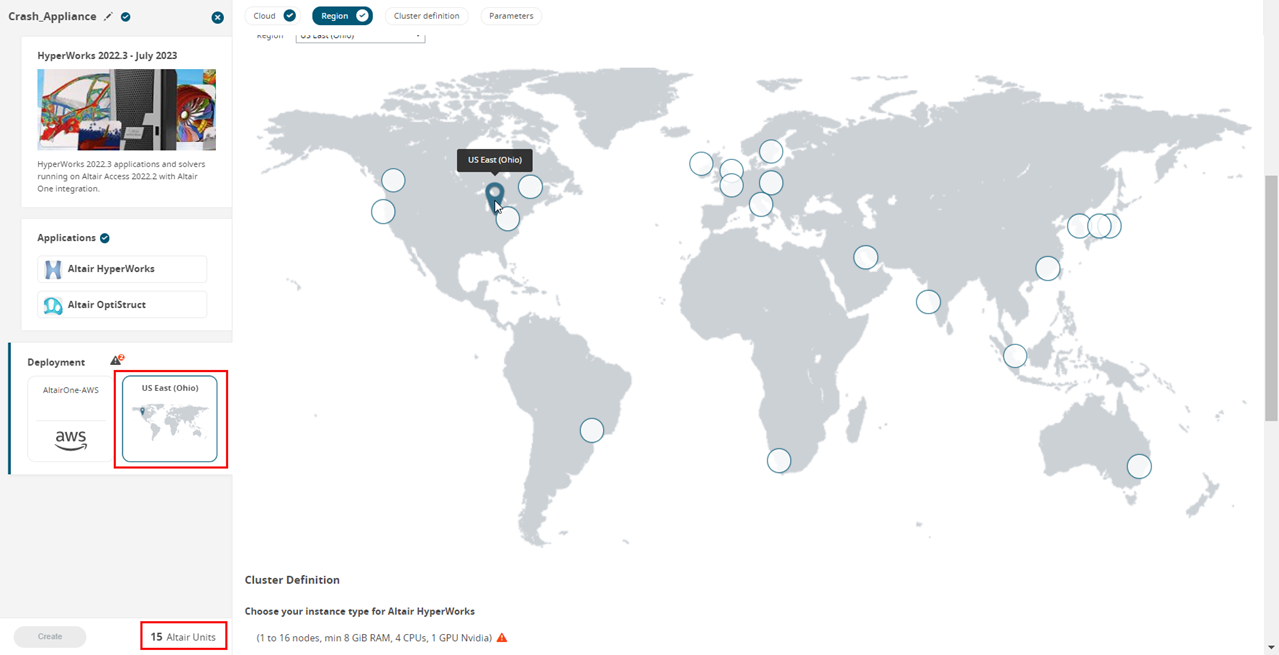
Figure 10. Region for Cloud InfrastructureTip: Select the region for your cloud infrastructure using the Region drop down list.The number of Altair Units required by the appliance is displayed.
-
Click
 to configure the cluster.
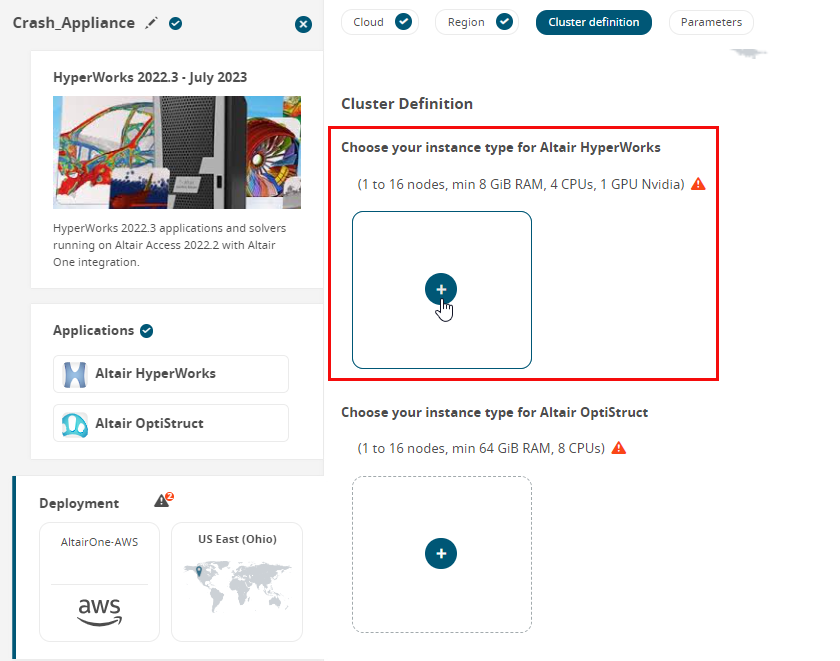
Figure 11. Add ClusterThe list of instances available in the cloud for the selected application is displayed.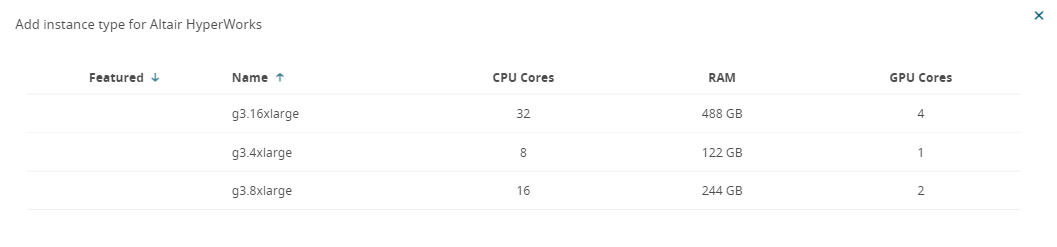
Figure 12. List of Instances for the ApplicationThe list displays the Instance name and its hardware configuration such as CPU Cores, RAM, and GPU Cores.
-
Select an Instance from the list.
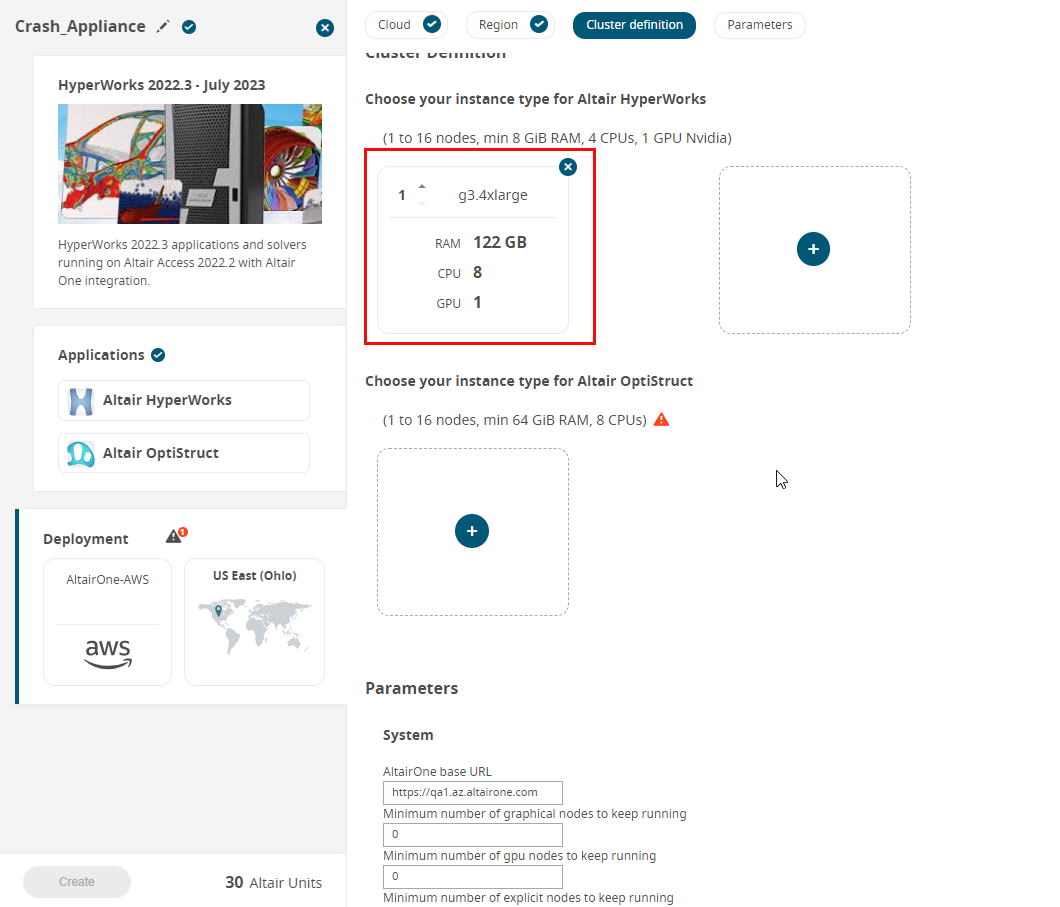
Figure 13. Cluster Instance TypeTip: You can choose multiple cluster configuration for an application. -
Click Create.
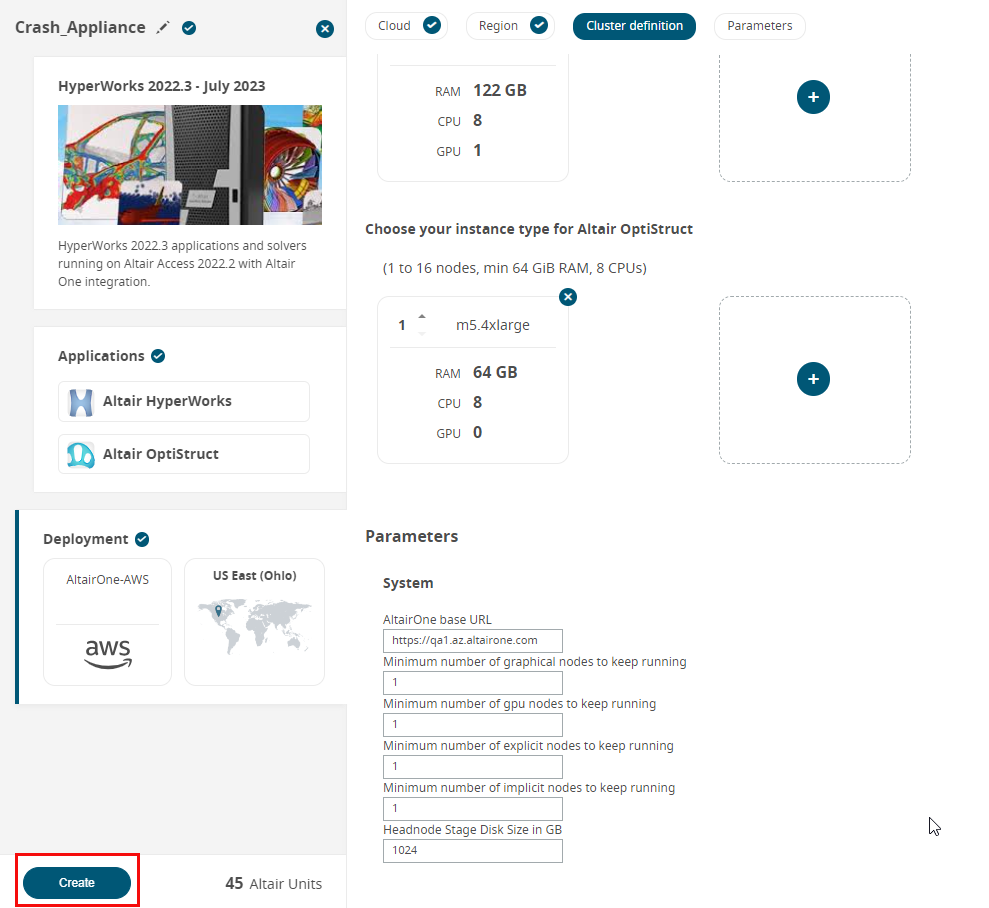
Figure 14. Create ApplianceThe appliance instance is created.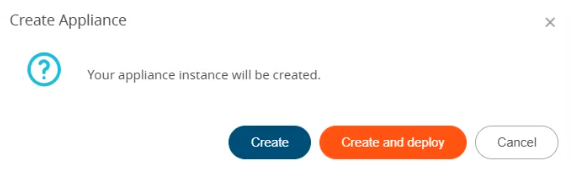
Figure 15. Create Appliance -
Choose one of the following options:
- Click Create to create an appliance and deploy it
at a later time.Note: This only creates an appliance and does not start the appliance.
- Click Create and Deploy to automatically deploy the appliance after creation.
- Click Cancel to modify the appliance details.
The new appliance is displayed in the Appliances list.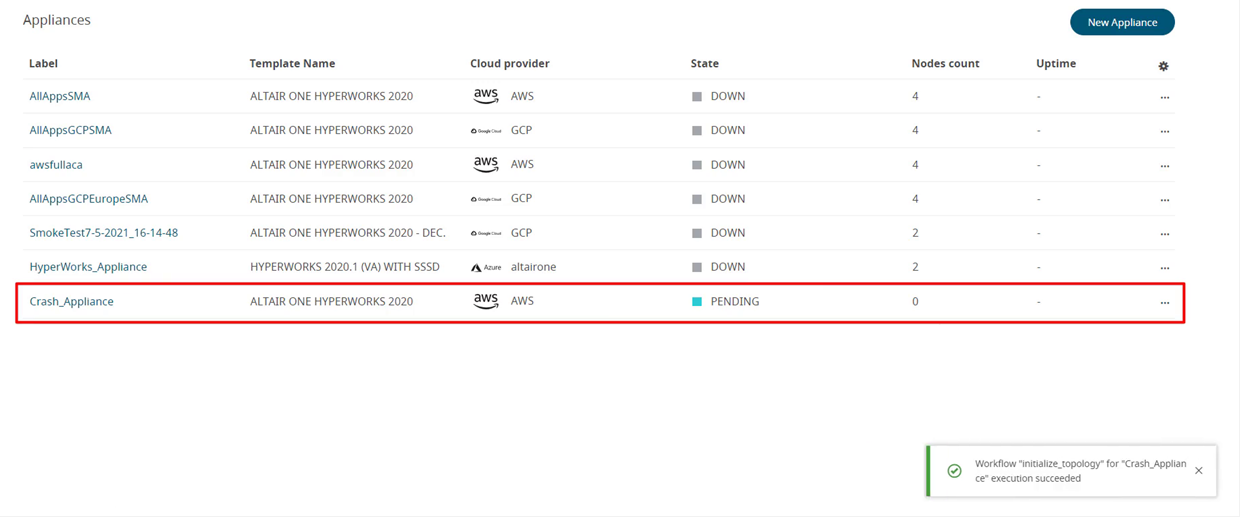
Figure 16. Updated Appliance ListA series of notifications are displayed providing the information about deploying the appliance and scripts running to create the cluster.
Note: You can also click to view the notifications and the steps
that are performed.
to view the notifications and the steps
that are performed. - Click Create to create an appliance and deploy it
at a later time.