Redmark+ is a communication tool in the design modification
by directly displaying on the layer or point that needs to be revised or reviewed in the PCB
design viewer (.PDBB).
PDBB and Redmark files can be exchanged to help the clear expression when
collaborating between outsourcing companies and partner companies. Redmark+ is an upgrade module of existing Redmark function.
Launch PollEx PCB and open layout design file.
Click PollExPCB from the PollEx Launcher.
Click File > Open and open the
PollEx_PCB_Sample_r<revision_number>.pdbb
file from
C:\ProgramData\altair\PollEx\<version>\Examples.
Refer to the PCB for how
to use the PollEx PCB viewer.
Environment setting of Redmark+.
From the menu bar, click Collaboration > Redmark+ > Environment.
The Redmark+ Environment Setting dialog
opens.
Set the Project Root Folder Path to save or load Redmark+ file
(*.prmkp).
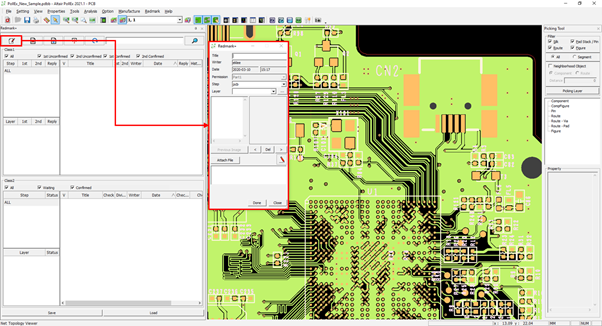
Execute Redmark+.
From the menu bar, click Collaboration > Redmark+ > Redmark+.
The Project Name dialog opens.
In the Project Name dialog, enter a project name,
select permission, and click OK.
The new project is saved in the set path from the setting
environment.
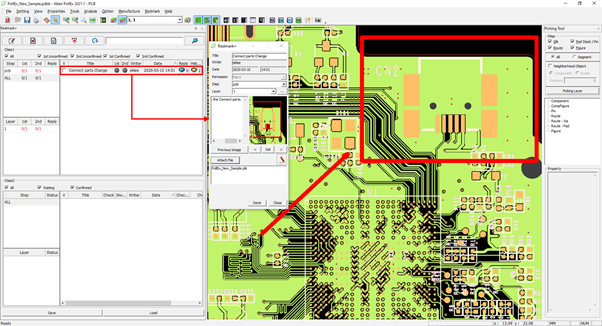
Click .
Figure 1. The creation window opens.
Check created issues.
The created issue is displayed when a Redmark+ Item List is selected.Figure 2.
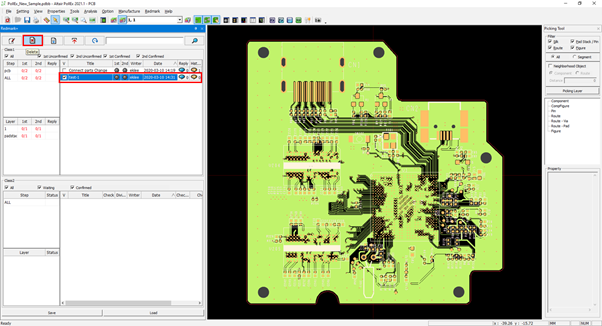
Delete the created issues.
Enable the checkbox of the issue to be deleted and click .
Figure 3.
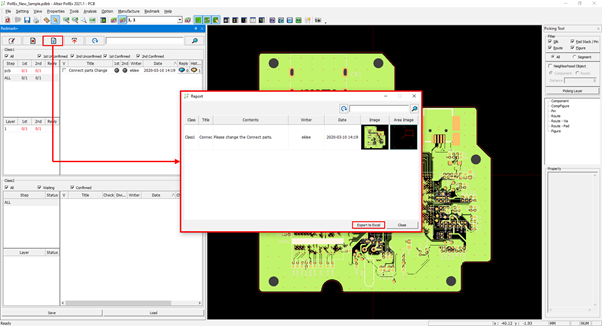
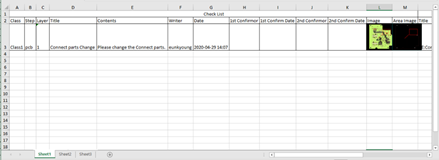
Export the results to Excel file.
Click .
Figure 4. The list of issues to be reported is displayed.
Click Export to Excel and specify the save
location.
Figure 5.
Integration with PLM.
Click .
Figure 6. This function works when there is a URL to be linked with
PLM.
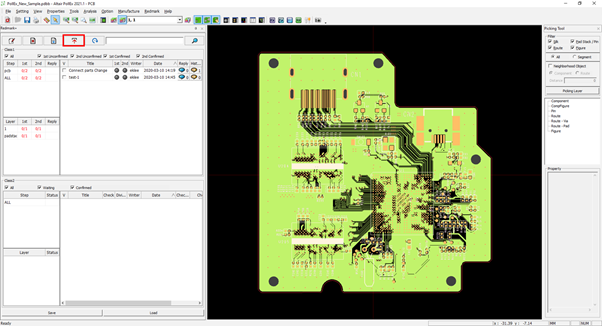
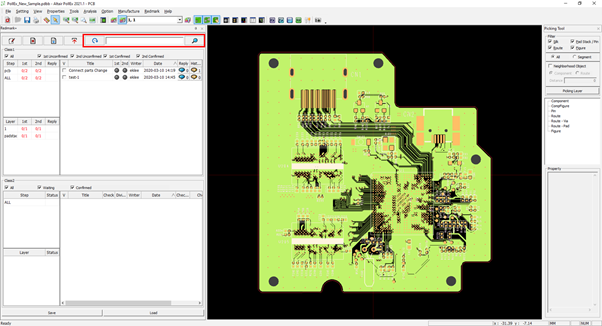
Search and reset.
Enter the title or content in the search bar.
Click to initialize the search history.
Figure 7.
Add comment.
Click to add a comment to the
issue.
The Reply List dialog opens.
After leaving a comment, click Reply.
Add a comment or file attachment.
Figure 8.
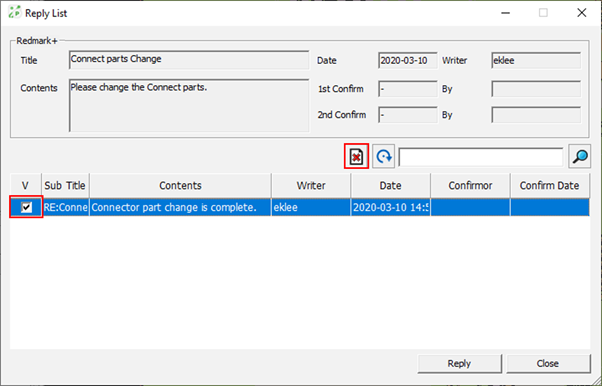
Enable the checkbox of the list to be deleted and click .
Figure 9.
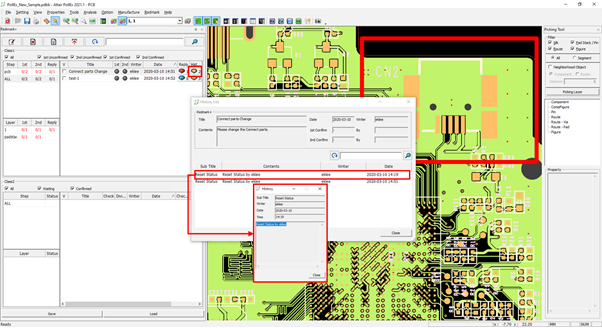
History management.
Click to review the history of each
comment.
Figure 10.
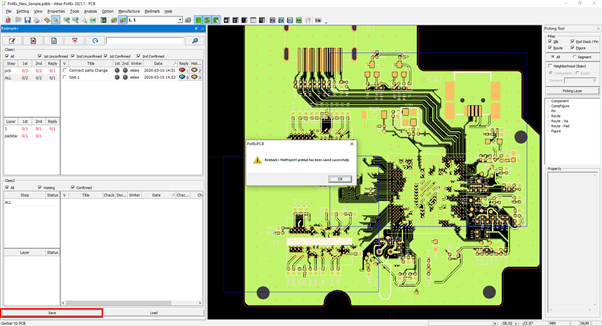
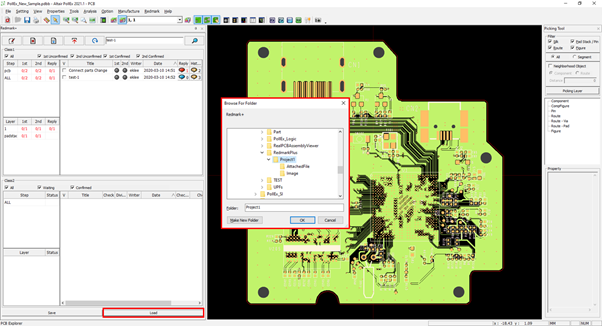
Save and load Redmark+ data.
Click Save to save the file in
*.prmkp format.
Figure 11. The file is saved in the specified project path.
 .
.
 .
.
 .
.
 .
.
 to initialize the search history.
 to add a comment to the
issue.
The Reply List dialog opens.
to add a comment to the
issue.
The Reply List dialog opens.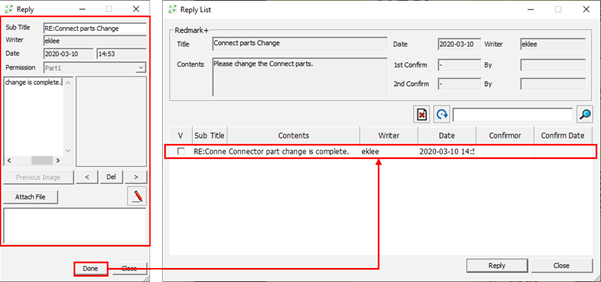
 to review the history of each
comment.
to review the history of each
comment.