Soldering Pallet Tutorial
- Launch PollEx PCB.
-
Launch PollEx Soldering Pallet.
- From the menu bar, click and open the PollEx_MFG_Sample_T5_r<revision number>.pdbb from C:\ProgramData\altair\PollEx\<version>\Examples\MFG.
-
Generate Soldering Pallet.
-
In the Generate-Input dialog, load the
GenerationRule.PSGI input file from
C:\ProgramData\altair\PollEx\<version>\Examples\MFG\SolderingPallet.
Figure 1. 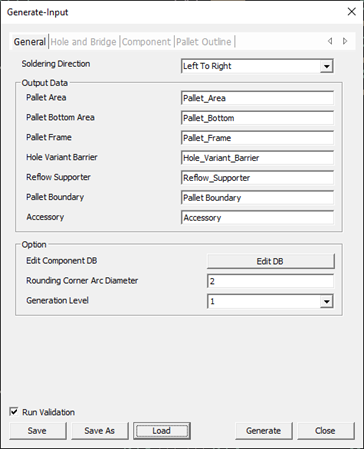
-
Click Generate.
After processing, the log file displays.
Figure 2. 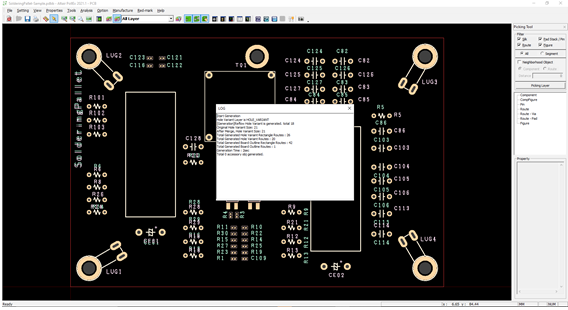
-
In the Generate-Input dialog, load the
GenerationRule.PSGI input file from
C:\ProgramData\altair\PollEx\<version>\Examples\MFG\SolderingPallet.
-
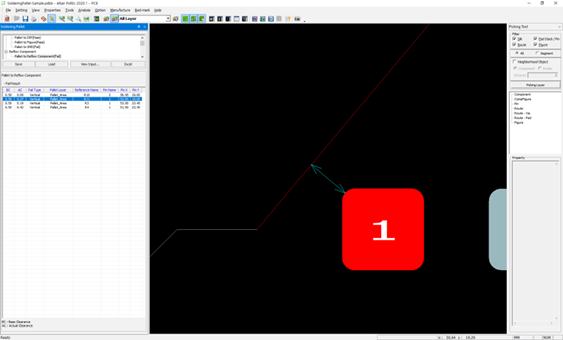
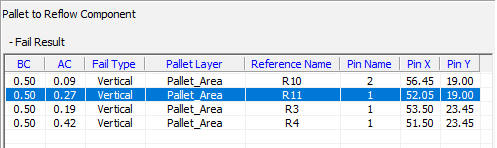
Validate the Soldering Pallet area.
The generated Soldering Pallet area is verified automatically, and results are listed as shown below. The two types of results are pass and failed.
Figure 3. 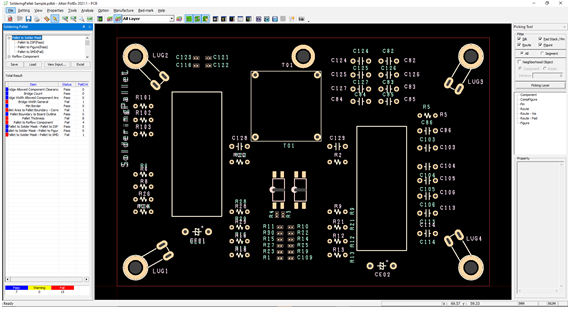
- Click the Pallet to Reflow Component from the list to check the result.
-
Click View Input to see or change the setting
value.
Figure 6. 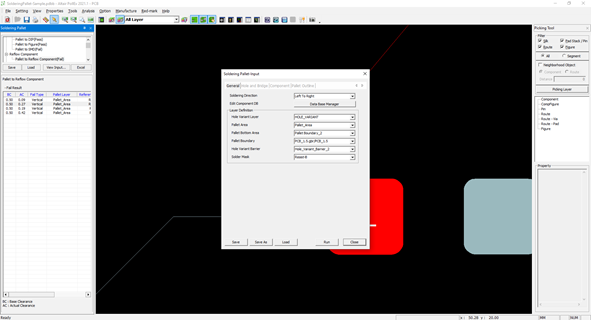
-
Load input file (*.PSPI) and change the condition.
-
In the Component tab of the Soldering Pallet-Input
dialog, change the Horizontal value to 0.6 and
Vertical value to 1.2 for Pallet to SMD.
Figure 7. 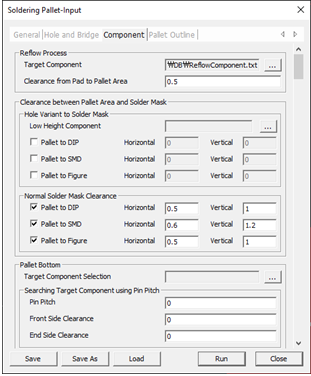
-
In the Component tab of the Soldering Pallet-Input
dialog, change the Horizontal value to 0.6 and
Vertical value to 1.2 for Pallet to SMD.
-
Save the result.
- From the menu, click Save.
- Save the file as SolderingPallet.PSPR.
- From the menu bar, click to load the result.