|
Using the Add Data Table Wizard
The Add Data Table Wizard consists of three steps:
1. Select Connector.
Click a connector group tab.
· File/URL
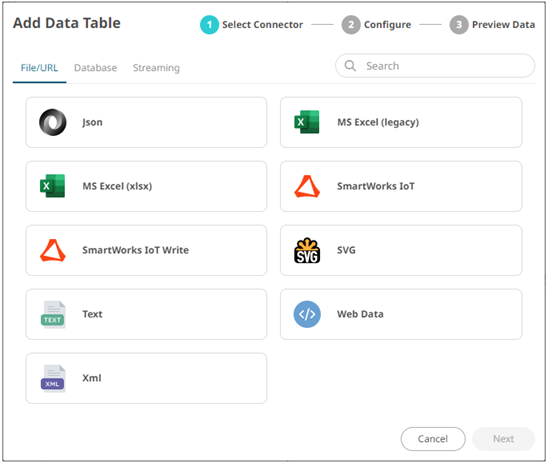
Then one of the following connectors:
|
· JSON |
||
|
· SVG |
||
|
· Text |
· Web Data |
· XML |
· Database
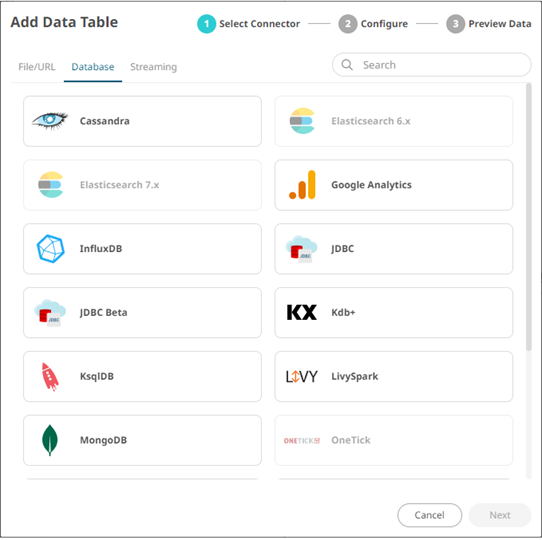
Then one of the following connectors:
|
· InfluxDB |
· JDBC |
|
|
· Kx kdb+ |
· KsqlDB |
|
|
· MongoDB |
· OneTick |
|
|
· Python |
||
|
· Rserve |
· Splunk |
· Streaming
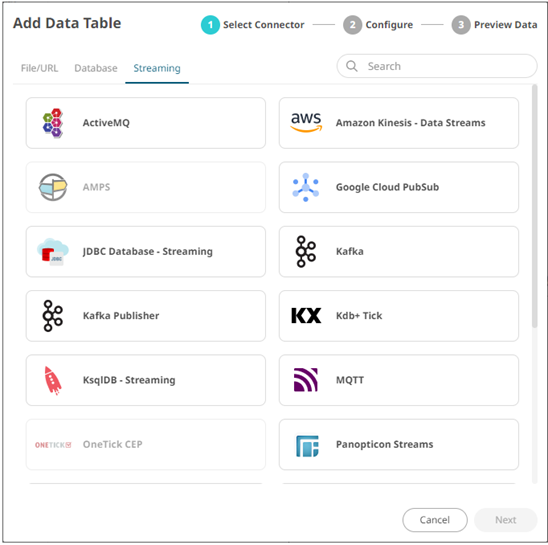
Then one of the following connectors:
|
· ActiveMQ |
· AMPS |
|
|
· Kafka |
||
|
· MQTT |
||
|
· RabbitMQ |
· Solace |
|
|
|
|
2. Configure.
Define the settings of the selected connector (e.g., MS Excel (legacy)).
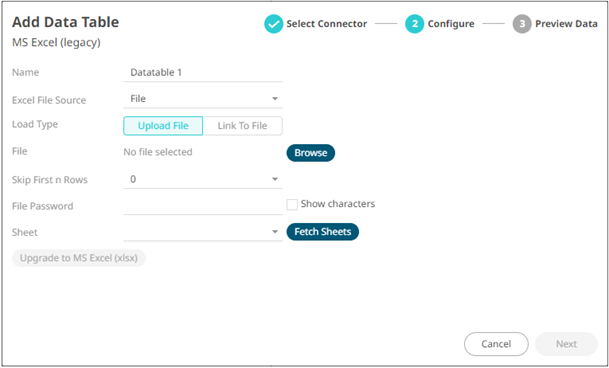
When the necessary properties have been defined, the Next button is enabled.

Click
 to move to the next
step.
to move to the next
step.
3. Preview Data.
Display the preview of the data table you are creating.
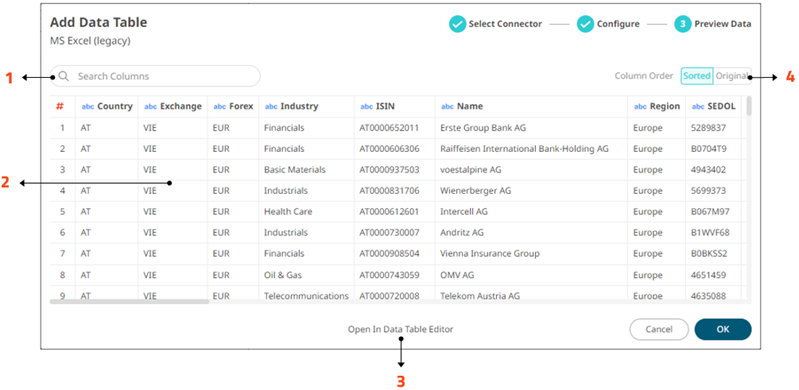
Do one of the following:
|
Property |
Description |
|
1 |
Search Columns Allows searching of columns in the Data Preview. |
|
2 |
Data Preview Executes the queries to return and display data. |
|
3 |
Open in Data Table Editor Displays Data Table Editor layout where you can further configure the data table. |
|
4 |
Group and Sort Columns Allows grouping and sorting columns. |
Click![]() to save the changes and close the wizard.
to save the changes and close the wizard.
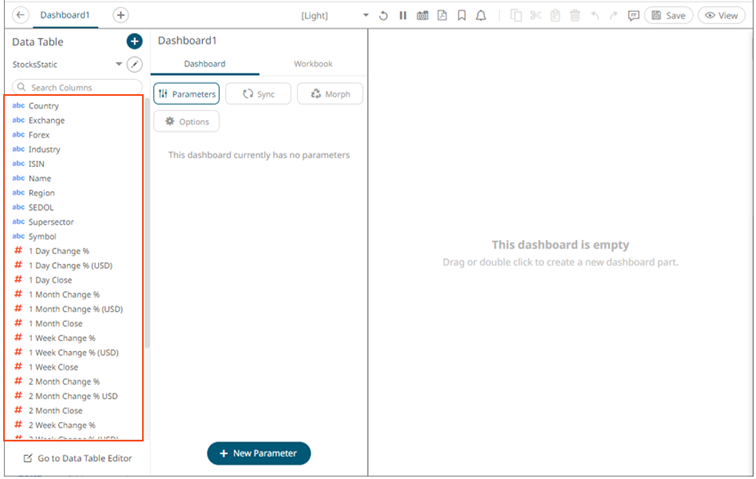
Your data will be displayed in the columns of the Data Table panel.