Adding an Indoor Database
Insert an indoor database of a building on the imported aerial photograph.
The database created thus far is now ready for a standard urban simulation. However, we want to add an indoor database near the bottom of the image. Using a hybrid urban/indoor database, the urban database is solved using high simulation speed while the indoor database is solved using high accuracy.
-
Import an indoor database (building) using one of the following
workflows:
- On the Objects menu, click the Import Indoor Database.
- Press Alt+F6 to use the keyboard shortcut.
- Browse to the location of the file rooms_1.idb that was created in Example 1 and click Open.
-
Click OK to close the CNP Building
dialog.
The Database to be imported must contain... message is displayed.
Figure 2. The Database to be imported must contain... message. 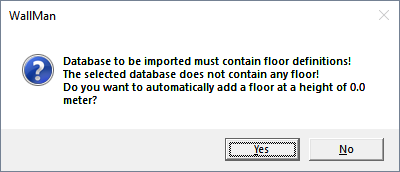
-
Click Yes to continue.
The The imported database contains... message is displayed.
Figure 3. The The imported database contains... message. 
-
Click OK to close the message.
The The imported building is now in the clipboard... message is displayed.
Figure 4. The The imported building is now in the clipboard... message. 
- Click OK to close the message.
- Click to place the indoor database on the imported aerial photograph.


1 Combined network planning (CNP) is the
model that allows for the combination of urban and indoor
predictions.