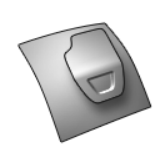
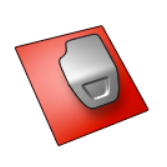
Create Flat
Create a flat binder from a new surface.
-
Click the Binder icon.
-
Click the Create Flat icon.
-
Choose a selection method and then select free edges on the part to associate
the binder with the addendum. Selectable edges are green.
To reselect the addendum start edges, in the guide bar, select Clear Selection
If you select this method Then do this Chain selection (default) Click an edge and all connected edges are selected automatically. Tangent selection Click an edge and the tangent edge is also selected automatically. Single selection Click an edge.  , and then select different addendum start
edges.
, and then select different addendum start
edges. -
To adjust the binder, click the yellow arrow.
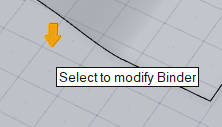
- To change the size of the binder, enter a value for Min. Binder Size.
- To change the distance between the part and binder, drag the yellow
arrow or enter a Min. Draw Depth.
