Control User Input
Variables can be used to collect input which is required for the script to operate.
For example, a script which is creating a mesh of any geometry would require a geometry file and Element Size.
The script has the data names defined as CADFile and elem_2D. These
will take the values from Pulse variables
InFile (Study) and elem_size (Task).
#File name for import obtained from Pulse
CADFile=pulse.getVariableValue('InFile')

#Mesh variable obtained from Pulse Variable.
elem_2D=pulse.getVariableValue('elem_size','Task')
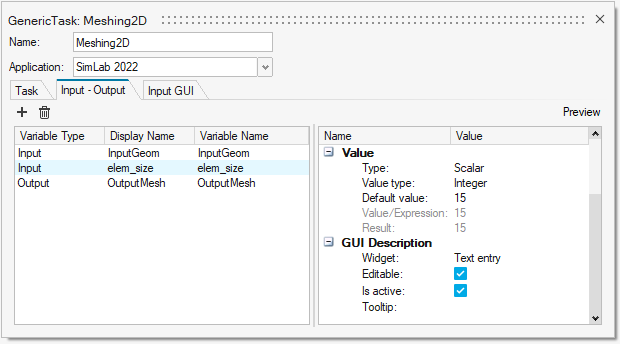
Figure 1.
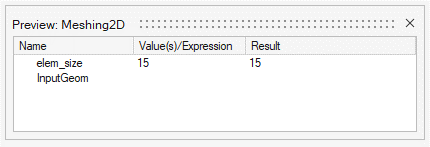
Figure 2.
Input GUI
In many scenarios a task or process requires multiple inputs. If this is the case, it is highly recommended for an author to organize and add structure to the dialog to make it clear and intuitive for an Analyst. This is achieved through the Input GUI tab in the Edit Task dialog.
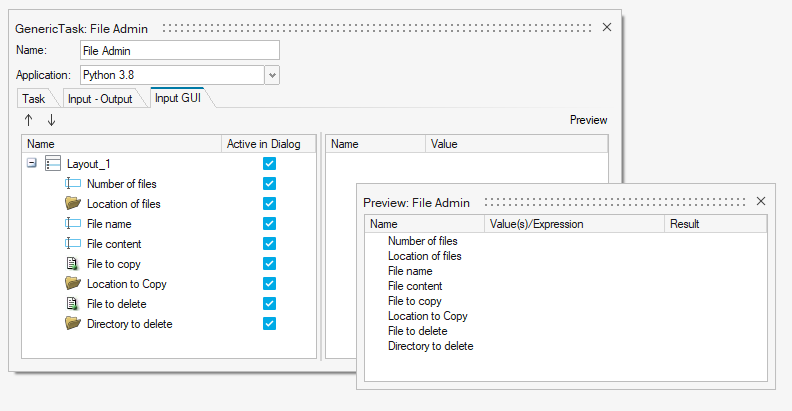
Figure 3. Default Structure of User Input Dialog
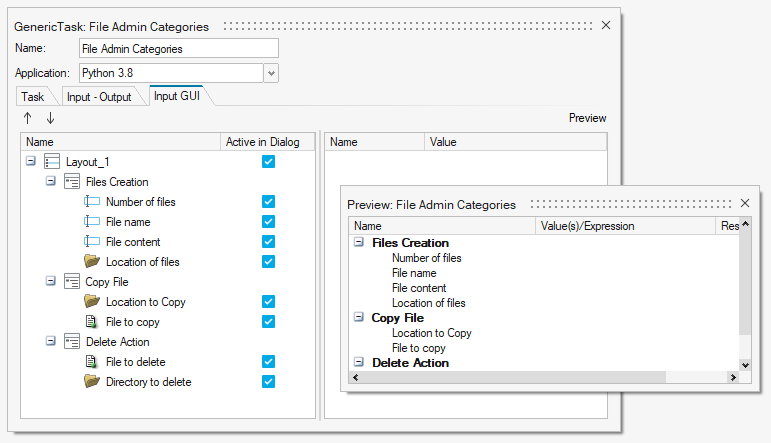
Figure 4. Organized Structure of User Input Dialog
Control Visibility of Layouts - Active Condition
If the Active in Dialog option is disabled for a layout or tab, they will not be visible in the Input dialog. The visibility can also be controlled automatically through the Active Condition option. If the condition is not fulfilled the layout or tab will not be visible. This action can be used to create dynamic dialogs.
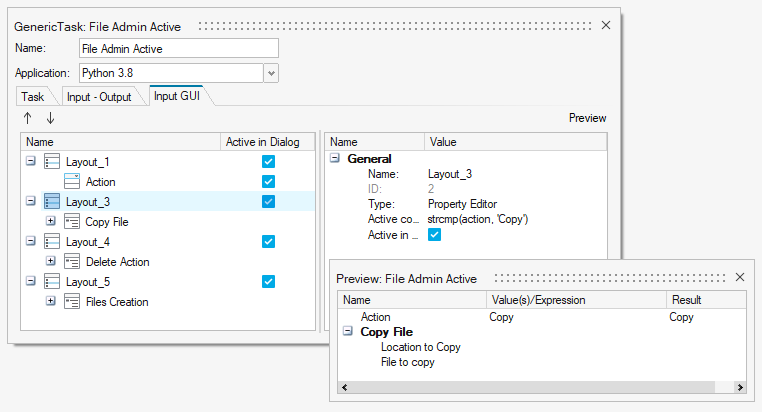
Figure 5.
Edit Input
Through the Edit Input option on the RMB context menu of the task you can set the values of all inputs before process execution.
If all inputs of a task are defined, then no input prompting will show up at execution.
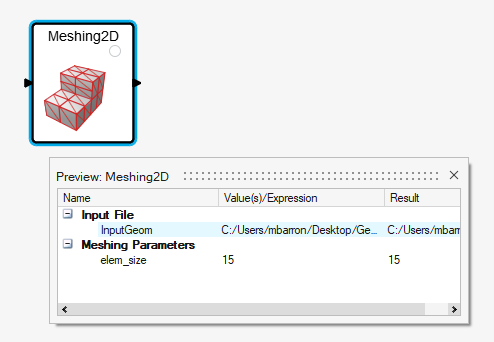 Figure 6.