Explore Tool Functions
From the menu bar, click Tool. The Tool menu contains the following options:
Capture
Click the menu. Select two points on the screen with left-click to set the rectangle area.
To paste the image press Ctrl + V into the document after pressing Ctrl + C.

Figure 1.
Redmark
From the menu bar, click .
While reviewing the Gerber file, if you input Redmark comment and save, all Redmarks are saved into the Gerber file. So later, when another engineer opens the design file it is possible to see added Redmark comments.
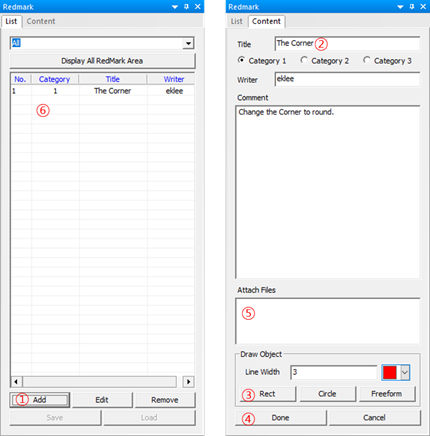
Figure 2.
- Click Add, Del or Close to add, delete, or close Redmark in list, respectively.
- Input new Redmark title.
- Select drawing object to make geometry into Redmark. Supporting geometries are circle, rectangle, or arrow. Using geometries supported by Redmark, you can express more easy and intuitive representation.
- Done or cancel.
- Attach file to Redmark.
- After adding Redmark, you can see a list of completed Redmarks. Saving the Gerber file in PollEx CAM will also save added Redmarks into the Gerber file.
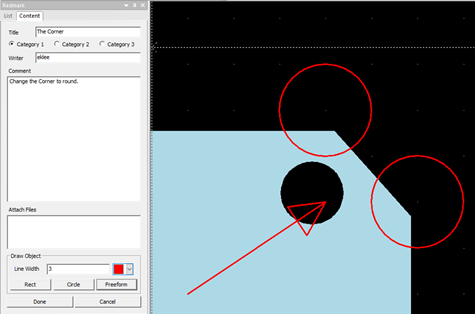
Figure 3.
Cross Probe
Check the difference in the Gerber file. After reading the two Gerber files primarily, it is used to manage the revision to confirm the change.
It offers three types which have XOR, Merge and Diff-Get.
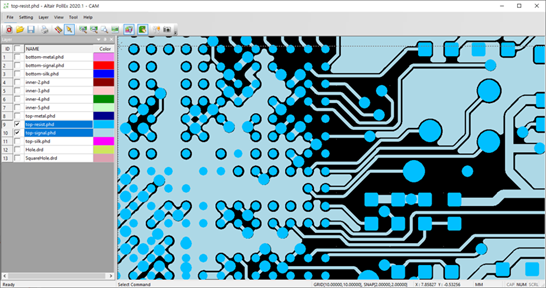
Figure 4.
XOR
- XOR, only the wrong part of both Gerber files displays on the screen.
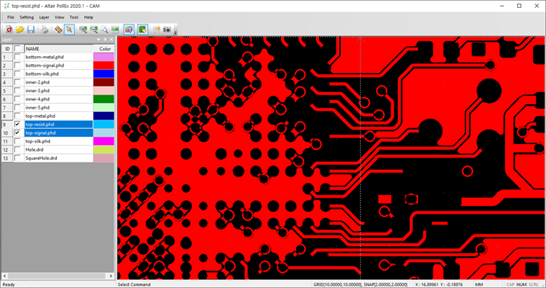
Figure 5. - Layer selection you want to compare
- .
- Right-click on the list > .
Merge
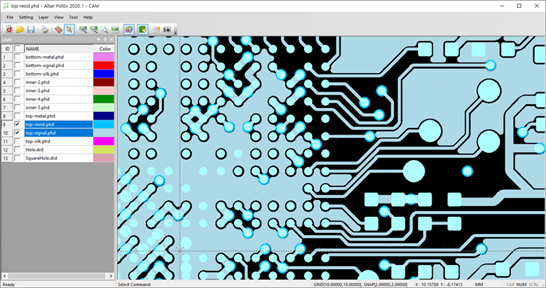
Figure 6.
- Layer selection you want to compare
- .
- Right-click on the list > .