Creating the Profile
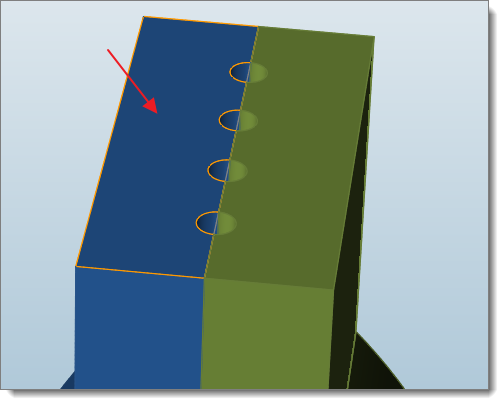
The exit surface of the land will be extruded to create the profile part.
-
From the Polymers ribbon, click the
Profile tool.
The selector is enabled to pick the surfaces.
-
Select the exit surface of the land.

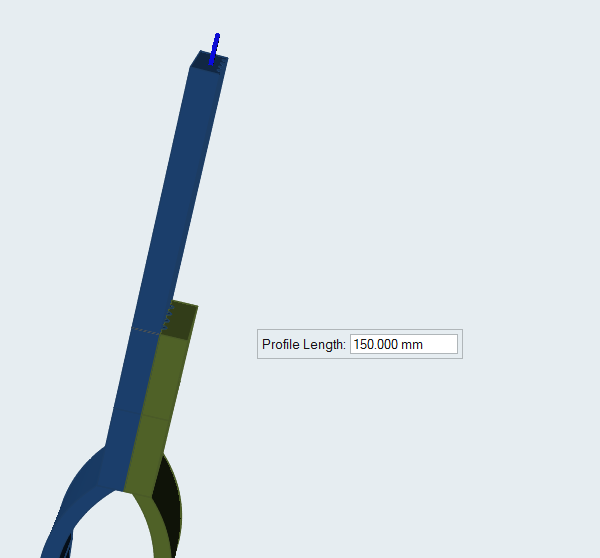
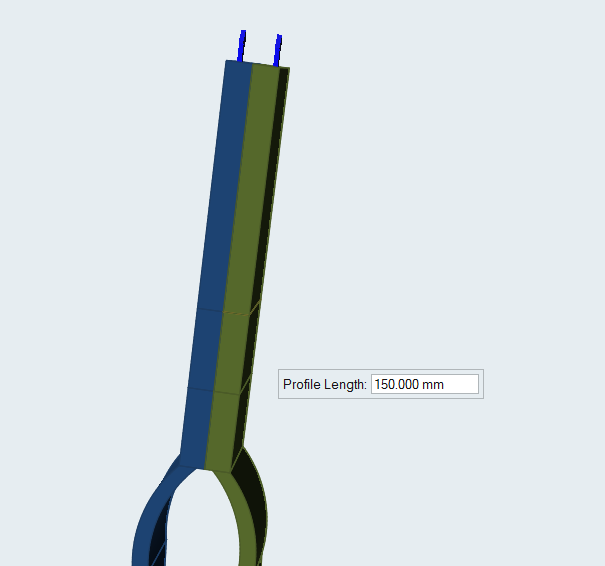
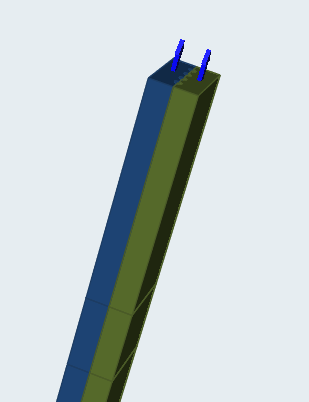
The corresponding profile part is created with three times the height (Z length) of the land. The newly created profile is automatically grouped to corresponding layer same as its respective land. -
To change the length of the profile, enter the length in the microdialog and click Enter .

The profile is recreated with the new length. -
Repeat the steps to create the next land surface.

Note: Upon creation of the profile, the exit boundary condition will be created automatically. You do not need to create the exit boundary condition explicitly.
Organize Profile
Use the Designate Profile tool to designate the part of the model as profile.
-
From the Polymers ribbon, hover over
Profile, and then click the Organize
Profile icon.

-
Select a part to designate it as profile.
The part is automatically organized as profile into the respective layers.