Create and Manage Roles
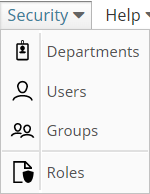
Weight Analytics Administrator creates and assigns role-based access to the workspace for all users.
-
Click .
-
In the Roles page, click the
 icon to create a Role.

-
In the Add Role dialog box, enter a name and description
for the Role and then click Add
Role.
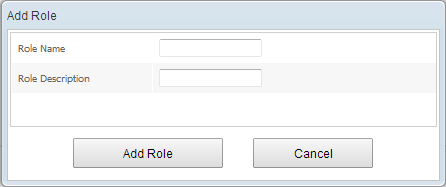 The new role is displayed in the Roles page.
 -
Select a Role and then click the
 icon to
delete the Role.
icon to
delete the Role.
Access Control
After creating a Role, you can provide access-level control at the Role, Menu, and Function levels. You can also provide access-level control at the Column level (ACL).
-
In the Roles page, select a Role and right-click to provide the following
access levels for the Role:
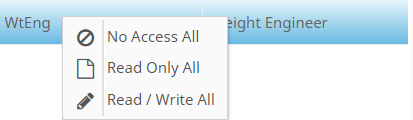
- No Access All - Select to restrict access to all Menus and Functions.
- Read Only All - Select to provide read-only access to the Menus and Functions.
- Read/Write All - Select to provide read/write access to the Menus and Functions.
-
In the Menu tabbed page, click the
 icon
to expand the menu and select the menu items for which you want to provide
access. Also, for more information about providing Column-level access
(Column ACL), see Column Level Access
Control.
icon
to expand the menu and select the menu items for which you want to provide
access. Also, for more information about providing Column-level access
(Column ACL), see Column Level Access
Control.
- The Menu tabbed page displays a list of menus and sub-menus available for the selected Role.
- You can provide the following types of access:
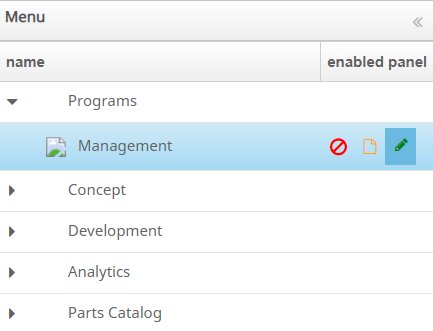
- No Access

- Read-only Access

- Read/Write Access

- No Access
Note: You can provide access to individual menu items even if you have disabled access for the selected Menu at the Role level. -
In the Functions tabbed page, select the functions for which
you want to provide access.
- The Functions tabbed page displays a list of functions available for the selected Role.
- You can provide the following types of access:
- No Access
- Read-only Access
- Read/Write Access
- No Access
Note: You can provide access to individual functions even if you have disabled access for the selected Function at the Menu level. -
After selecting the Menu item and Function for the Role, click the
Save Changes
 icon.
The user data is updated in the system.
icon.
The user data is updated in the system. -
To cancel any unsaved changes, click Undo Changes
 .
.
-
To export the Roles data, click the
 icon.
The Excel sheet displays the available roles in different tabs along with the access-level data in report format.
icon.
The Excel sheet displays the available roles in different tabs along with the access-level data in report format.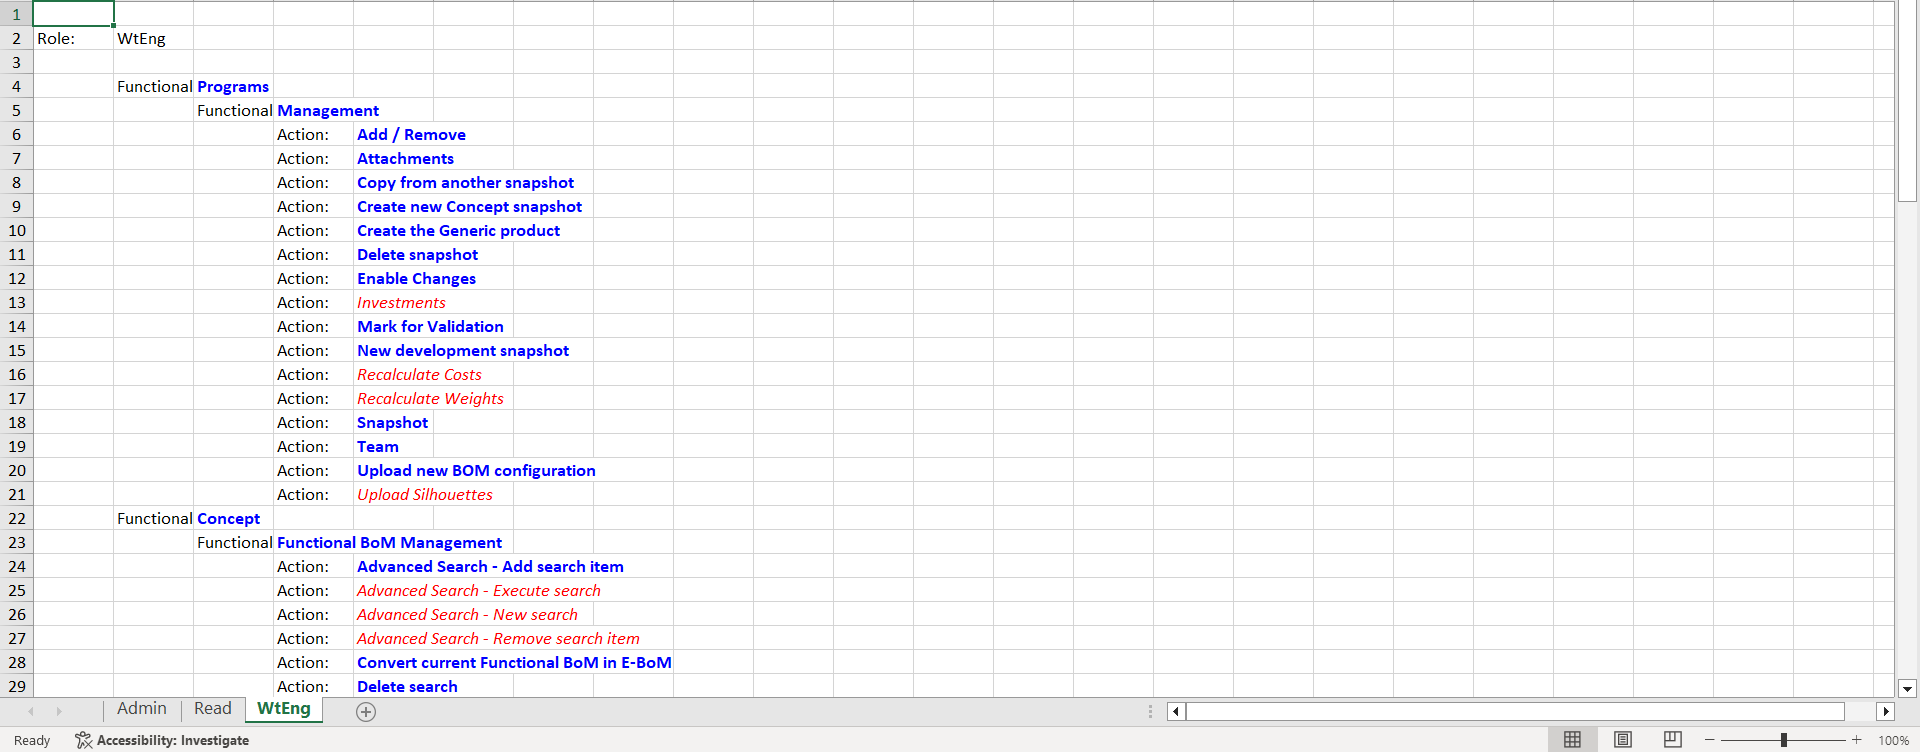
- Red text indicates No Access.
- Blue text indicates Read-only Access.
- Green text indicates Read/Write Access.
-
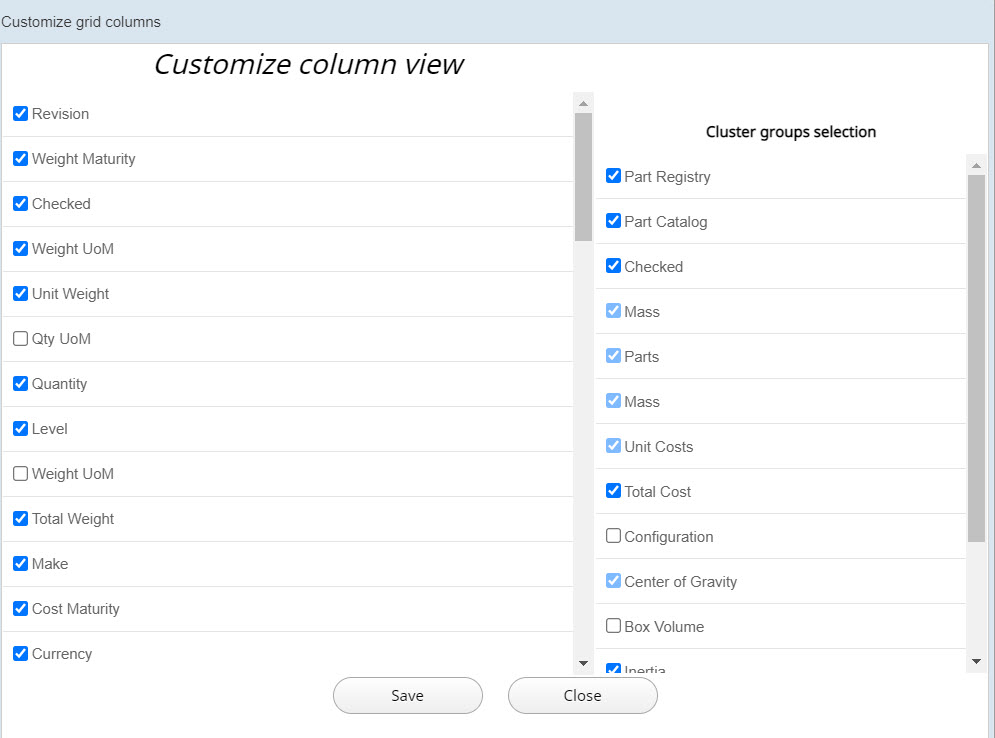
In the Roles page, click the
 icon to customize the columns view.
-
In the Customize Grid View dialog box, select the
column or cluster check boxes that you want to include in the table.
Column Access Level Control (ACL)
Column Access Level Control or ACL allows you to provide granular access-level control at the Column level (Snapshot column) for each Role.
-
Click Open Column ACL.
The Column ACL Preview page displays all the available columns for a selected role and menu.
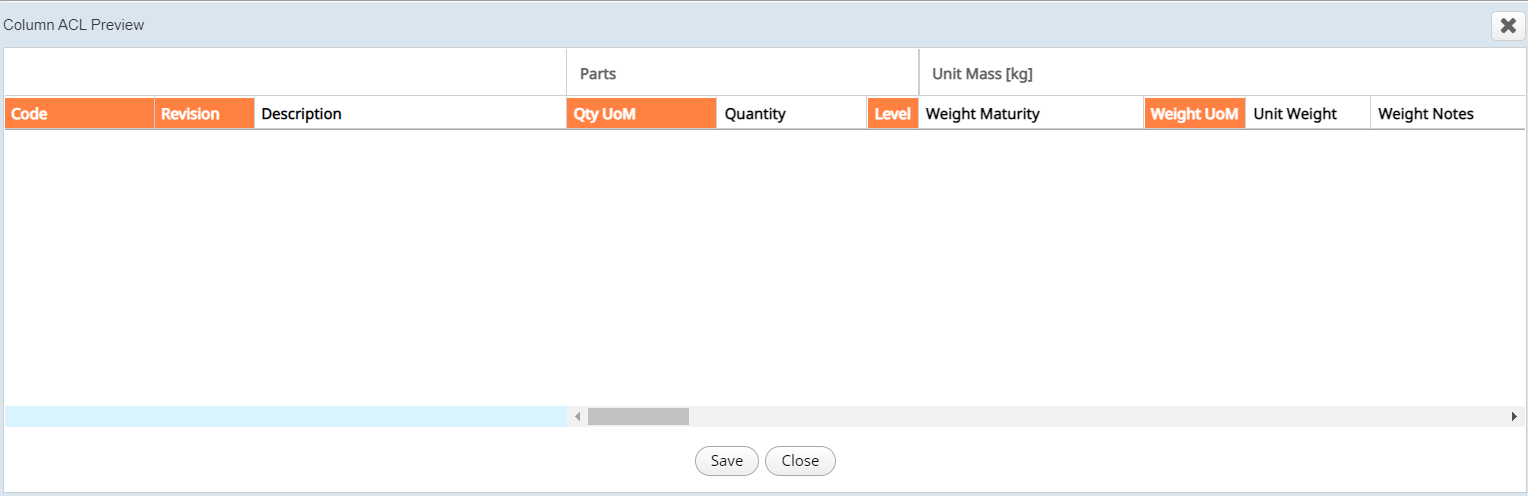
-
Using the horizontal scroll bar, right-click the columns on which you want
ACL applied and select one of the following options:
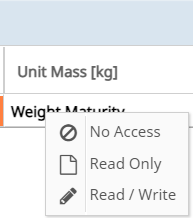
- No Access - Column header is displayed in gray color.
- Read Only - Column header is displayed in orange color.
- Read/Write Access - Column header is displayed in white color.