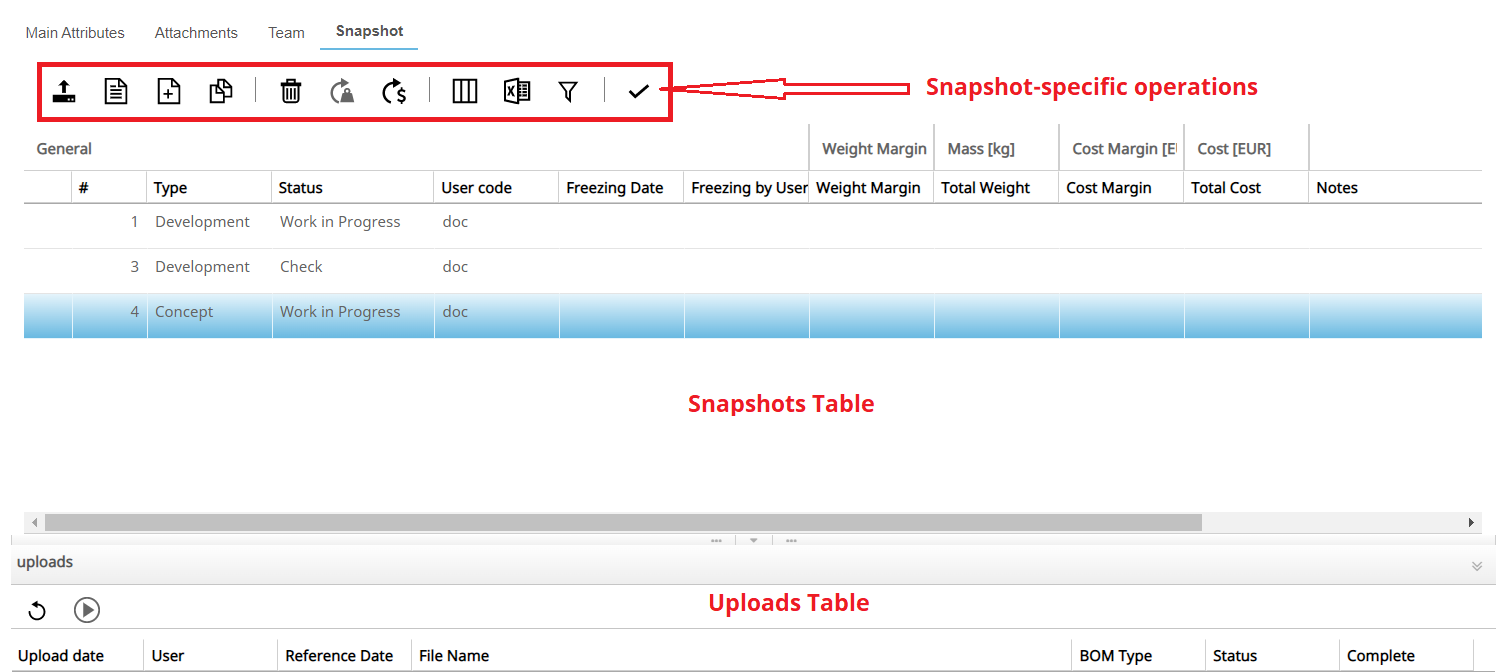
The Snapshots tab allows you to perform tasks such as upload a new BoM Configuration,
create a new Concept, create a new Snapshot, and so on.
The Snapshots tab appears only at the Product level of the Program
tree.
The Snapshots tab allows you to perform the following tasks:
Upload a new BoM Configuration
Create a new Concept Snapshot
Create a new Development Snapshot
Copy from another Snapshot
Import Snapshot
Delete Snapshot
Recalculate Weight
Recalculate Costs
Customize Grid Columns
Save as XLSX report
Approve Snapshot
Reject Snapshot
Mark for validation
Reload Snapshots
Import selected BoM
You can also right-click the Snapshot name and perform the following tasks:
Navigate to Concept/Development (this operation is context dependent. If the
selected Snapshot is of 'Concept' type, you navigate to Concept > F-BoM
Management, and if the selected snapshot is of 'Development' type, you
navigate to Development > E-BoM Management.
Create a new Concept Snapshot
Create a new Development Snapshot
Copy from another Snapshot
Import Snapshot
Delete Snapshot
The following table provides detailed information that you must specify for a
Snapshot:
For
Specify
Icons
Used to add icons for needed recalculation. The following
three different icons are available:
Yellow icon - Indicates that weight recalculation is
needed.
Green icon - Indicates that cost recalculation is
needed.
Red icon - Indicates that both weight and cost
recalculation are needed.
#
Indicates a sequential number automatically assigned by the
Weight Analytics at the time of loading a BoM.
Status
Indicates the status of the BoM. For a list of possible
statuses, see the Snapshot Status
table.
User code
Indicates the user name of the user who created the
Snapshot.
Validity Date
Indicates the date of uploading the Snapshot that you have
created manually. It also lists the date that is set
automatically by the system when an approved Snapshot is
duplicated.
Condition
Indicates whether the weight of the parts is considered as
"empty parts" or "filled parts" (e.g. tank with empty weight or
fuel filled weight)
BOM system of unit
Specify the unit when you create a Snapshot manually.
Note: When the Snapshot is created
automatically, the unit system is the same as the unit set
in the reference Snapshot.
Weight Margin
Indicates the margin that you define for the estimation of
weight in the Snapshot (this value is added to the total
weight). This data is editable.
Freezing Date
Indicates the date of approval of the BoM set by the system.
The freezing date is allotted only if the Snapshot has been
approved.
Freezing by User
Indicates the User ID of the user who approves the Snapshot
and is set automatically by the system.
Table 1. Snapshot Status Table
Status
Description
Loading
Indicates the status of the Snapshot during the loading
process.
Loaded
Indicates that the BoM has been loaded, but not
processed.
Processing
Indicates that the Snapshot is under process.
Processed
Indicates that the Snapshot has been processed. (This status will
need some time to be updated to the database).
To be revised
Indicates that the processed Snapshot is error-free.
Error
Indicates that the processed Snapshot contains errors.
Work in Progress
Indicates the processed Snapshot after approval.
Check
Indicates that a Snapshot that has been approved after completion
of Work in Progress state.
Approved
Indicates that a Snapshot that has been checked and approved.
Once a Snapshot has been approved and frozen, a copy of the Snapshot
is created automatically with a status of Work in Progress.
Reject
Indicates that a Snapshot that has been checked and rejected. The
status returns to Work in Progress.
Concept
Indicates that a new Concept is created. This status cannot be
changed.
Upload a new BoM configuration
Click the Upload new BOM configurationicon.
The Upload new BOM configuration dialog box is displayed.
The User row shows the user currently logged in.
Click the calendar icon in the Reference Date field.
A calendar is displayed below the icon.
Select the required date from the calendar.
Select the BOM type from the BOM Type dropdown list.
Select the required System of Units from the BOM system of unit dropdown list.
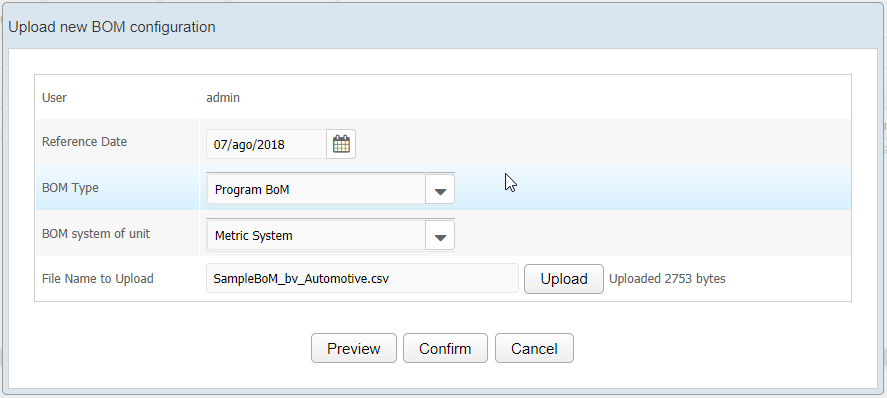
Click the Upload icon next to File Name to Upload.
The File Upload dialog box is displayed.
Navigate to the file containing the BoM data that you want to upload.
The file name is populated in the File Name to Upload field and the file will be uploaded to the
WA server. A message indicating the size
of the uploaded file is displayed next to the field.
Use one of the following options:
Without a Preview
Click Confirm.
The uploaded BoM is listed in the uploads table. The same BoM will be displayed as a new Snapshot
in the Snapshots table. The status of this Snapshot will
change to Loaded.
Select the uploaded BoM from the uploads table and then click the
Import selected BOM icon.
The status of the
Snapshot changes from Loaded to To be revised.
With Preview
Click Preview.
A new popup containing a
preliminary analysis of the file described in tabs is
displayed. Each tab displays traffic light colors to
indicate blocking errors (red), warnings (yellow) or correct
data (green).
The first tab Format
Issues provides details on the file format
(delimiter issue, different number of columns, and so
on):
The second tab Weight Issues
provides a list of objects in the file that assume
different weight values:
The third tab Weight File vs Best Weight
provides a list of parts/revisions with different
weight values or weight maturity between file data
and WA data:
Click Execute.
The Bom
Structure Issue tab will contain the results
of the imported BoM and when closing the dialog box, the
status of the Snapshot changes to To be
revised.
The red alert at least in one of the first three
tabs will disable Execute.
Before clicking Execute, click Close, and the
uploaded BoM will be listed in the uploads table. The
same BoM will be displayed as a new Snapshot in the Snapshots
table. The status of this Snapshot changes to To be
Revised.
Note:
The Confirm and Preview run procedures
that create a Snapshot in Loaded status.
The Execute and Import selected BOM
run procedures that change the status from
Loaded to To be Revised.
Click the Enable Changesicon.
The Weight Margin column of the Snapshot is
enabled.
Specify a value in the Weight Margin column for the selected Snapshot.
Click the Save Changesicon.
A confirmation dialog box is displayed.
Click OK.
The changes made will be updated to the database.
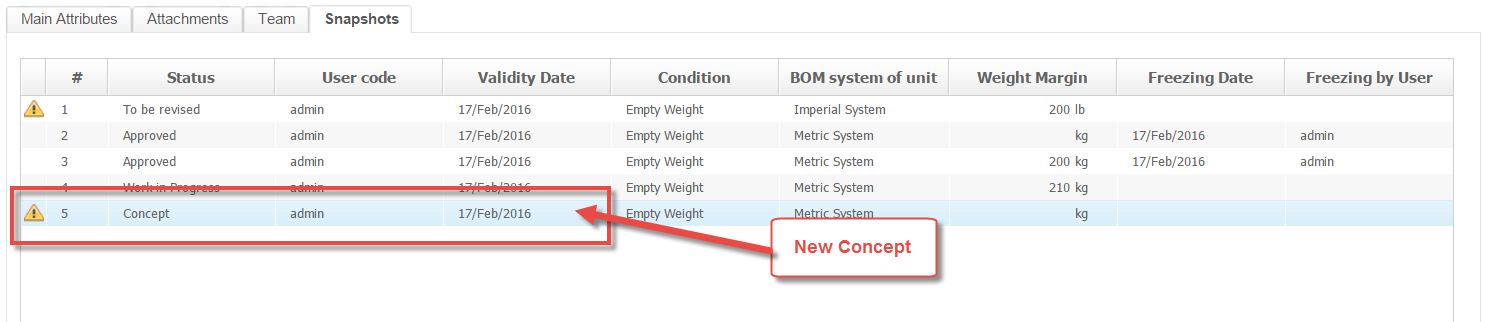
Create a New Concept Snapshot
Click the Create new Concept icon.
The Create new Concept dialog box is displayed.
Click Confirm.
A new Concept will be added to the Snapshots table.
You can edit the Weight Margin of this Concept using the Enable Changes option.
Create a New Development Snapshot
Click the Create new empty Snapshoticon.
The Create New Snapshot dialog box is displayed.
Specify a date that you want to associate with this Snapshot in the
Reference Date field.
Click Confirm.
A new Snapshot with a status of To be revised is added to the system and listed in the
Snapshots table.
Click the Save Changesicon.
A confirmation dialog box is displayed.
Copy a Snapshot
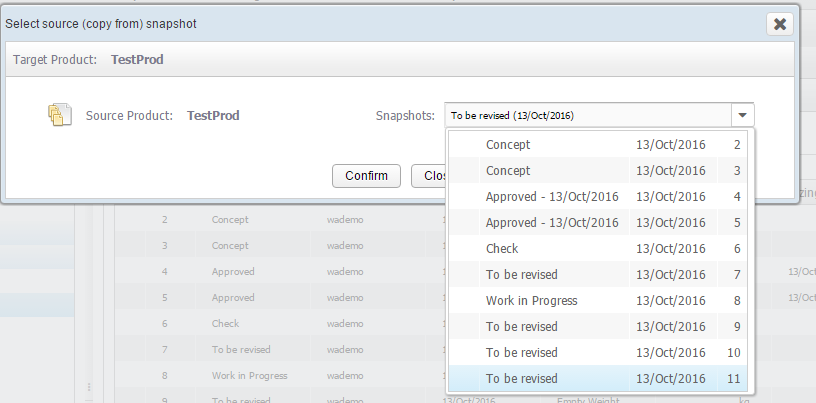
Click the Copy from another Snapshot icon.
The Select source (copy from) Snapshot dialog box is displayed.
Select the source Snapshot that you want to copy.
Click the icon.
The Product Selection dialog box is displayed.
From the Program tree, select the required Product.
Select Product is enabled.
Click Select Product.
The Product Selection dialog box closes and the Select source (copy from) Snapshot dialog box is updated with the name of the
selected Product.
Note: You can copy a Snapshot with any status (Work in Progress,
Approved, or To be Revised).
The Snapshots that are available for the selected product will be
listed in the Snapshots dropdown list.
Select the required concept Snapshot from the Snapshots dropdown list.
The status of the Concept Snapshot remains the same after
copying.
Click Confirm.
The selected Snapshot will be copied to the Snapshots table with
To be revised status.
Note: To copy the Snapshot, the Functional View of the source Program
must be same as the target Product. If it is different, then the
Concept Snapshot is shown as blank.
Remove/Delete a Snapshot
Click a Snapshot in the Snapshots table.
Click the Delete Snapshoticon.
A confirmation dialog box is displayed.
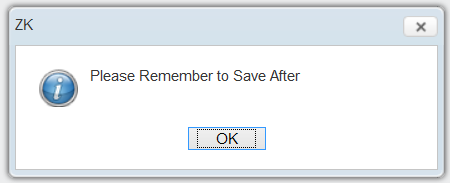
Click OK.
A confirmation dialog box that reminds you to save the changes made
to the Snapshots table is displayed.
Click the Save Changesicon.
A confirmation dialog box is displayed.
The Snapshot is deleted from the database.
Recalculate Weight
Click the Recalculateicon to initiate recalculation of the weight in the selected Snapshot.
Every time the weight of a part is changed in the Snapshot, you must
perform the recalculate operation again. This icon will automatically be
enabled whenever a Snapshot is changed.
To initiate this operation, click the Recalculate icon.
All the changes made to the Snapshot are updated and the overall
weight is recalculated.
Recalculate Cost
Click the icon to initiate recalculation of the cost in
the selected Snapshot.
Every time the cost of a part is changed in the Snapshot, you must
perform the recalculate operation again. This icon will automatically be
enabled whenever a Snapshot is changed.
To initiate this operation, click the icon.
All the changes made to the Snapshot are updated and the overall
cost is recalculated.
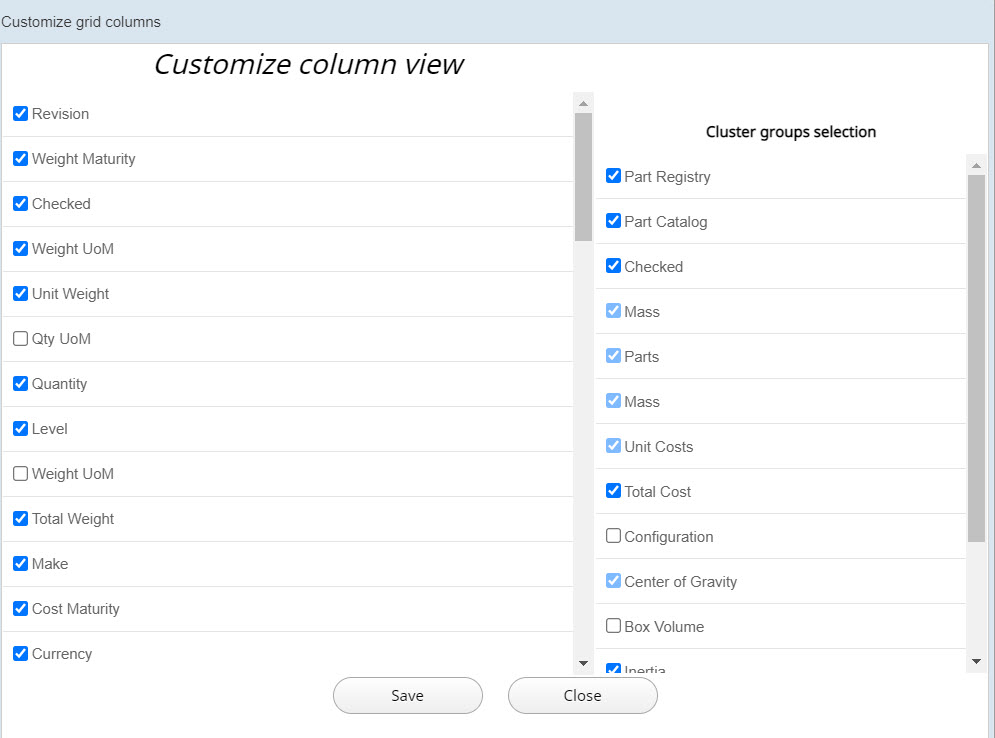
Customize Grid Columns
Click the
icon to customize the columns view.
In the Customize Grid View dialog box, select the
column or cluster check boxes that you want to include in the table.
The list of check boxes on the left are the individual columns that
can be added or removed from the table. The check boxes in the Cluster groups selection selection list are the categories of columns. If you select any cluster
from this list, all columns that belong to this cluster are selected
automatically.
Click Save and Close to save
the changes that you have made.
The selected columns will be added to the table and the unselected
columns will be removed from the table.
Update Snapshot Status
Select the required Snapshot from the Snapshots table.
Upon selection, the Mark for Validation icon is displayed.
Click to validate the Snapshot in its current form.
The status of the Snapshot changes to the next status in the
approval process. The following icons are displayed:
Approve
Reject
Post validation, you can click the Approve or Reject icons to approve or reject a Snapshot before
moving further along to the final approval state. After a Snapshot is
frozen, the date of freezing the Snapshot and the user who freezes the
Snapshot will be populated in the Freezing Date and Freezing by User columns respectively.

 icon.
The Upload new BOM configuration dialog box is displayed.
icon.
The Upload new BOM configuration dialog box is displayed.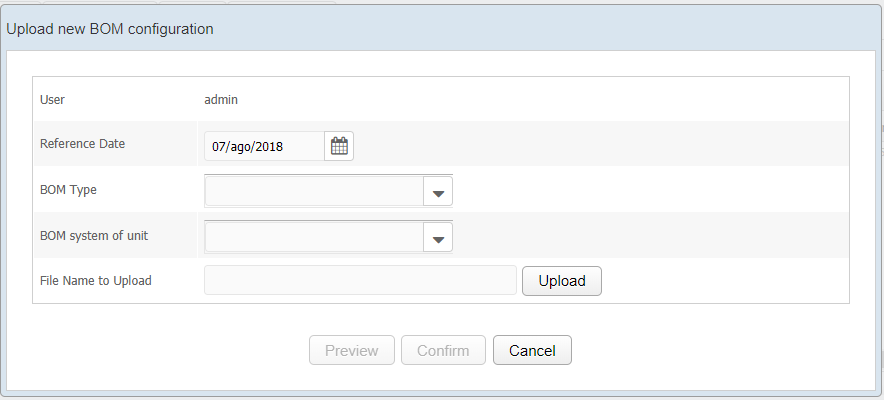
 icon.
icon.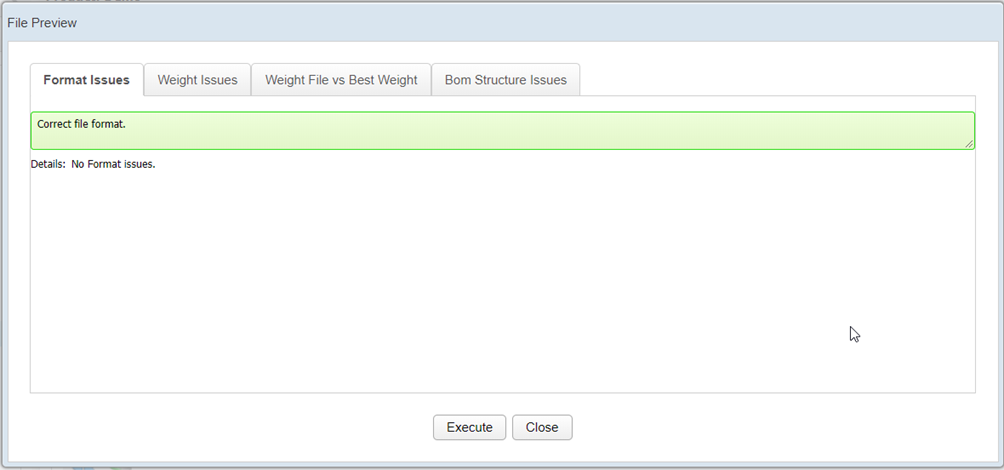 The second tab Weight Issues provides a list of objects in the file that assume different weight values:
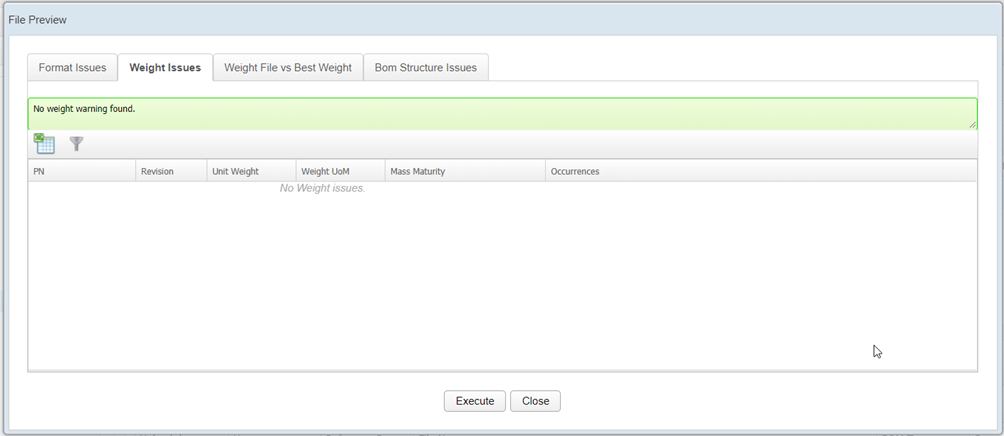 The third tab Weight File vs Best Weight provides a list of parts/revisions with different weight values or weight maturity between file data and WA data:
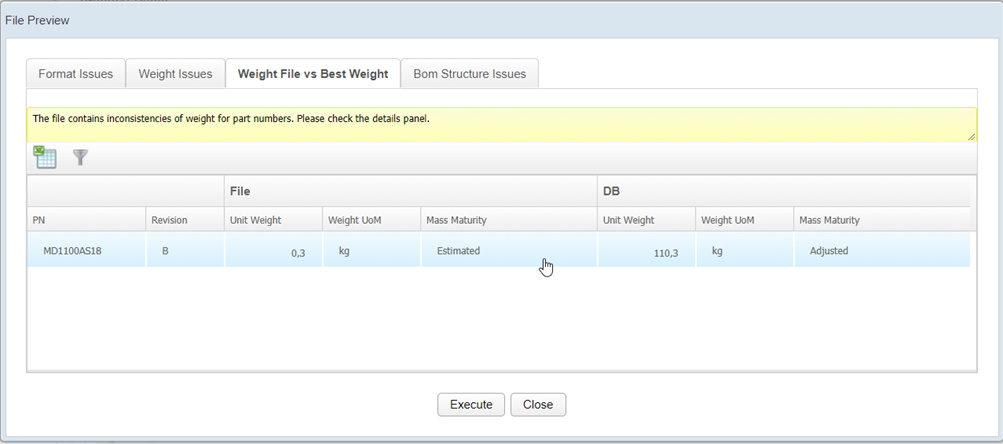

 icon.
The Weight Margin column of the Snapshot is enabled.
icon.
The Weight Margin column of the Snapshot is enabled. icon.
A confirmation dialog box is displayed.
icon.
A confirmation dialog box is displayed.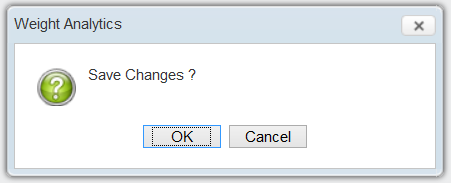
 icon.
The Create new Concept dialog box is displayed.
icon.
The Create new Concept dialog box is displayed.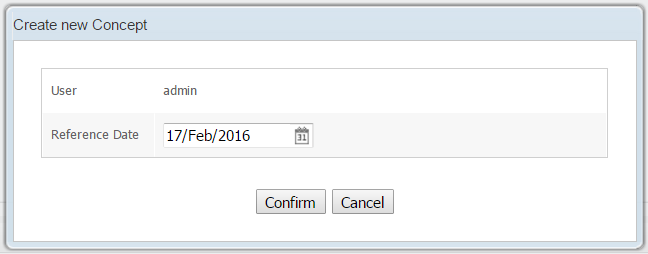
 icon.
The Create New Snapshot dialog box is displayed.
icon.
The Create New Snapshot dialog box is displayed.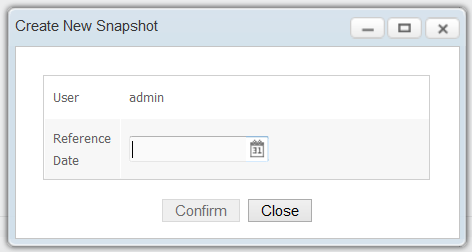
 icon.
The Select source (copy from) Snapshot dialog box is displayed.
icon.
The Select source (copy from) Snapshot dialog box is displayed.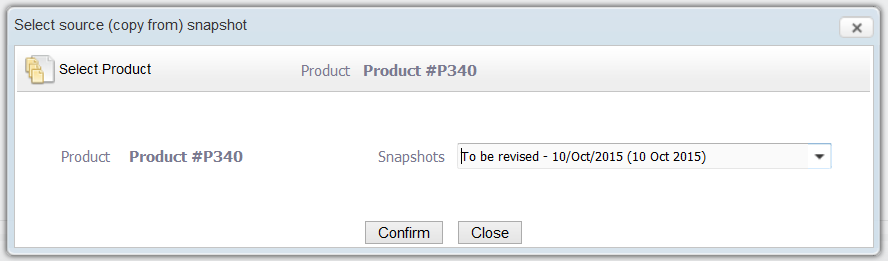
 icon.
The Product Selection dialog box is displayed.
icon.
The Product Selection dialog box is displayed.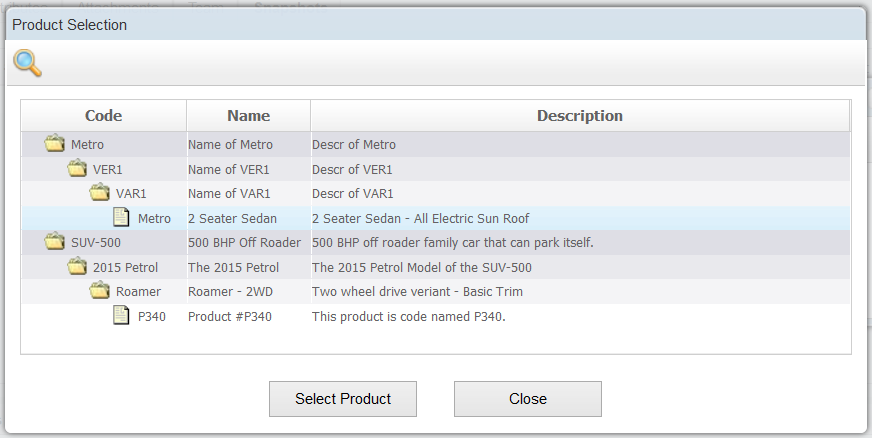
 icon.
A confirmation dialog box is displayed.
icon.
A confirmation dialog box is displayed.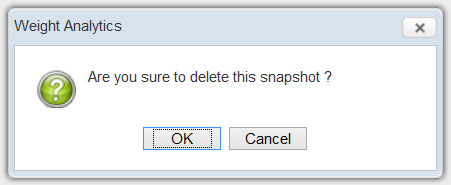
 icon to initiate recalculation of the weight in the selected Snapshot.
Every time the weight of a part is changed in the Snapshot, you must perform the recalculate operation again. This icon will automatically be enabled whenever a Snapshot is changed.
icon to initiate recalculation of the weight in the selected Snapshot.
Every time the weight of a part is changed in the Snapshot, you must perform the recalculate operation again. This icon will automatically be enabled whenever a Snapshot is changed. icon to initiate recalculation of the cost in
the selected Snapshot.
Every time the cost of a part is changed in the Snapshot, you must perform the recalculate operation again. This icon will automatically be enabled whenever a Snapshot is changed.
icon to initiate recalculation of the cost in
the selected Snapshot.
Every time the cost of a part is changed in the Snapshot, you must perform the recalculate operation again. This icon will automatically be enabled whenever a Snapshot is changed. icon to customize the columns view.
 icon is displayed.
