Create a Reduced-Order Model (ROM) of a Mass Spring Damper System using Machine Learning
Tutorial Level: Intermediate Create a ROM of a dynamic system using romAI.
Prerequisites for this Tutorial
Files for This Tutorial
TrainingDataset.csv; mkc_linear.scm
Overview
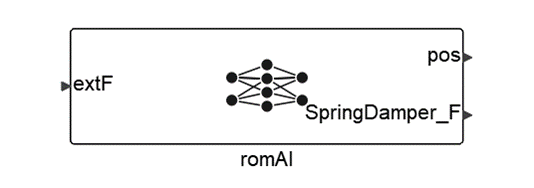
Given an arbitrary physical problem that is modeled with an arbitrary software, the goal of romAI is to transform the problem into a ROM block that contains:
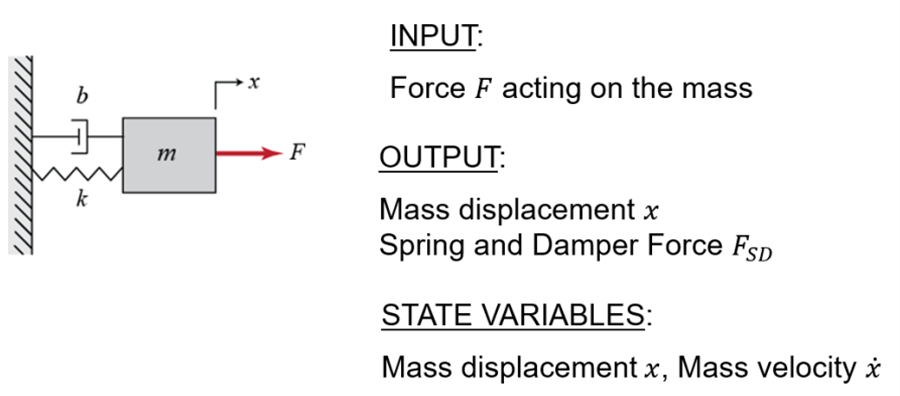
- Inputs and outputs
- State variables
- Characteristic parameters
For detailed information about romAI, its technology, and other uses, refer to in the romAI Director dialog box.
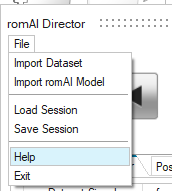
The romAI eLearning explains the tool in detail with short videos.
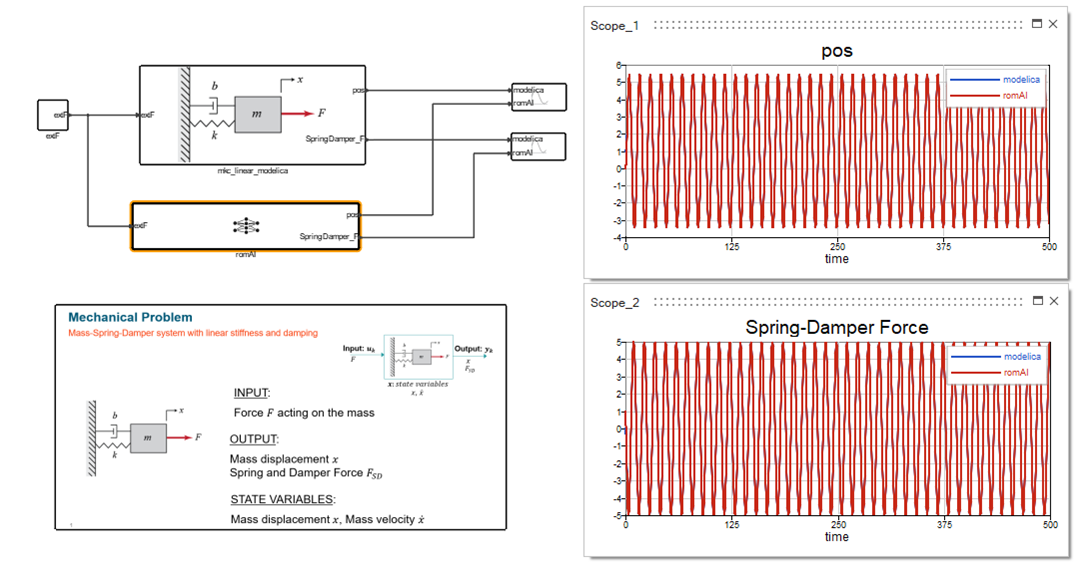
The model covered in this tutorial is a mass-spring-damper system, shown in the figure below.
The goal is to generate a ROM of this dynamic system, based on simulation data. After the training, a block will represent this system with its inputs, outputs, and states.
- Preprocessing
- Training
- Evaluation
- Deployment
Preprocessing
The data that will be used for training must be saved as a .CSV or a .MAT dataset file to be imported into romAI Director.
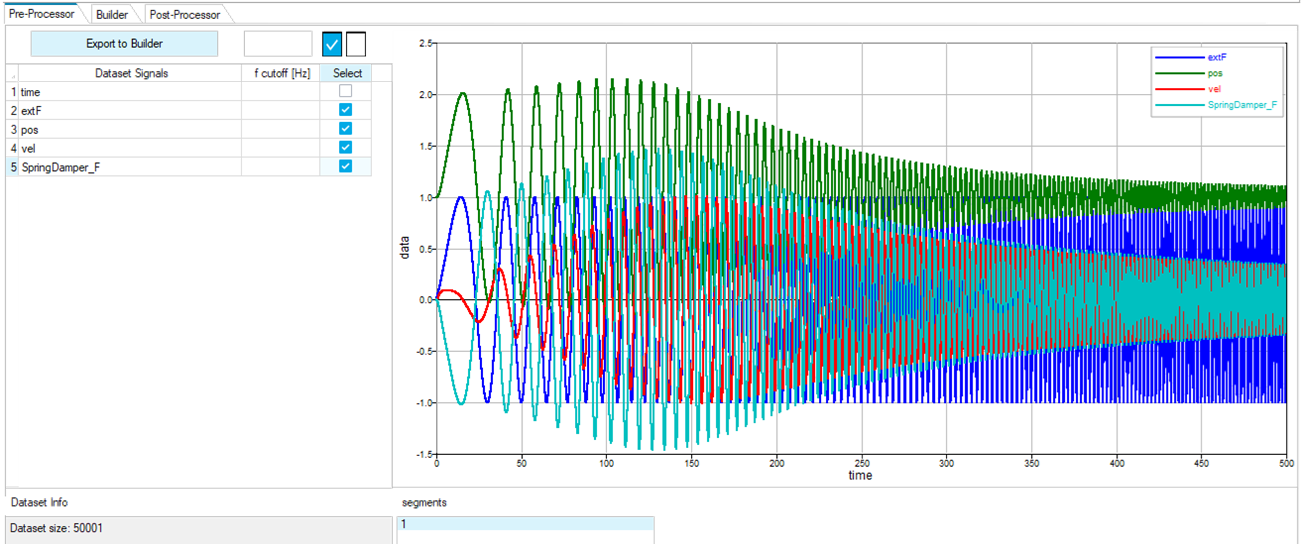
The Pre-Processor lets you select variables to appear on the Builder tab, in addition to automatically plotting them. This is useful as not all variables in the data set might be used for training the algorithm.
If the dataset is based on timeseries, you can apply a low-pass filter to each signal by setting the cut-off frequency.
-
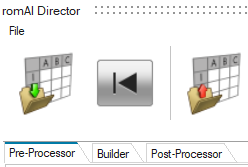
Open , and then open the Pre-Processor
tab.

-
Click the Import Dataset for testing icon, and select
the dataset TrainingDataset.csv.

-
Select the desired variables to be used in the Builder.
Training
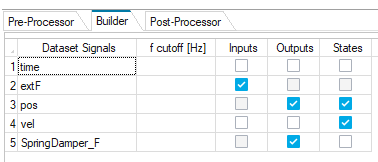
The Builder tab simplifies the training process. First, select a directory to write the outputs with the romAI name. Then, select the inputs, outputs, and system states along with the settings parameters.
Since the variables were already exported from the Pre-Processor, the Builder parameters can be easily set.
-
Set the output directory.

A subfolder is created inside this folder. Enter a name in the romAI Name field.
-
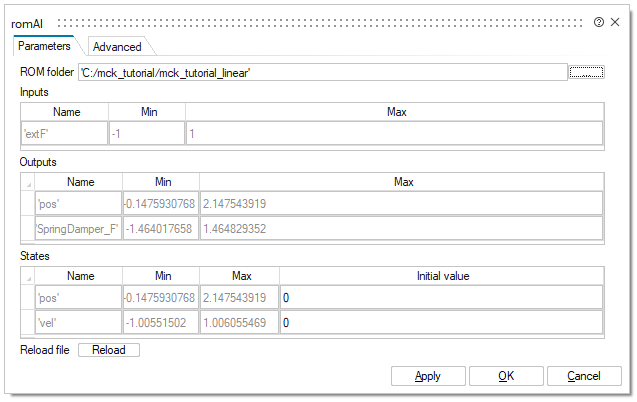
Define inputs, outputs, and states.
-
Set physical constraints.

If state variables exist, you can add physical constraints. It is possible for one state variable to be the derivative of another, and the romAI application can consider this to produce a better ROM.
-
Select the model type and training parameters.

Because this is a linear system, the settings are simpler and there is no need to specify model architecture parameters in detail.
In this case, 20% of the dataset is used for model validation and 80% for training.
The optimization algorithm runs for 10 epochs (iterations).
-
Click the Start Training icon.

Evaluation
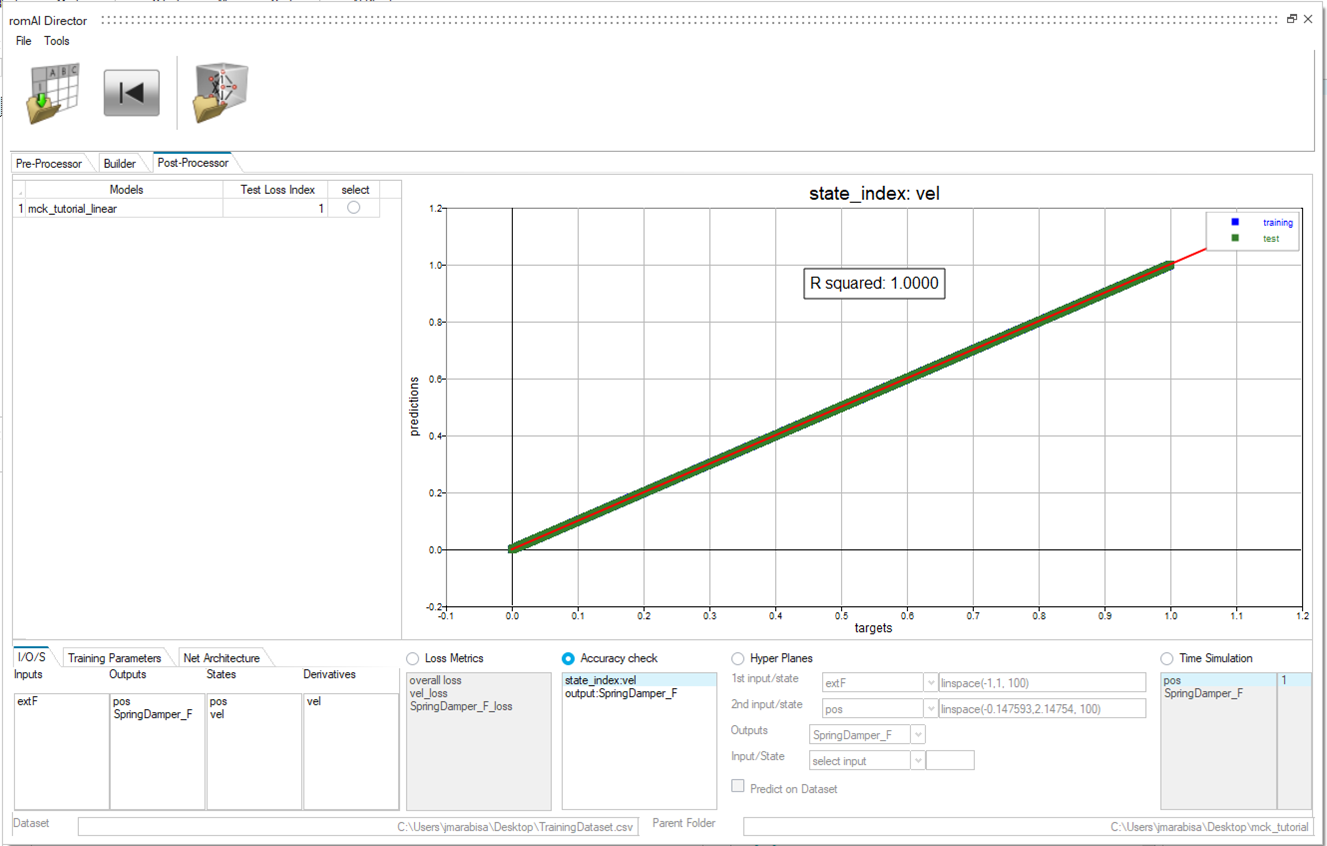
The Post-Processor tab allows for easy visualization and evaluation of the trained ROM. It opens automatically after model training.

- A lower training error indicates a more accurate ROM
- If the training and test loss are similar, then the training has converged.
If romAI is used to generate dynamic ROMs, it is important to have a tool that can easily perform preliminary time simulations to assess the accuracy of the transient behavior after the romAI model has been trained.
The Time Simulation tab is designed to perform time simulations in a single step. Click the Import Dataset for testing icon and select a dataset file.
A time simulation is initiated, and upon successful completion, the plot is updated.
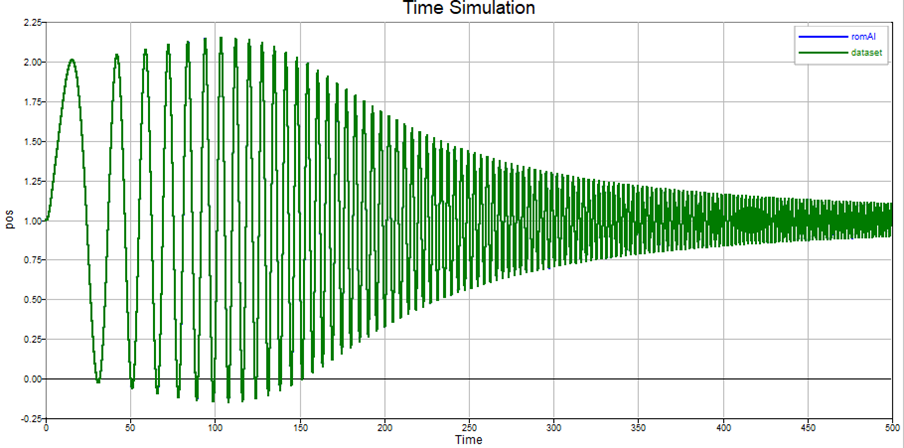
- Based on the inputs and initial state conditions in the dataset file, the romAI model produces the dynamic results (blue line).
- The target time history (green line).
Deployment
It is now time to utilize the trained algorithm in the Twin Activate environment.
-
From the Palette Browser, select

-
Drag the block into the modeling window and double-click it.
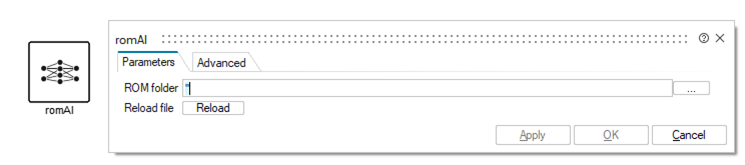
-
Select the directory that was previously chosen, and the block automatically
updates based on the selected romAI model.
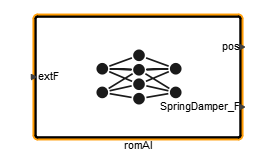
Use the input/output ports to connect the romAI block to other blocks.
The model mkc_linear.scm can be used to validate the new romAI model. However, before replacing the original romAI model with the new, save this Twin Activate file locally, to avoid changing the original file.
Finally, validate the model using the new romAI.