Create a Distant Light
Create and edit lights for the scene.
-
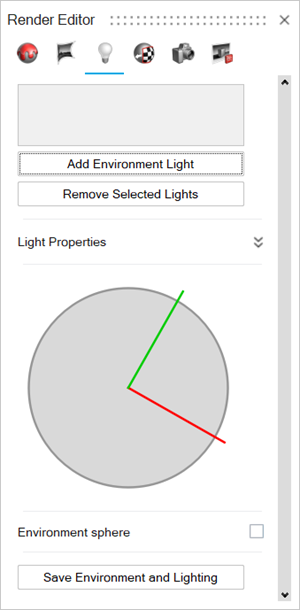
Click the Environment Lights tab in the
Render Editor.
-
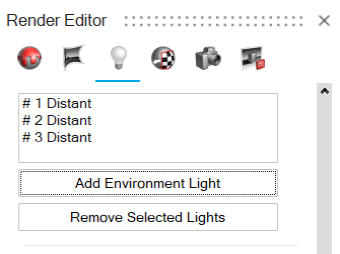
To add a light, click Add Environment Light.
The light appears in the list of lights currently being used in the scene.
-
Edit an environment Light Properties:
-
Click the light you would like to edit.
You can select the light by clicking the name of the light in the list of environment lights, or by clicking the light directly in the environment lights map at the bottom of the Render Editor.
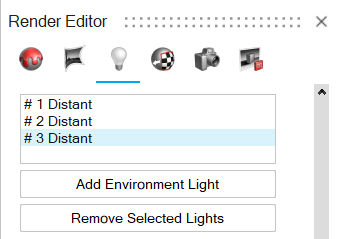
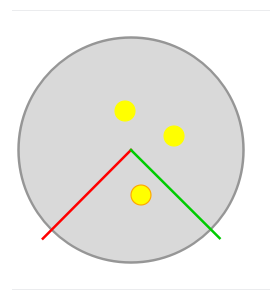
The selected light is outlined in red.
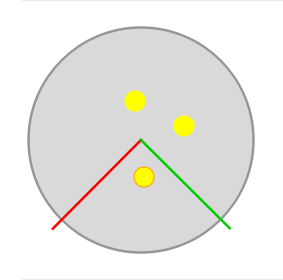
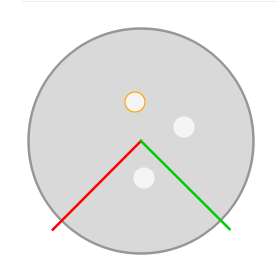
To Do this Turn lights on or off Under Light Properties, enable the On switch. Disable the switch to turn the light off. Lights that are on are highlighted yellow in the lights map. Lights that are off are grey.
Change the color of a light Under Color, select the color box directly in the Render Editor, or select the  icon and Select a
Color from the context menu.
icon and Select a
Color from the context menu.The Color window appears.
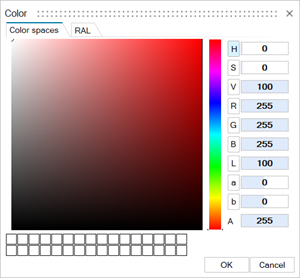
Choose the color you would like to apply to the selected light, then click OK.
Change the position of the light In the Render Editor, use the light map at the bottom of the panel to drag and reposition individual lights. Click a light directly in the light map, then drag it to reposition it. The lights in the scene will automatically shift positions. Change the intensity Enter a value for Intensity. Change the size of a light Enter a value for Size. Visualize and edit the lights directly in the modeling window Enable Environment sphere. A sphere appears in the modeling window with a visualization of the current lights and positions. 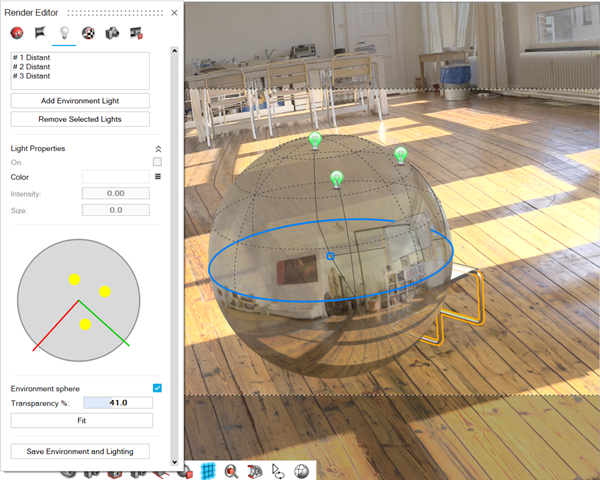
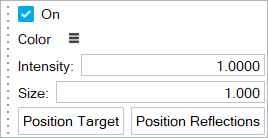
Use the environment sphere in the modeling window to move and edit the lights. Selected lights are outlined in yellow. Click a light and drag it to move it. Multi select lights using Ctrl+Click to reposition multiple lights simultaneously. Use the editing context menu to turn lights on or off, change the color, intensity, and size.
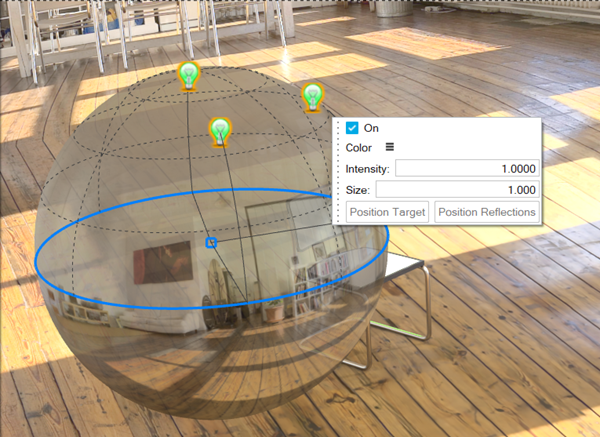
Position the targets and reflections using the context menu in environment sphere mode.
Edit the Transaparency of the environment sphere.
Click Fit to XXX.
Remove lights Select a light in the list of lights or in the lights map at the bottom of the window, then click Remove Selected Lights. -
Click the light you would like to edit.
-
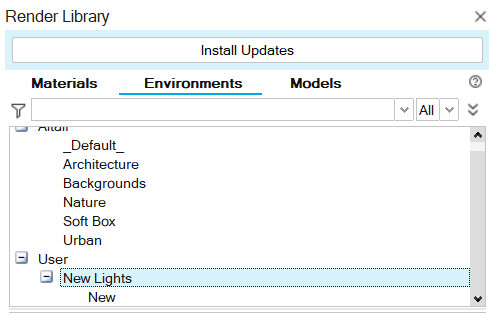
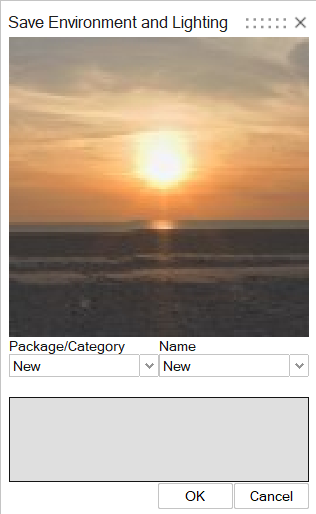
To save the environment and lighting parameters to use as a preset, click
Save Environment and Lighting.
The Save Environment and Lighting window appears.
-
Enter a name for the Package/Category and
Name fields, then click
OK.
The environment you saved appears under User in the Environment Library browser.