Use the Mold Insert tool to define a desired cavity shape or temperature effect in a
particular region of a part during molding.
Location: Molding tab, Tooling secondary
ribbon
A mold insert is created separately from the mold block. The default material for a mold
insert is steel. Mold inserts are not part of the finished product.
Add/Edit Mold Insert
If you haven't designed any mold inserts in a CAD tool, you can create and edit
virtual inserts in Inspire Mold.
You need to create a mold before you can create mold inserts.
Click the Tooling icon.
Click Add Mold Insert on the Mold
Insert icon.
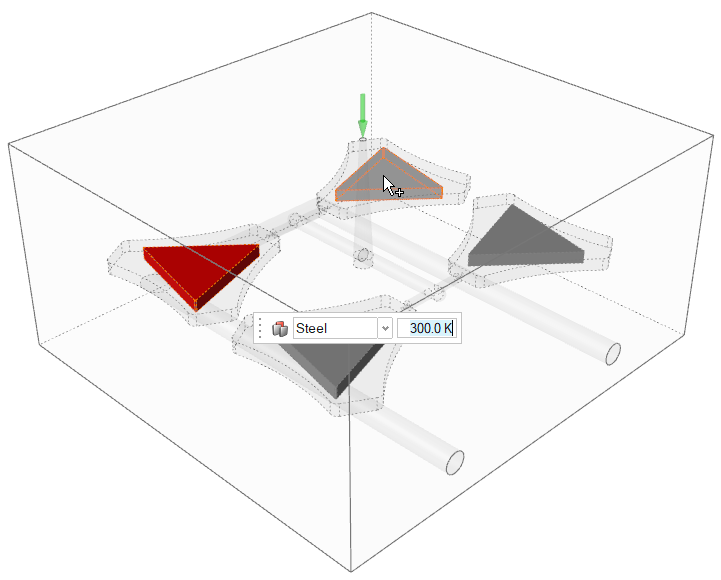
Cavities will be filled with potential insert parts.
Click the insert parts that you want to use.
Use the microdialog to select each insert's material and initial
temperature.
Note: Each insert's material and temperature is defined
separately.
Right-click and mouse through the check mark to exit, or double-right-click.
To edit the insert, open the Create Inserts construction feature in the
Construction History window.
Designate a Mold Insert
Identify any mold inserts you've already designed in a CAD tool.
Click the Tooling icon.
Click Designate Mold Insert on the Mold
Insert icon.