
Cooler
Use the Cooler tool to define a cooling system that provides heat dissipation and maintains a constant temperature relative to the mold. This helps ensure tension-free cooling of the molded parts.
Location: Molding tab, Tooling secondary ribbon

Add/Edit Cooler
If your imported CAD geometry does not include coolers, you can create and edit virtual coolers in Inspire Mold.
-
Click the Tooling icon.

-
Click Add/Edit Cooling System on the
Cooler icon.

-
Sketch the cooling lines.
- Click to create each point of the cooling lines. The points must be positioned on a single surface.
- You can resize a line by entering a length.
Tip: To create a perpendicular line, hold down Shift while clicking.
-
Right-click to create the cooler.
The cooler channels are created and moved close to the model.
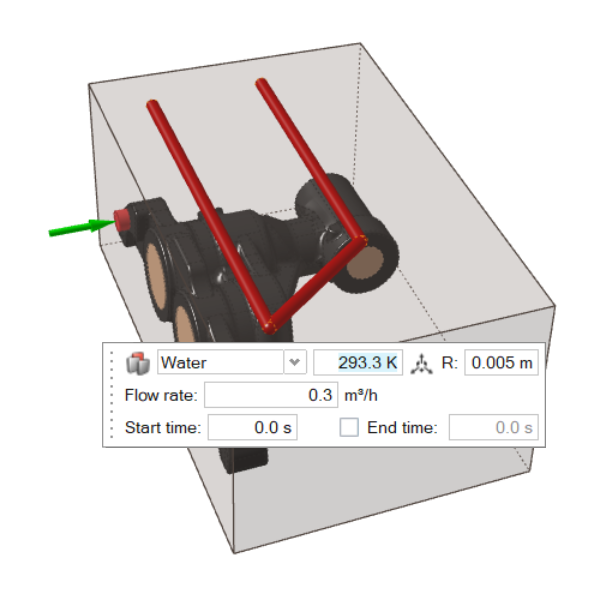
- To edit the cooler, use the microdialog options to define the coolant material, the temperature, position, and diameter of the cooling system, coolant flow rate, and if needed, start and end time.
Designate a Cooler
Identify any cooling lines you've already designed in a CAD tool.
-
Click the Tooling icon.
-
Click Designate Cooler on the
Cooler icon.

- Select the predesigned cooling system.