Use the Gate Optimization tool to automatically create and position gates to minimize
potential defects in the finished part.
Location:
In Quick mode, find this tool in the Gating secondary ribbon.
In Advanced mode, find this tool in the Runner System secondary
ribbon.
Optimize Gates
Inspire Mold can help optimize the locations of gates in your
model.
You must first define a part cavity.
In the Quick ribbon, click the Gating icon.
OR In the Advanced ribbon, click
the Runner System icon.
In the sub-ribbon, click the Gate Optimization
icon.
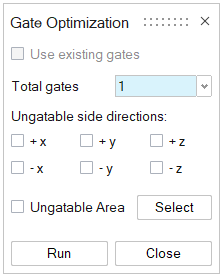
The Gate Optimization dialog opens.
Select Use existing gates to keep any gates that are
already part of the model. Set the desired number of gates to optimize in the
Total gates menu. If desired, select ungatable
directions and/or ungatable surfaces. Click Run.
Note:
If Use existing gates is not checked,
Inspire Mold will remove all gates. The
Gate Optimization tool will create new
optimized gates.
If you create more than one gate, you will not be able to use the
Create Runner tool to build a runner
system.
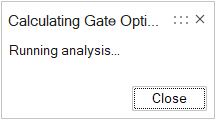
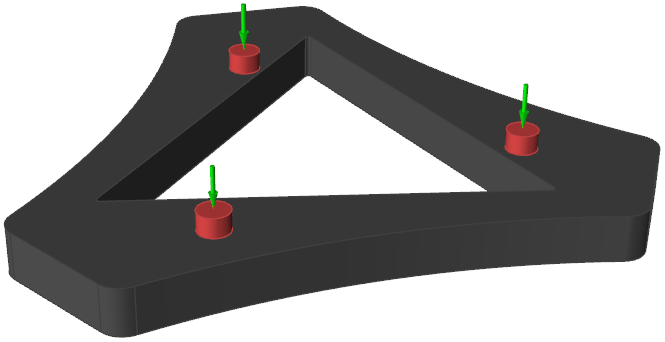
The Calculating Gate Optimization window appears. This operation may
take several seconds, depending on the complexity of the model. Finally, the optimized gates appear on the model:
Note: You can manually change the size, shape, and
position of optimized gates.