
Gate
Use the Gate tool to define the joint between the runner and the part where the material enters the cavity.
Location:
In Quick mode, find this tool in the Gating secondary ribbon.
In Advanced mode, find this tool in the Runner System secondary ribbon.
Add/Edit Gate
If your model geometry doesn't include gates, you can create and edit virtual gates in Inspire Mold.
-
In the Quick ribbon, click the Gating icon.

OR In the Advanced ribbon, click the Runner System icon.
-
Click Add Gate on the Gates
icon.

-
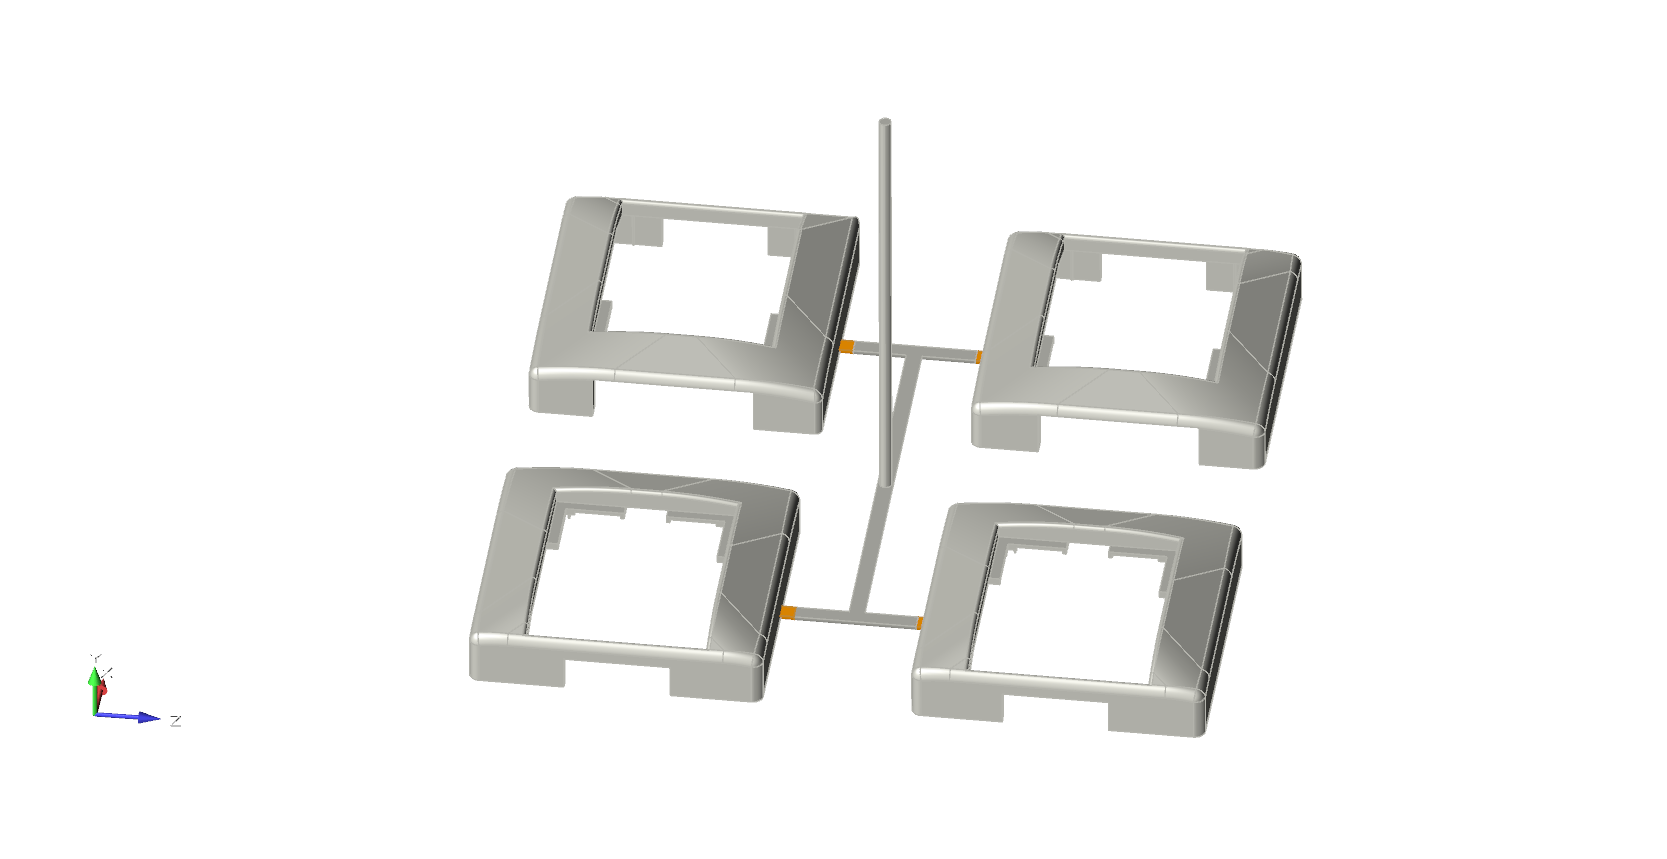
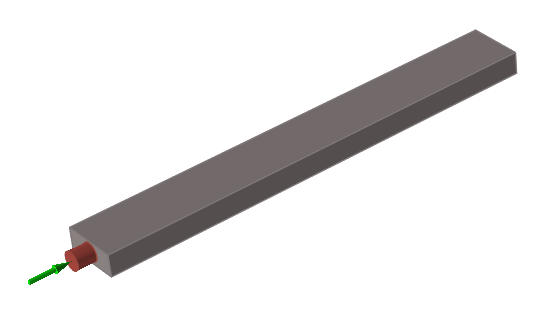
Click a surface on the part or runner to create a virtual gate.
Selected gates are displayed in dark red.
-
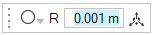
Use the microdialog options to define the gate's shape, dimensions, and
position, and disable flow tracing if desired.
Designate Gate
Identify any gates that are included in your model geometry.
-
In the Quick ribbon, click the Gating icon.
OR In the Advanced ribbon, click the Runner System icon.
-
Click Designate Gate on the Gates
icon.

-
Select any predesigned gates.
Selected gates are displayed in dark red.
- Double right-click to confirm the designated gates.
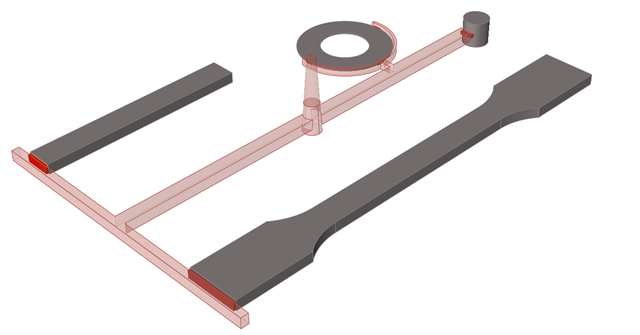
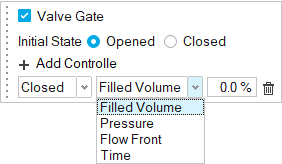
Valve Gates
Designate valve gates in the model.
Select gates to designate them as valve gates.
-
Click Select Valve Gates.

- Select a gate. Enable the Valve Gate option in the microdialog.
-
Set the gate's initial state to opened or closed, and add controllers to change
the gate's state as needed.
Note:- Two or more gates are required for this option.
- When you designate one gate as a valve gate, all other gates are automatically designated as valve gates with their initial state set to Open and with no controller.
- Each valve gate's controllers must be configured individually.
- At least one gate must start in the opened state.
- You may add more than one control to a single gate.
- You can set a gate's state to change based on filled volume, pressure at a selected point in the cavity, flow front position, or elapsed time.
- You can delay the state change until a set time after the change requirement is met.
Control Option Description Note Filled Volume Defines the control as a percentage of the total material volume. Enter the percentage. Pressure Defines the control as the pressure at a specified point on the model. - Enter the pressure.
- Click the point icon
 , then click a point on
the model where you want the specified pressure to
control the valve gate.
, then click a point on
the model where you want the specified pressure to
control the valve gate.
Flow Front Defines the control as the material flow at a specified point on the model. Click the point icon , then click a point on the
model where you want the flow front to control the valve
gate.Time Defines the control as a duration of time. Enter the time in seconds. Delay Execute the state change a set time after the change requirement is met. Enter a time in seconds.