Tutorial: Filling Analysis
Tutorial Level: Beginner Complete a resin transfer molding analysis.
In this tutorial you will learn how to submit a run starting with a model which is
already organized.
- Import the geometry
- Identify the parts
- Launch HyperXtrude solver to run Inspire Resin Transfer Molding analysis
- Post process the results
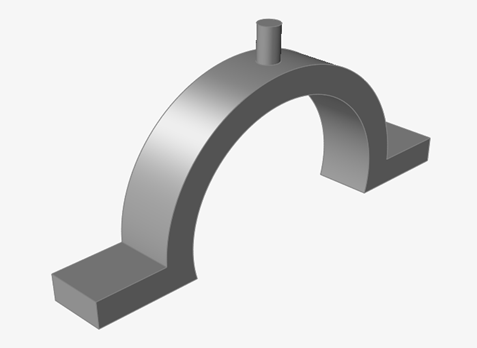
Open the Tutorial Model
- From the menu bar, select .
-
Browse to your working directory, select curved-plate.x_t,
and click Open.
Select Materials
-
From the Resin Transfer Molding ribbon, click the
Materials tool.

-
Ensure that you are using the default material data for this analysis.
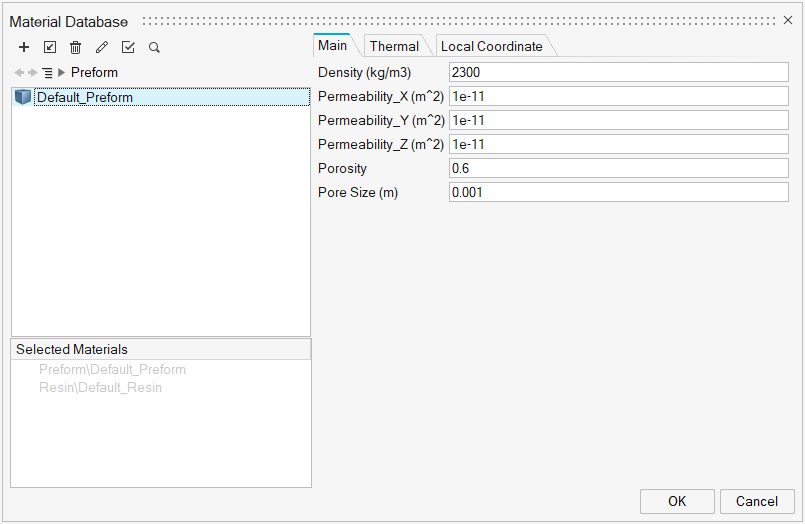
- Click OK to confirm.
Identify the Parts
-
Click the Part icon.

-
Select parts in the model,
and select the materials in the microdialog.
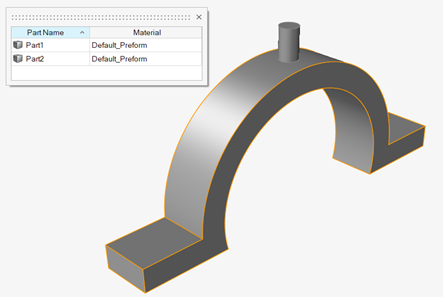
- Right-click and mouse through the check mark to exit, or double-right-click.
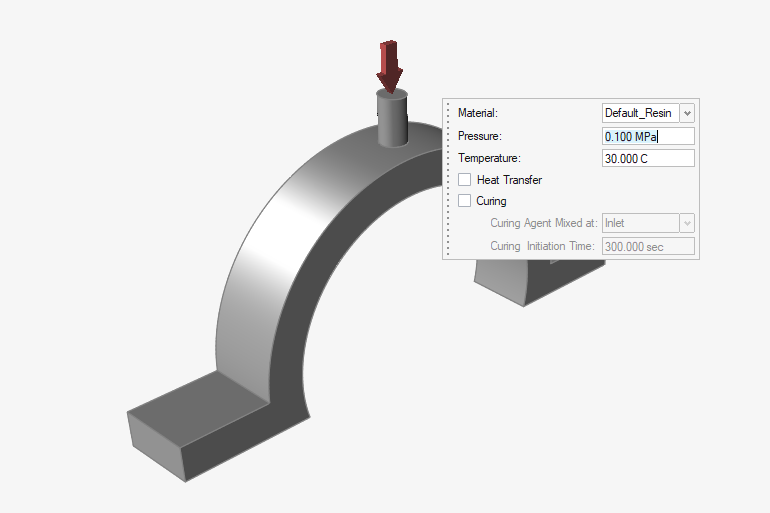
Identify Injection Point
-
Click the Process Data icon.

-
Click the Injection icon.

-
Select the injection face.
- Right-click and mouse through the check mark to exit, or double-right-click.
Identify Vents
-
Click the Process Data icon.
-
Click the Vent icon.

-
Select the vent faces.

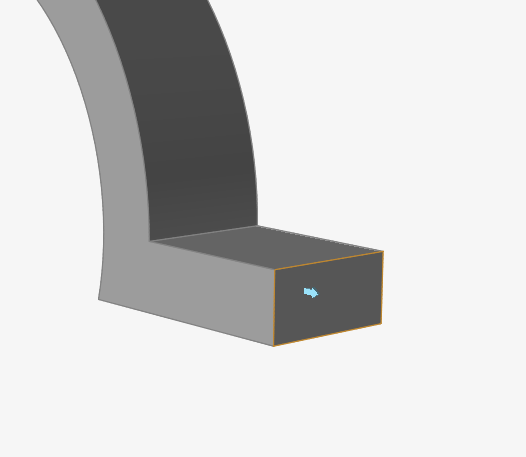
- Right-click and mouse through the check mark to exit, or double-right-click.
Submit the Job for Simulation
-
Click the Analysis icon.

-
Specify the parameters of the analysis process.
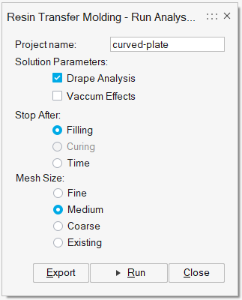
- Click Run.
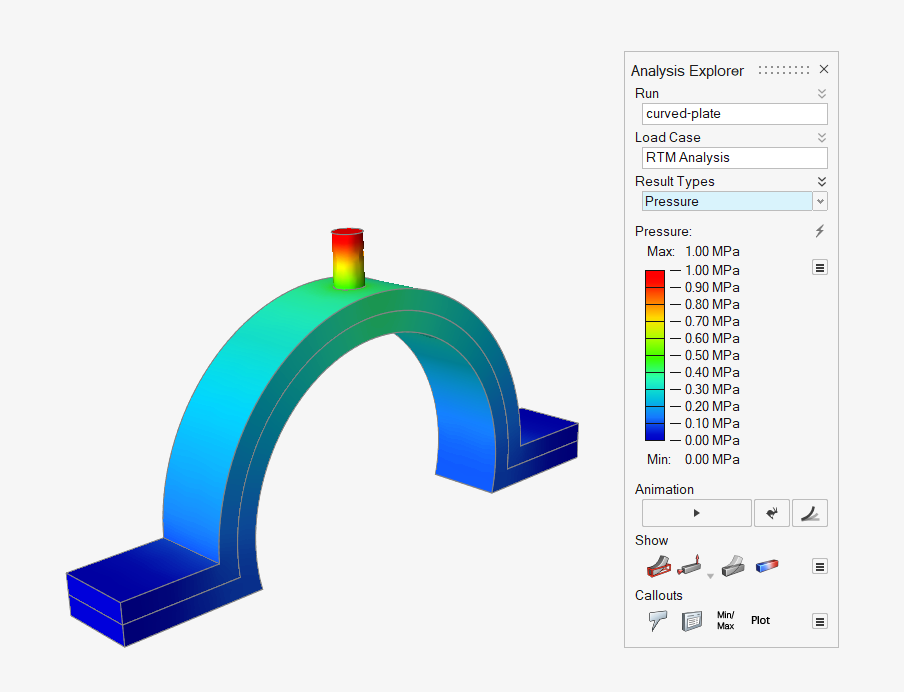
View Simulation Results
- When the analysis is complete, double-click the name of the run to review simulation results in the Analysis Explorer.
-
Select Result Type to review.
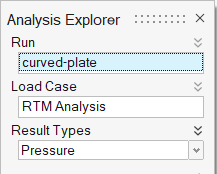
-
Click the Play button in the Animation ribbon.