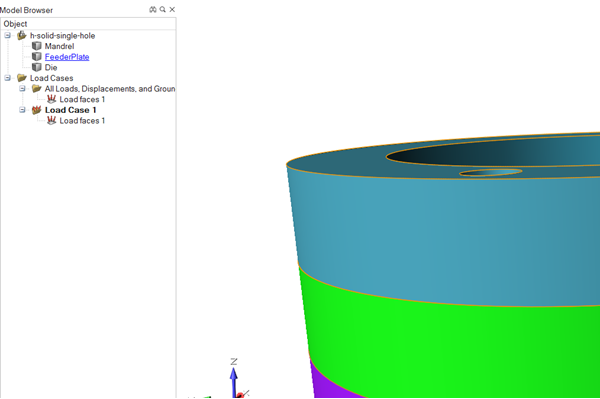
Setting up Load Faces
Use the Load Faces tool to add or remove load faces from the existing set of load surfaces.
All tool components should be visible/displayed.
- Click the Tool Deflection tab.
-
Click the Load Faces tool.

-
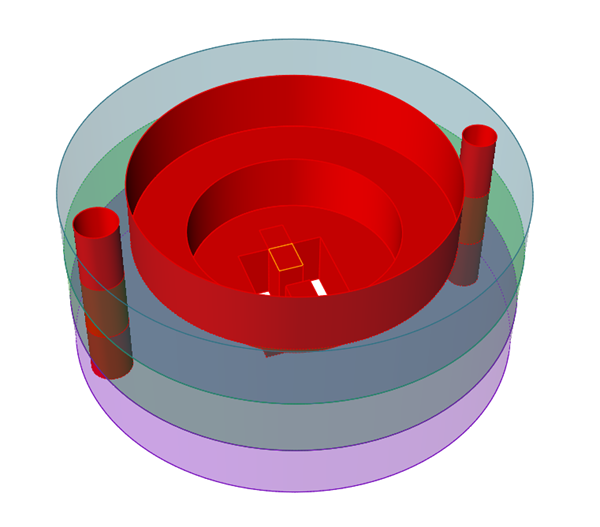
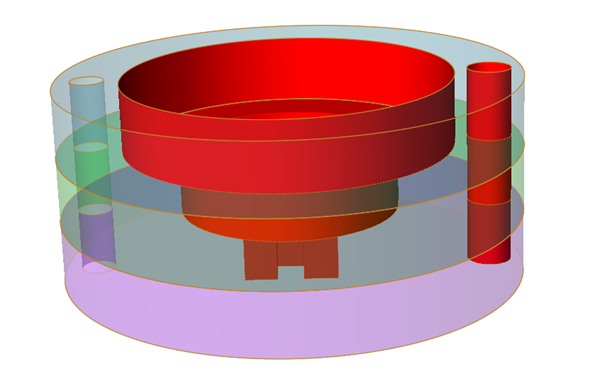
Inspire Extrude will automatically detect all of the load faces
where the material is in contact with the die assembly.
Automatically detected load faces are shown in red.
-
Press Ctrl and click surfaces on the model to add or
remove load faces by toggling between selected and unselected.
Press Ctrl and drag to draw a box and unselect a group of load faces even if they are hidden behind other layers.

To unselect a single load face behind another surface, select that front surface and press H to hide it first.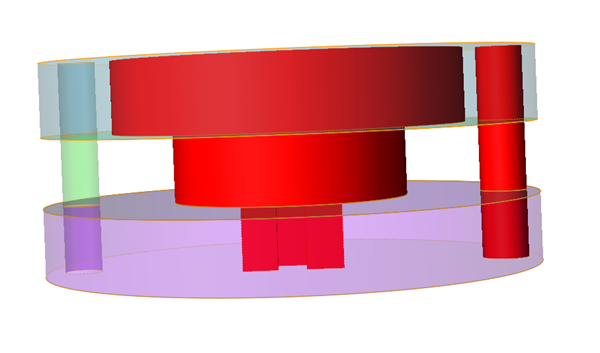

Note: Pressing H toggles the last selected surface between hidden and shown. Pressing S will show all of the hidden surfaces. - Right-click and mouse through the check mark to exit, or double-right-click.