Launch a Simulation via Linux Terminal

  1. Source set_nFX_environment.sh (*.csh) from the nanoFluidX installation directory.
    Note: This sets paths to the CUDA and MPI executables packaged with nanoFluidX.
  2. Navigate to the directory containing the nanoFluidX case (*.cfg and *.prtl files).
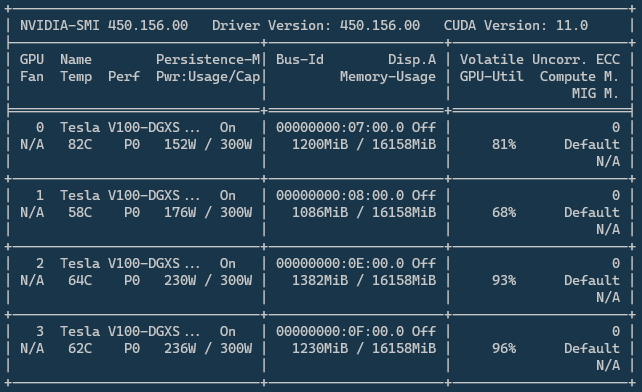
  3. Execute nvidia-smi.
    If NVIDIA drivers are properly installed, this command will show the available GPU devices are available.


    Figure 1.
    The number of GPUs should be determined according to the number of particles. Ensure there is at least 2M particles per GPU to scale efficiently. To quickly count the number of lines (particles) inside the .prtl file from the terminal, use the wc command:
    wc EGBX_1mm.prtl -l 
    5673046 EGBX_1mm.prtl 
  4. Once you know which GPUs to use, enter the launch command string:
    CUDA_VISIBLE_DEVICES=0,1,2,3 nohup mpirun -np 4 $nFX_SP -i EGBX_1mm.cfg &> output.txt &
    CUDA_VISIBLE_DEVICES=0,1,2,3 Set the GPUs you want to use, based on the GPU ID number. NB: If you are going to use all the GPUs in a machine then this is not required.
    nohup Prevent the case from crashing in case the sshconnection is interrupted.
    mpirun Launch OpenMPI
    -np 4 Number of GPUs/ranks to be used for the simulation. Must match the CUDA_VISIBLE_DEVICES setting
    $nFX_SP nanoFluidX binary. NB: On some systems this may require the full path to the executable
    -i EGBX_1mm.cfg Specify the input file (*.cfg) for the solver
    &> output.txt Pipe all the output to a log file (including error messages)
    & hang up (send the job to the background)