Add a New Scene
Capture the visualization state of 3D with the supported content using Scene Explorer.
-
Click Browser (
 ).
The Browser window displays the model parts of a 3D model.
).
The Browser window displays the model parts of a 3D model.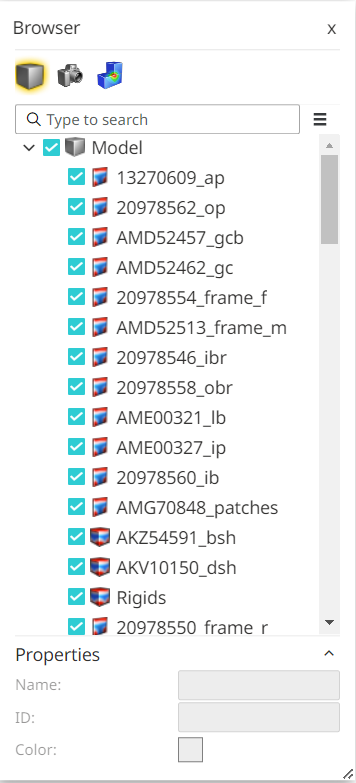
Figure 1. Browser -
To prepare a specific scene, hide certain parts of the
model. Right-click the required part on the 3D model file and click
Hide Selected from the context menu to hide it.
Tip: You can also see the model part is highlighted in the Models (
 ) pane.
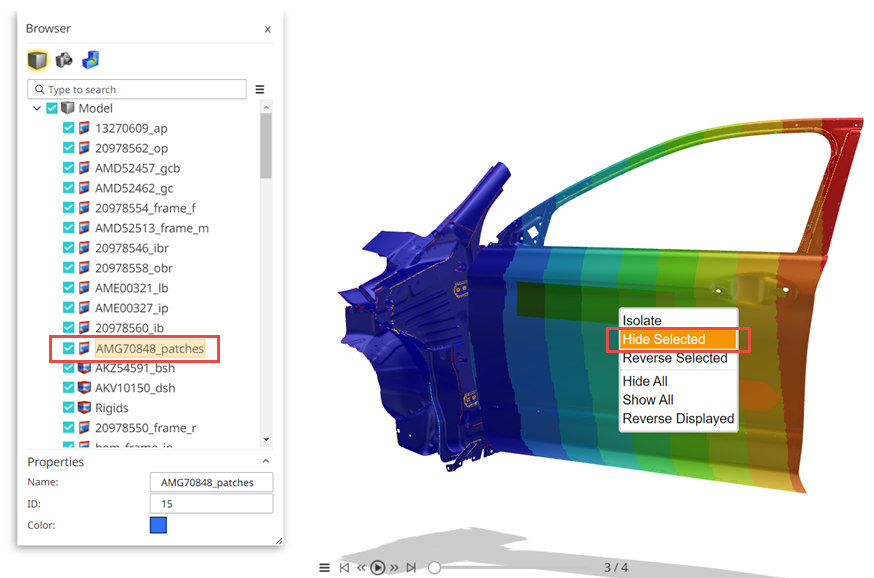
Figure 2. Hide a part of model -
You can also uncheck the specific model part by its name using the
Models ()
pane.
The selected model part is highlighted in the model window to confirm and hide it.
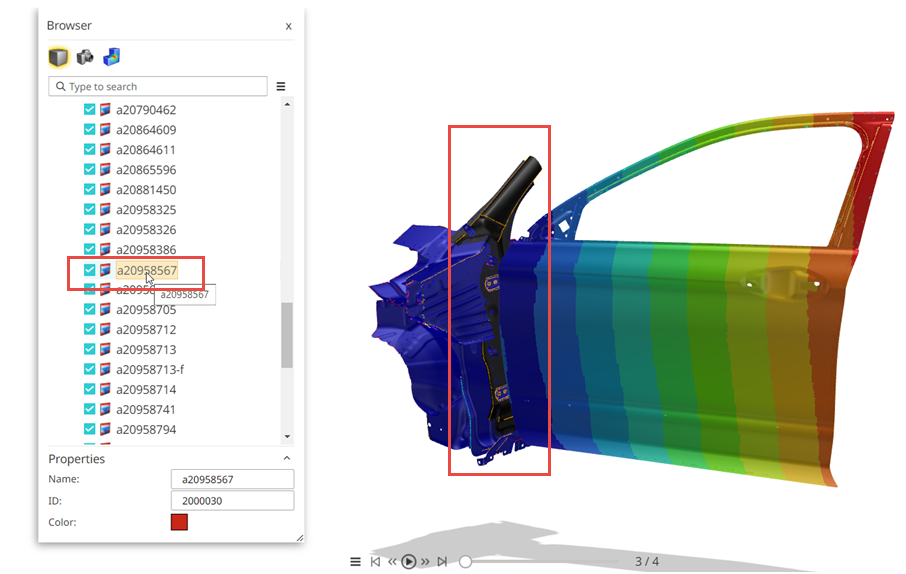
Figure 3. Select using the Model Part NameNote: You can also search for the model part name using the search field to hide it. -
Click Scenes (
 ) to create a scene.
-
On the Scenes panel, click
 to add a new scene.
An empty field is displayed.
to add a new scene.
An empty field is displayed.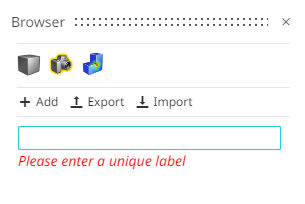
Figure 4. Add a New Scene -
Enter a name for the scene and press enter.
A new scene is added to the list.
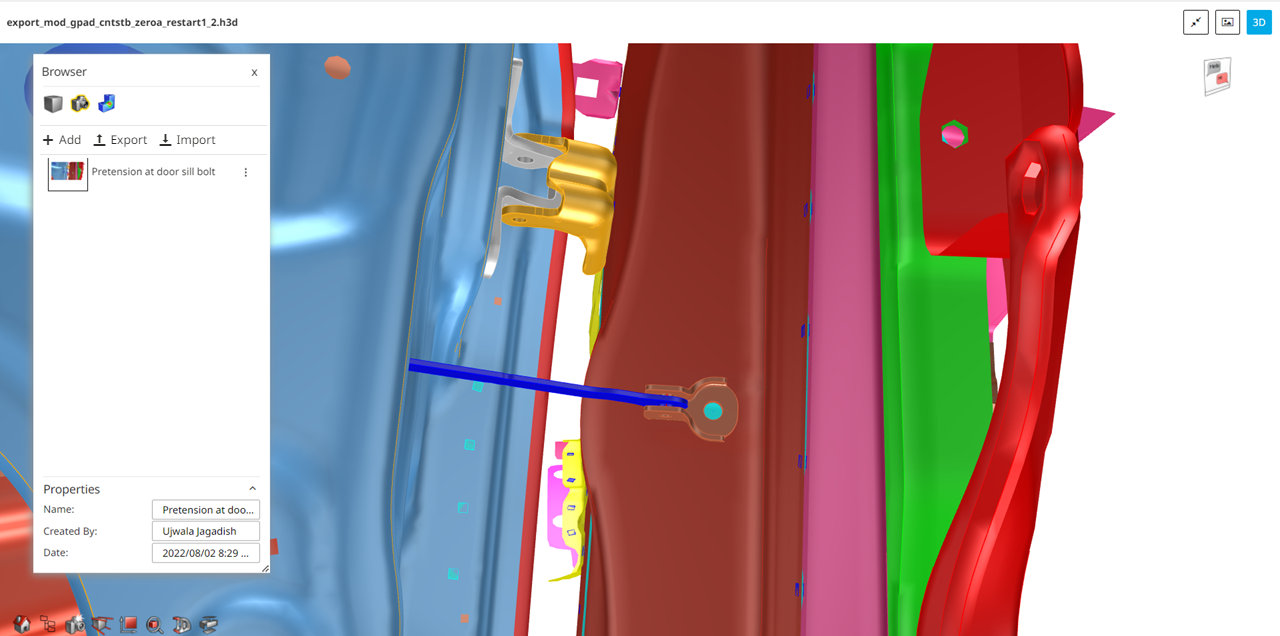
Figure 5. ScenesYou can Update, Rename and Delete the scene you created. Click
 beside the scene name to do the required
action.
beside the scene name to do the required
action.You can Export scenes as JSON files to your files location within Altair Drive, and also Import scenes from the model file stored in Altair Drive.