Example 3: Bistatic RCS of a Box
This case explains how to compute the bistatic RCS of a box.
Step 1
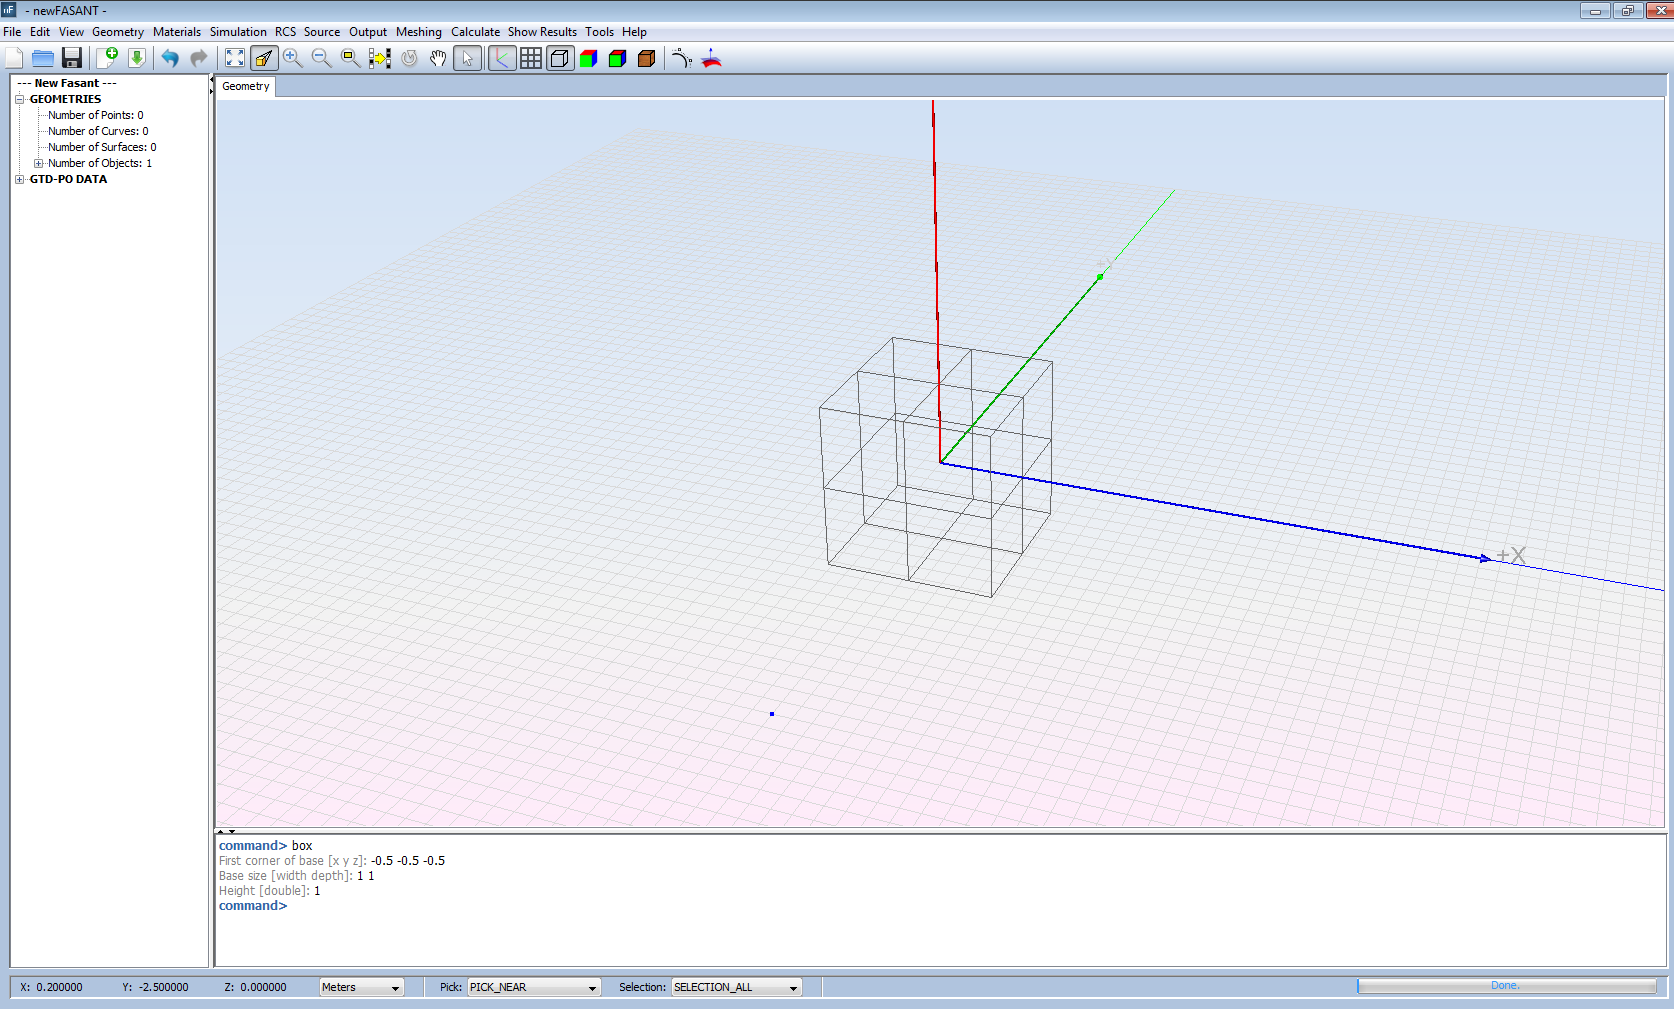
Start newFASANT.
Step 2
Select File and click on New.
Step 3
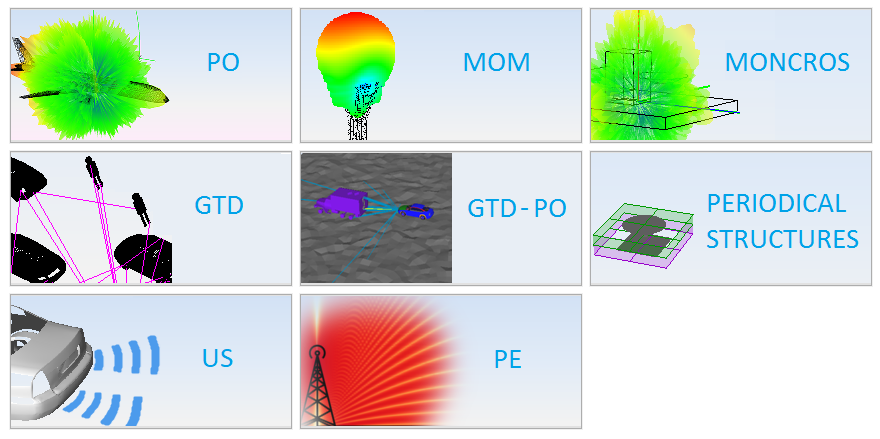
Select GTD-PO.
Step 4
Define the geometry of a box.
Step 5
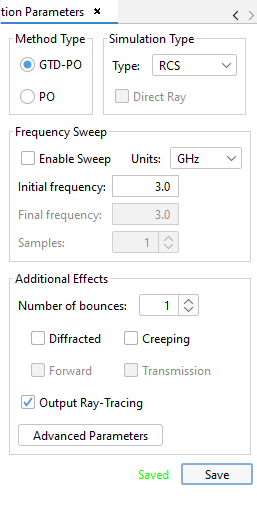
Click on Simulation -> Parameters to change the project parameters.
Step 6
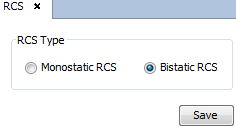
Click on RCS -> Parameters to set de RCS parameters of the project.
Step 7
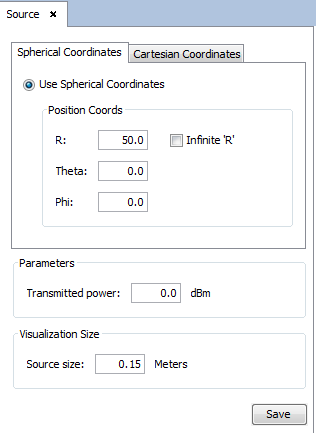
Click on Source -> Parameters to modify the source parameters for this project.
Step 8
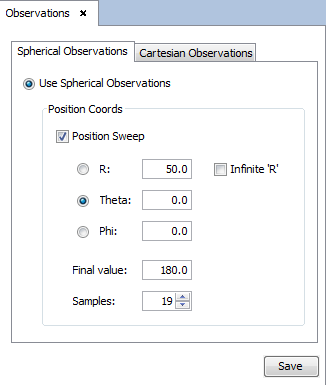
Click on Output -> Observation directions.
Step 9
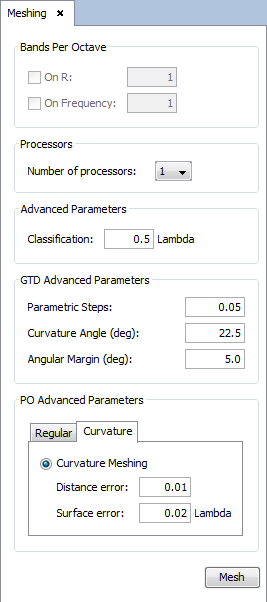
Before running this example, create the project mesh by doing click on Meshing -> Create Mesh.
Step 10
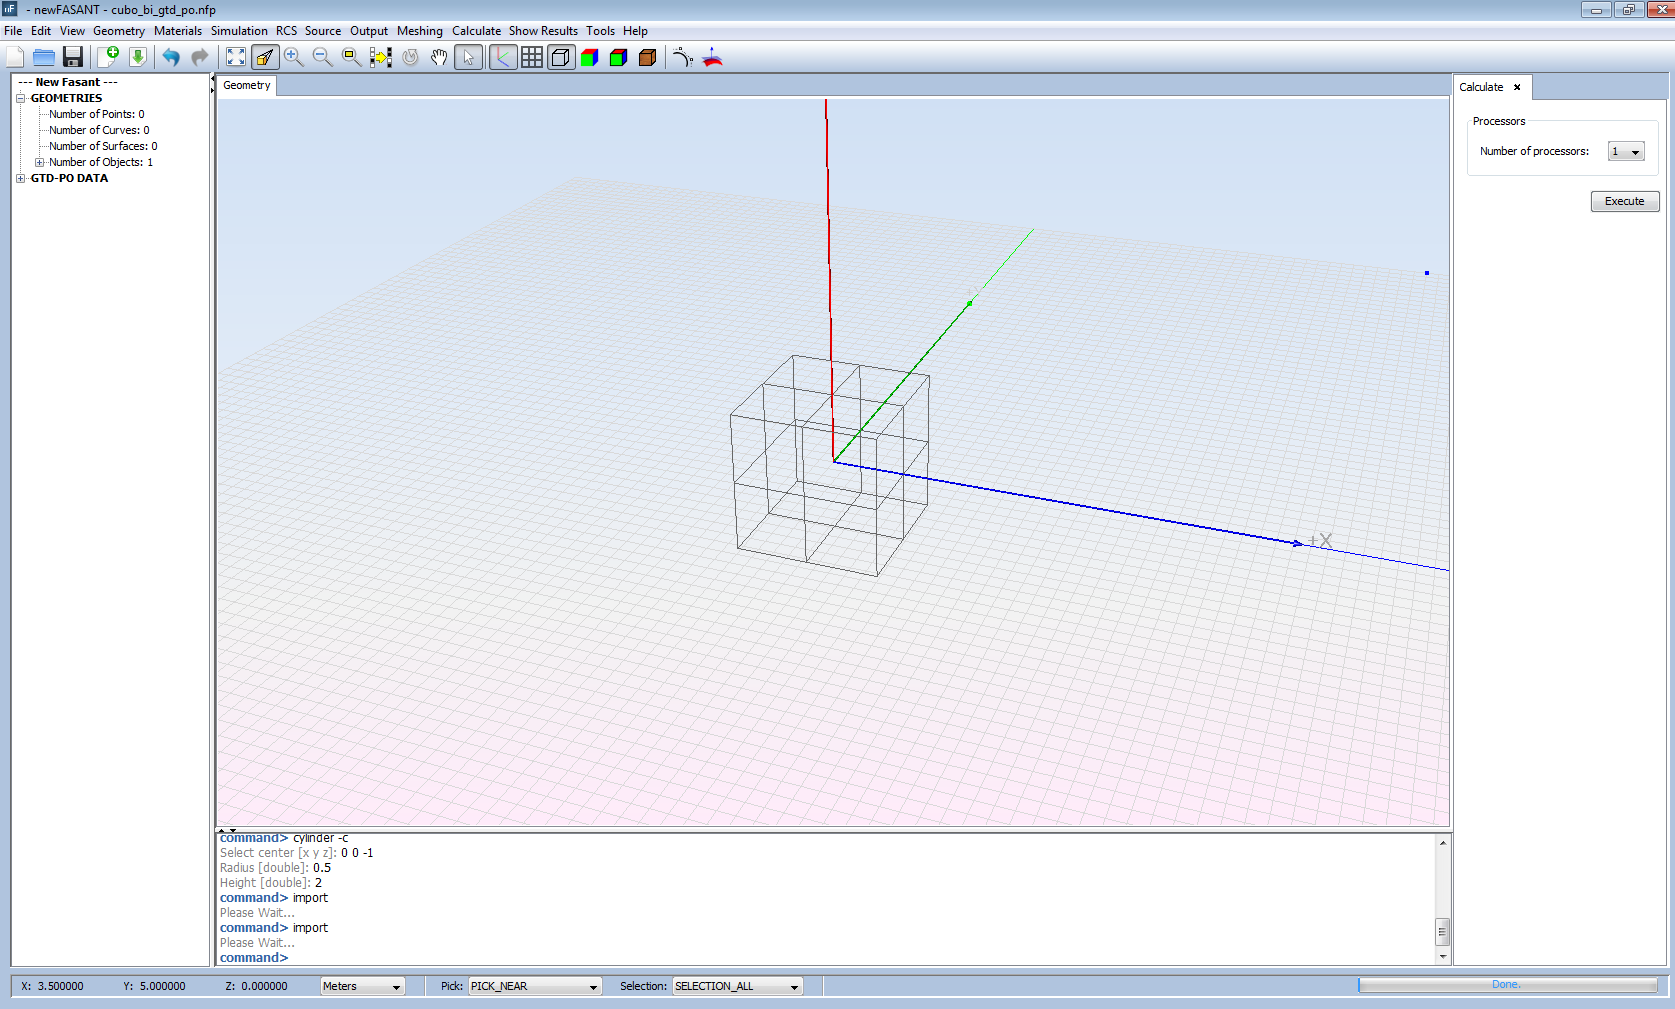
Now we are going to proceed to simulate the project.
Click on Calculate -> Execute and choose the number of processors to use for the simulation. Then click on the Execute button and wait until it ends.
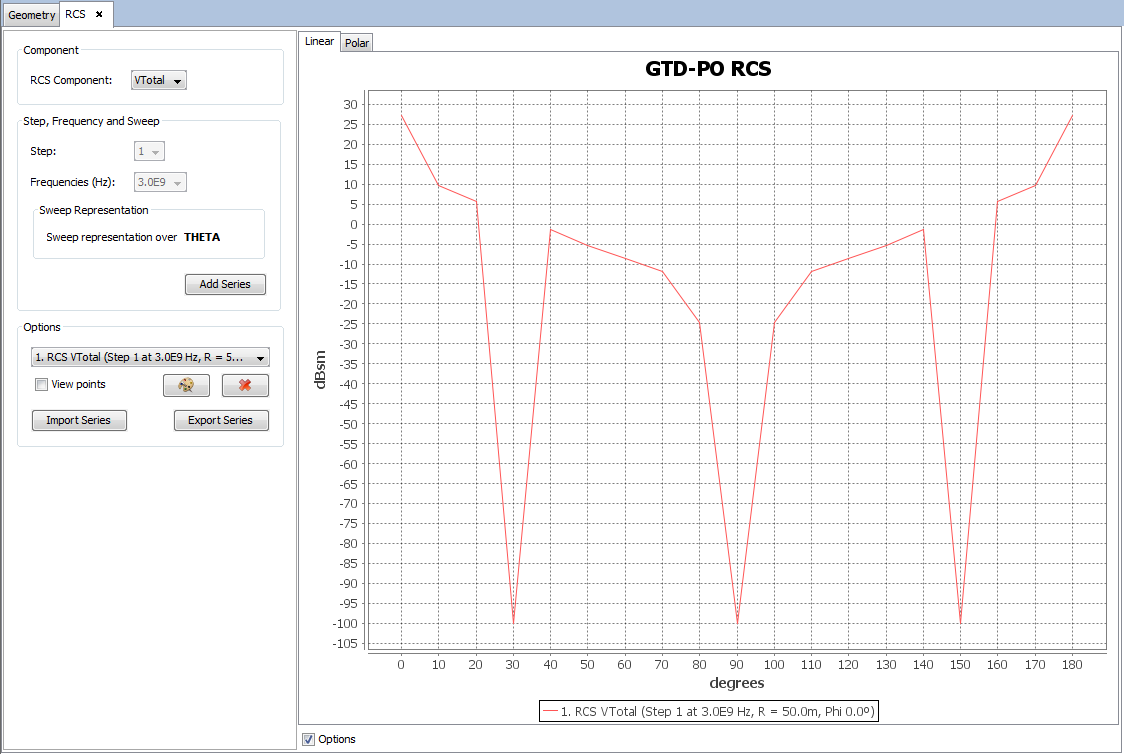
Step 11
Now you can see the results of the simulation by doing click on Show Results and selecting the desired results.