Log into Access Desktop and Register an HPC Cluster
Log into Access Desktop and register an HPC cluster so that you can begin submitting jobs to the Workload Manager.
Launch Access Desktop
Launch Access Desktop so that you can submit jobs to the Workload Manager.
Add a Cluster Using SSH
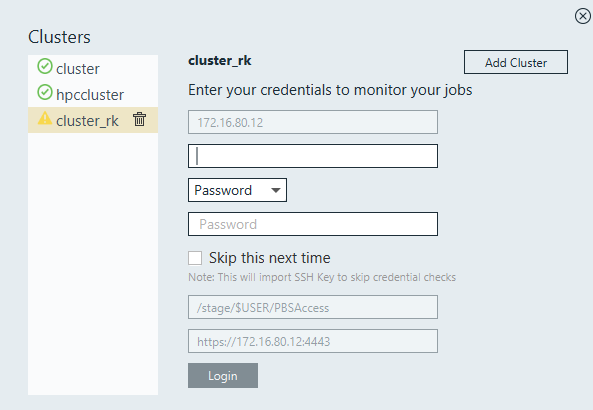
Add and establish a connection to the HPC or Workgroup using SSH by registering it so that you may begin submitting and monitoring jobs.
Select the Skip this next time option while registering a cluster to resume file uploads, downloads, and jobs after a network disconnection.
- Open the Windows system tray.
-
Double-click the Access Desktop icon
 .
.
-
Click
 .
.
-
Select Clusters.
A Clusters dialog box is displayed.
Figure 1. Add Cluster 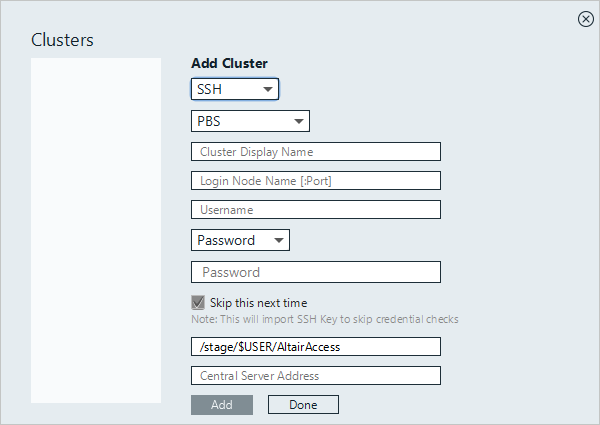
-
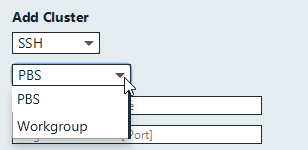
Choose one of the following options:
- Select PBS to add a PBS Server.
- Select Workgroup to add a Workgroup computer.
- For Cluster Display Name, enter a name for the cluster as it is displayed within Access Desktop.
-
For Login Node Name, enter the host name of the machine where the PBS Server is
installed.
Note: The default port number for SSH is 22. If SSH is configured to use a different port number add it along with the host name.
- For Username, enter your user name.
-
Choose one of the following options:
- Select Password from the drop down box and enter your password.
- Select SSH Key from the drop down menu and import the private SSH key file.
- Optional: If you have chosen to enter your password, you may enable Skip this next time, so that you do not have to enter your credentials again.
- Enter the location on the PBS Server where job files are staged when a job is running.
-
Choose one of the following options:
- If you have chosen to store your application definitions in a central
repository rather than on your workstation, enter the URL for accessing the
central repository in the format
https://<HOSTNAME>:4443 where <HOSTNAME> is
the hostname of the machine where Access Web is
installed.Note: If the central repository is being hosted on the PBS Server, then the URL is automatically populated.
- If you have chosen to store your application definitions locally, then remove the URL.
- If you have chosen to store your application definitions in a central
repository rather than on your workstation, enter the URL for accessing the
central repository in the format
https://<HOSTNAME>:4443 where <HOSTNAME> is
the hostname of the machine where Access Web is
installed.
-
Click Add.
Tip: Repeat the previous steps to add additional clusters.
-
Click Done.
The cluster is added successfully and a green check mark is displayed next to the cluster name.
Add Access Web Using HTTPS
Add and connect to Access Web server using HTTPS to submit and monitor jobs.
- Open the Windows system tray.
-
Double-click the Access Desktop icon .
-
Click .
-
Select Clusters.
A Clusters dialog box is displayed.
-
Select HTTPS from the drop-down list.
Figure 2. Adding a Cluster 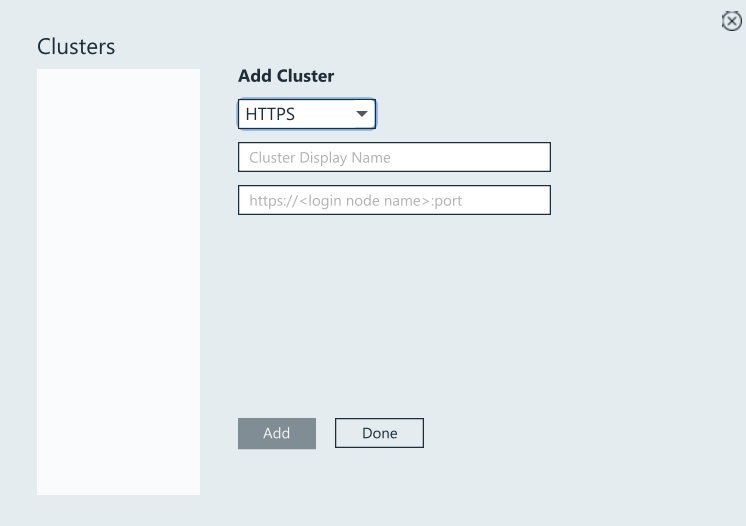
-
Enter a Cluster Display Name.
Note: You can use alphanumeric characters for a cluster display name.
-
Enter the Access Web URL in the format
https://<hostname>:4443. Hostname is the machine
where Access Web is installed.
Note: If a hostname is provided during the Access Web installation enter the Access Web URL using the hostname to register the HTTPS cluster. Similarly follow the same if IP address is provided.
-
Click Add.
A new web browser is launched and authenticates the user using the OpenID Connect (OIDC) and provides an authenticate code.
Figure 3. OIDC Authentication to Altair Access 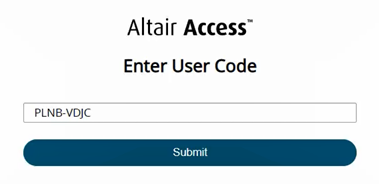
-
Click Submit.
The Access login page is displayed.
-
Enter your credentials.
Figure 4. Access Web Login 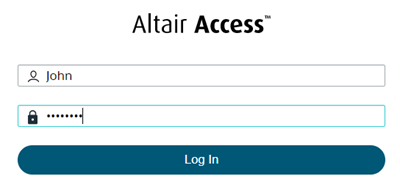
-
Click Log In.
Figure 5. Successful Login to Access 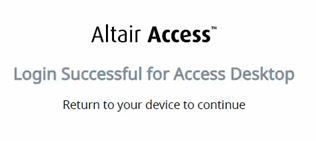
-
Close the browser. Return to the Access Desktop application; the
cluster is added, and a green check mark is displayed next to the cluster
name.
Figure 6. HTTPS Cluster Registered to Access 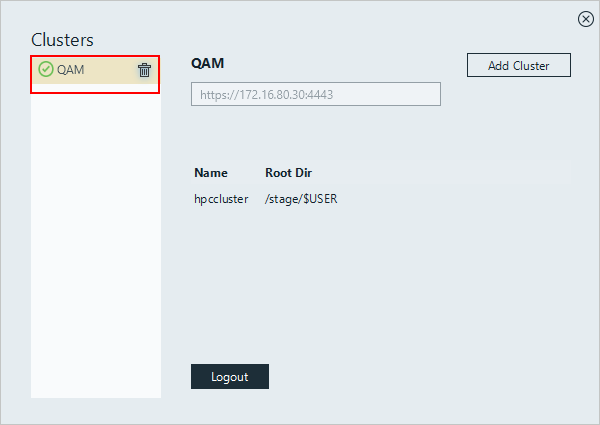
Tip: Repeat the steps to add an additional HTTPS cluster.
Add Altair One
Add and connect to Altair One server to submit and monitor jobs.
- Open the Windows system tray.
-
Double-click the Access Desktop icon .
-
Click .
-
Select Clusters.
A Clusters dialog box is displayed.
-
Select Altair One from the drop-down list.
Figure 7. Adding a Cluster 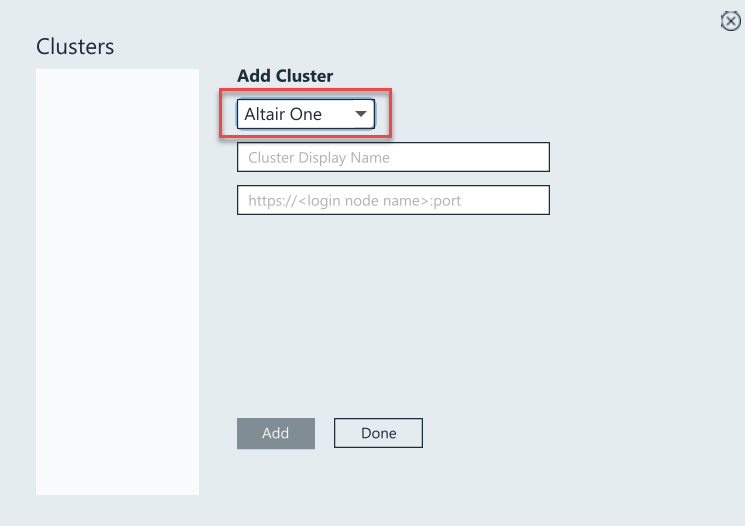
-
Enter a Cluster Display Name.
Note: You can use alphanumeric characters for a cluster display name.
-
Enter the Altair One URL https://www.altairone.com.
Figure 8. Connect to Altair One Server 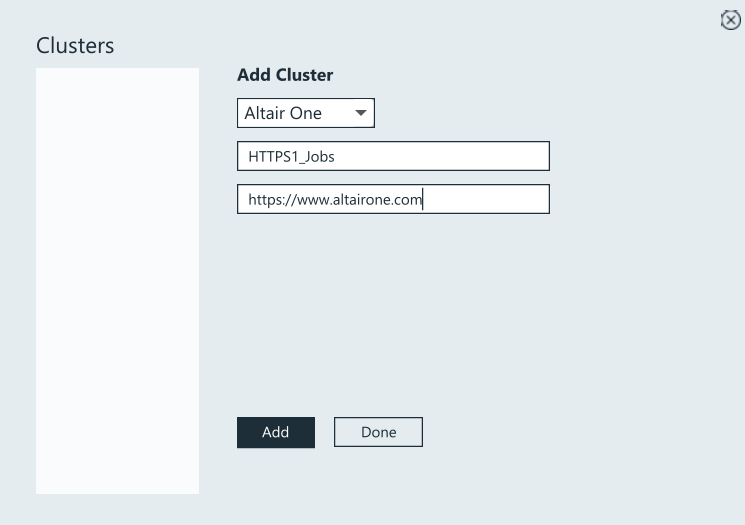
-
Click Add.
A new web browser is launched and authenticates the user using the OpenID Connect (OIDC) and provides an authenticate code.
Figure 9. OIDC Authentication to Altair One 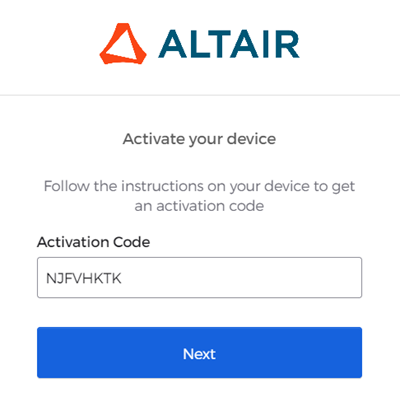
- Click Next.
-
Enter your Altair One login credentials.
Figure 10. Altair One Credentials 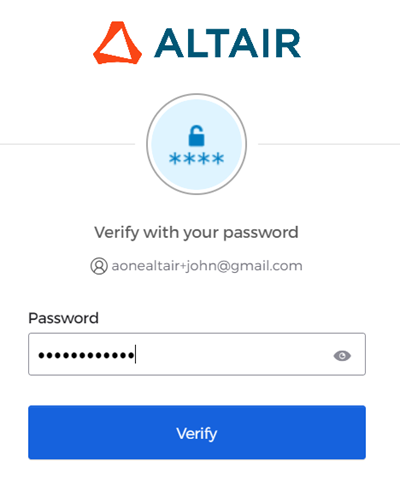
-
Click Verify.
The device is connected and activated.
Figure 11. Successful Login to Altair One 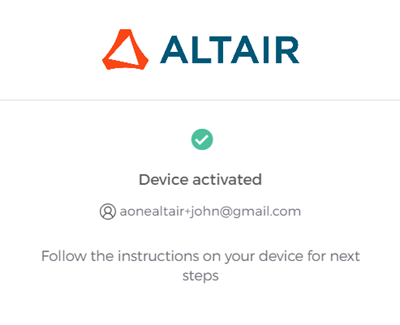
-
Close the browser. Return to the Access Desktop application; the
cluster is added, and a green check mark is displayed next to the cluster
name.
Figure 12. HTTPS Cluster Registered to Altair One 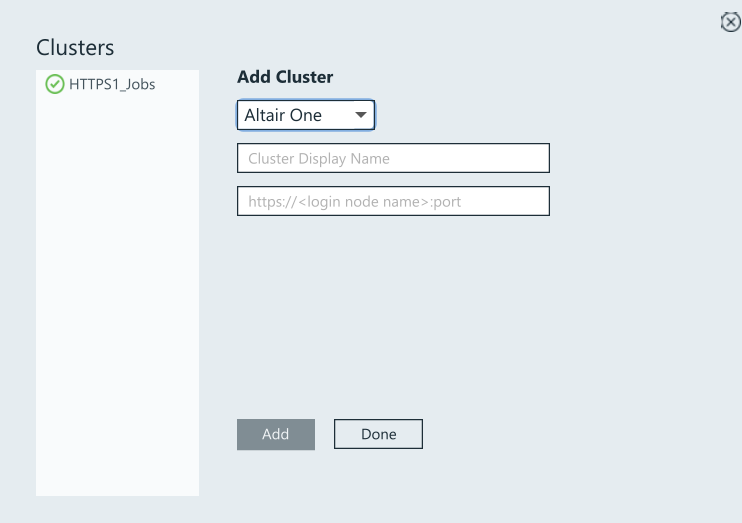
Log into Access Desktop
Login to Access Desktop to submit and monitor jobs.
- For Username, enter your username credential.
-
Choose one of the following options:
- Select Password from the drop down menu and enter your password.
- Select SSH Key from the drop down menu and import the RSA private SSH key file.
- Optional:
If you have chosen to enter your password, you may enable Skip this
next time, so that you do not have to enter your credentials
again.
An SSH key is generated and stored allowing you to login to the cluster without having to enter your credentials.