Labels enable you to categorize entities such as Things into
customer defined tags.
You can group labels to have a fast comprehension of the devices by using different
colors. They also allow you to organize and relate the Things
hierarchically.
An overview of the labels is shown as first view of the section. For each label the
user has to choose a name, description, ID and color.
Create a Label
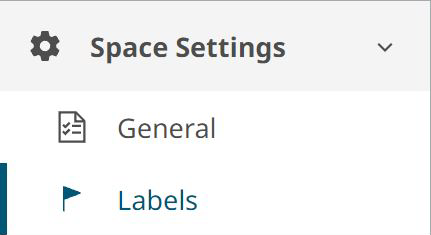
The Labels panel can be accessed by clicking Space Settings > Labels from the left menu. Figure 1.
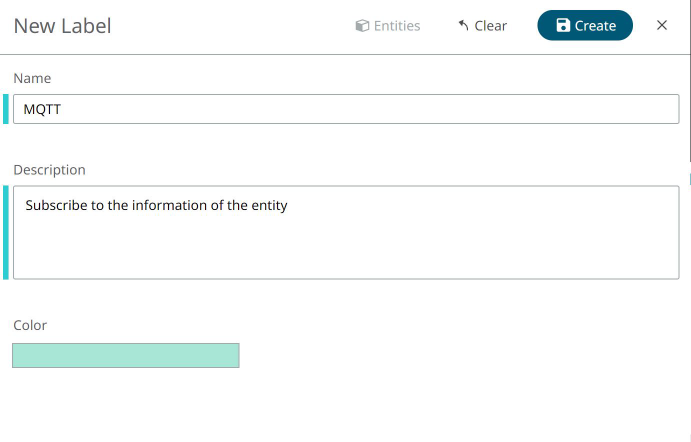
Click on New Label.
Name the new Label and complete its description and color. Click
Create.
Figure 2.
Note: Use the Clear button to reset the fields, if necessary.
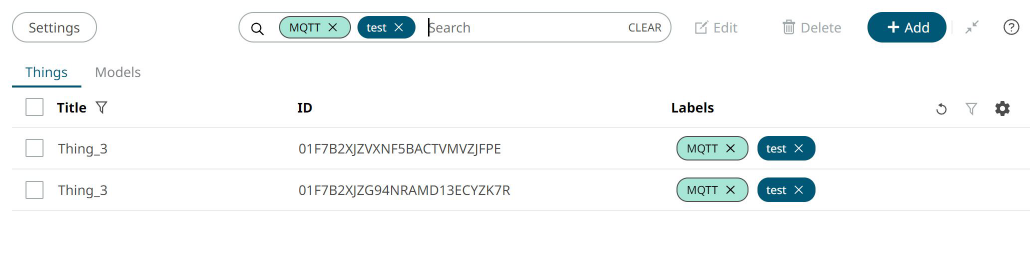
Tip: Use the search bar to search for Labels. You can search for
multiple labels at once. For example: Figure 3.
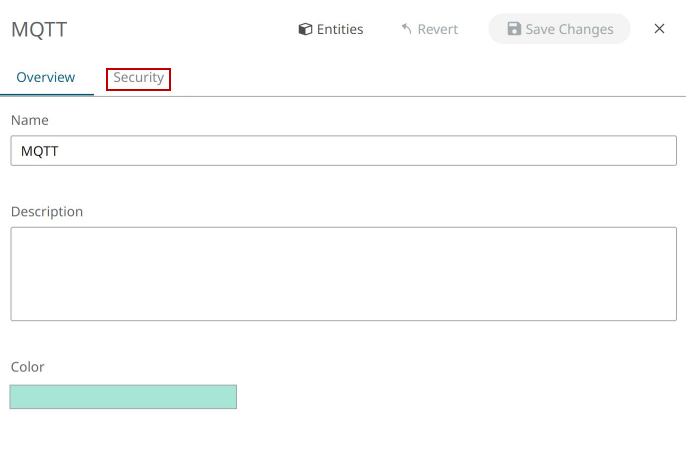
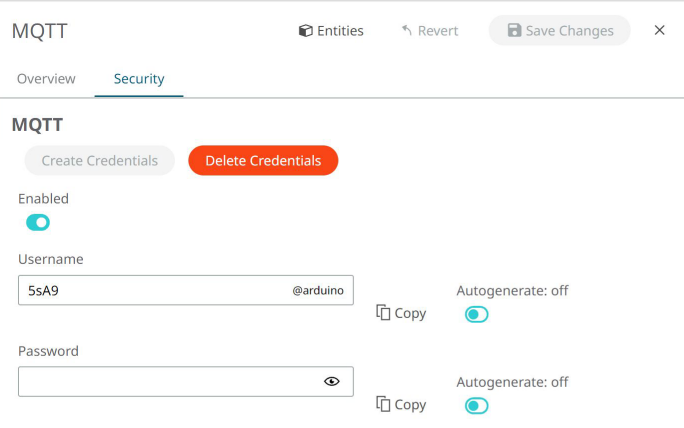
After a Label is created, click on the Security tab to
create it's MQTT credentials.
Figure 4.
Click Create Credentials.
Figure 5.
Switch Autogenerate to On, or enter your own credentials
and click Save.
Figure 6.
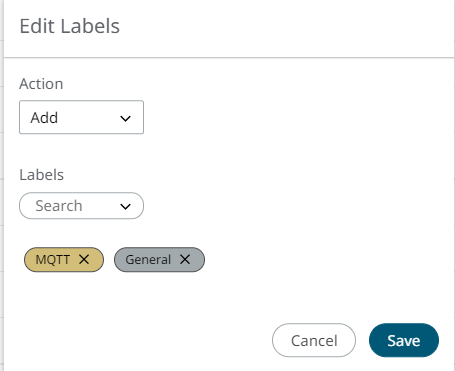
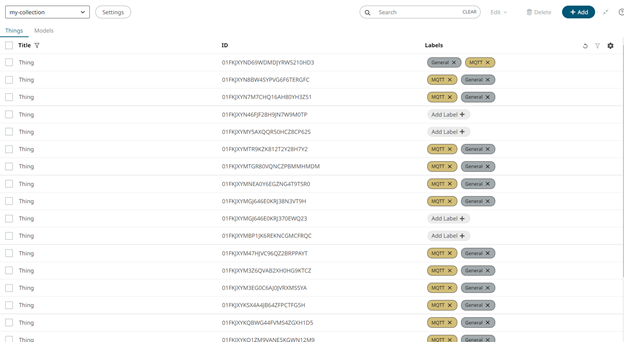
Working with Multiple Labels
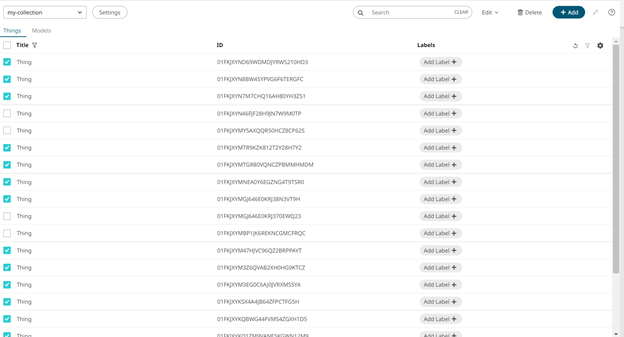
You can add and delete multiple labels at the same time.
Select the Things that you want to assign the label to and click on
Edit.
Figure 7.
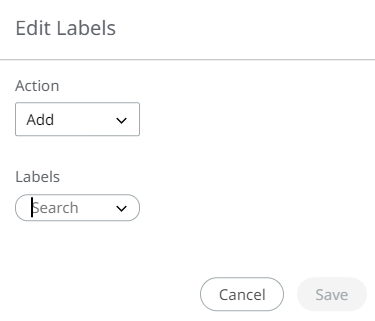
A drop-down menu displays to edit Model or Edit Labels.
Select Edit Labels.
The following window appears: Figure 8.
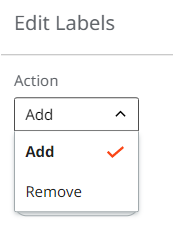
Select whether to add or remove Labels.
Figure 9.
Choose from the Labels drop-down menu which Label(s) to add/delete. You can
also create a new Label from here.