Tool Belts
Inspire Studio has four different tool belts to help you quickly access the tools you need for 3D modeling, sketching, creating PolyNURBS, and rendering. You can use the tool belts with the default configuration of tools or you can customize the tool belts by adding and removing tools as required.
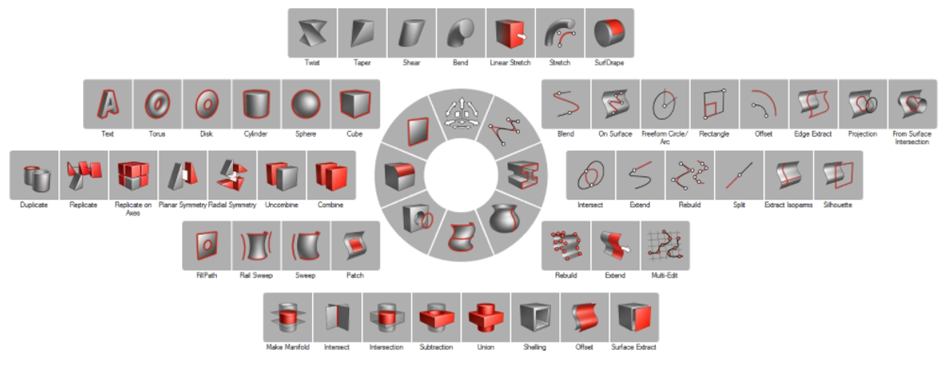
Main Tool Belt for 3D Modeling
The default configuration for this tool belt includes tools for 3D modeling from the Curves, Surfaces, Deform, and Modify ribbons. To open this tool belt, hold down Alt and right-click on empty space.
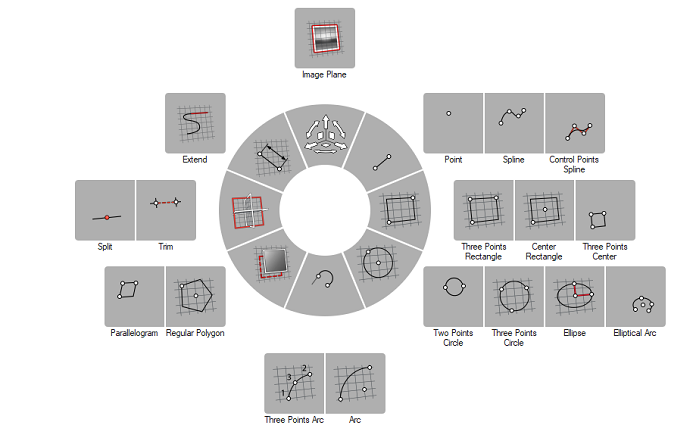
Sketching Tool Belt
The default configuration for this tool belt includes tools from the Sketching ribbon. To open this tool belt, hold down Shift+Alt and right-click on empty space.
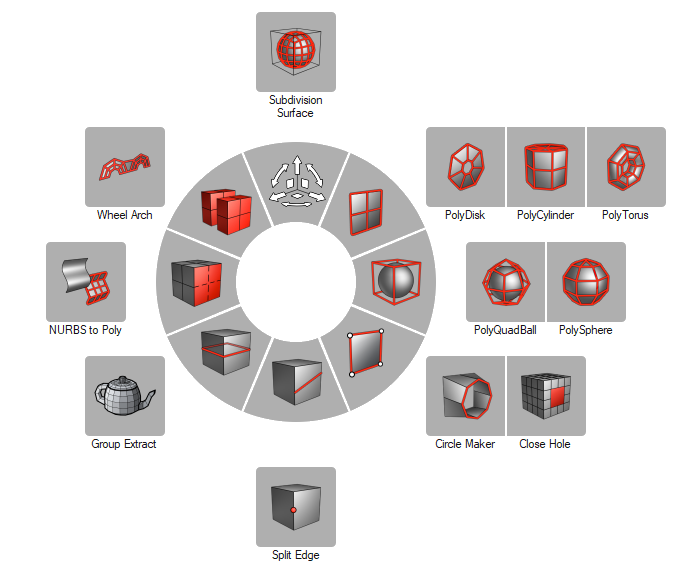
PolyNURBS Tool Belt
The default configuration for this tool belt includes tools from the PolyNURBS ribbon. To open this tool belt, hold down Ctrl + Alt and right-click on empty space.
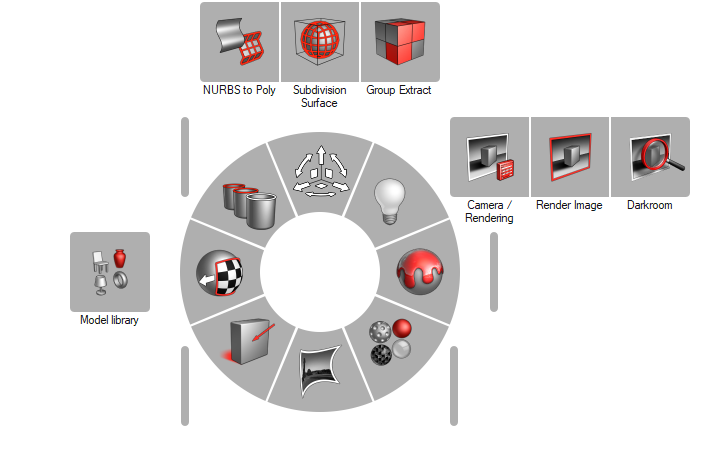
Rendering Tool Belt
Customize the Tool Belts
Customize the tool belts to quickly access your favorite tools.
- Select .
-
From the drop-down list box, select one of the tool belts that you would like
to customize:
- "Alt" Tool Belt (Contains a default configuration of tools for 3D modeling.)
- "Shift+Alt" Tool Belt (Contains a default configuration of tools for sketching.)
- "Ctrl+Alt" Tool Belt (Contains a default configuration of tools for creating PolyNURBS.)
- "Ctrl+Alt+Shift" Tool Belt (Contains a default configuration of tools for rendering.)
-
Customize your tool belt as follows:
- To add a tool, drag a tool from any ribbon next to an existing tool in the tool belt. You can also drag and reorganize tools as desired.
- To delete a tool, drag it to the trash can on the bottom left of the window.
- To replace a tool in the center ring, drag a new tool on top of an existing tool. You can delete, add or replace up to eight tools in the ring.
Figure 1. Example of a Customization with the "Alt" Tool Belt 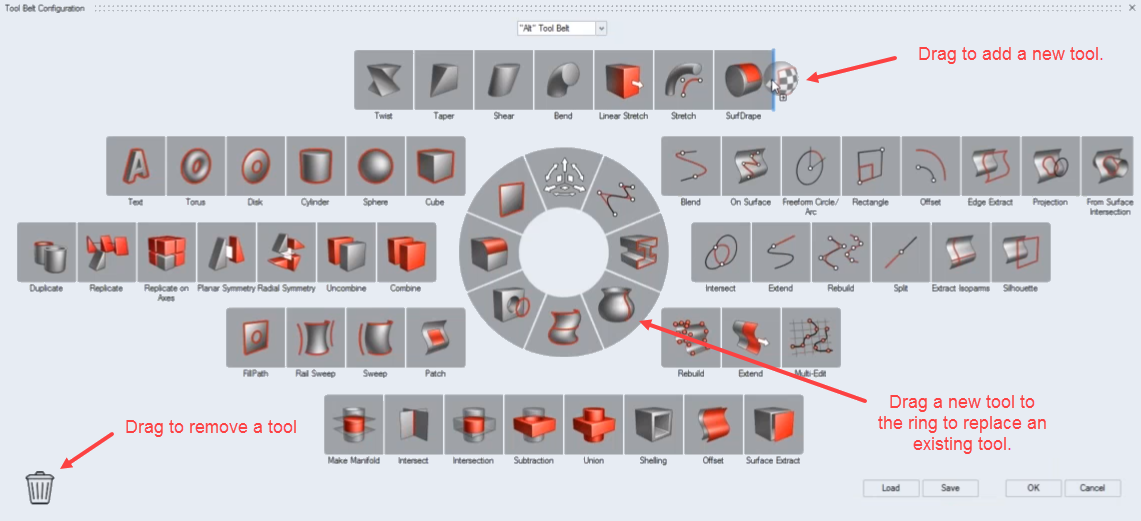
- Optional:
To save the tool belt, click Save.
The tool belt is saved as an .xml file that can be shared. To load a tool belt, click Load.
- Click OK.