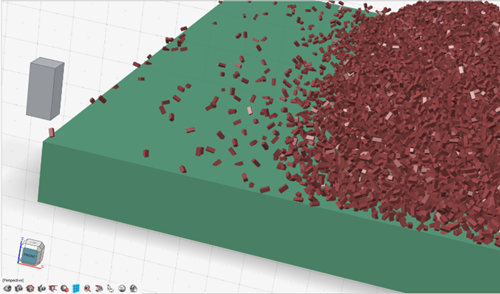
Particle Geometry
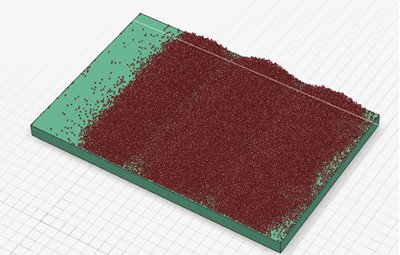
Import a .h5 file from the Altair EDEM application into Inspire Studio, where you can then import or design a new particle shape to apply to the EDEM result.
-
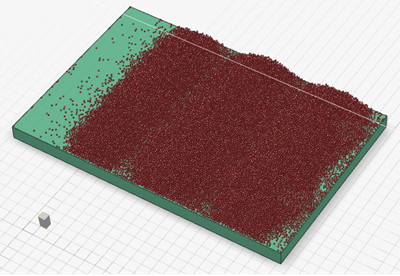
Open the .h5 file.
-
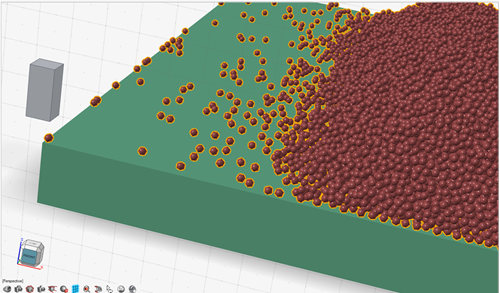
Import a new particle shape to apply to the EDEM particle set(s), or design a
new particle shape in the modeling window.
-
In the Analysis ribbon, click the Particle
Geometry icon.

The guide bar appears.
-
In the modeling window, select the EDEM Objects you
would like to change.
 All selected Objects appear in the Objects dropdown menu.
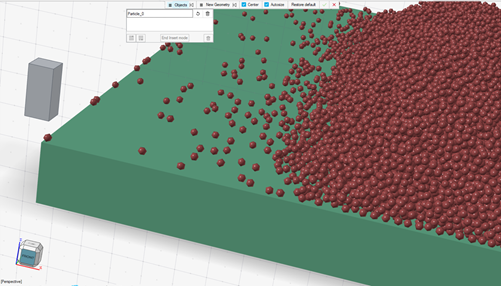
- Optional: If you would like the Objects to be the same size as the New Geometry when it is applied, disable Autosize in the guide bar. Otherwise, the new particle shape will Autosize the New Geometry to the EDEM size specifications.
-
In the guide bar, click New Geometry, then select the
new particle shape in the modeling window.
The New Geometry immediately applies to the selected Objects.
-
Adjust the design:
To Do this Change Objects back to the original EDEM particle shape In the guide bar, click Restore Default. Note: This only works with Multi-sphere or Sphero-Cylinder EDEM particles.Replace Objects or New Geometry - In the guide bar, select Objects or New Geometry from the dropdown menu.
- Select a listed item you would like to replace, then
click
 .
. - In the modeling window, select new Objects or New Geometry.
Reposition Objects or New Geometry in the dropdown list - In the guide bar, click the Objects or New Geometry dropdown menu.
- Select an item in the list.
- Click
 to add items above the
selected item, or
to add items above the
selected item, or  to add items below.
 - Select additional Objects or New Geometry.
Turn on Modify Mode In the guide bar, under the Objects or New Geometry dropdown menu, click End Insert Mode. Make the axis origin of the New Geometry the center of pivot and rotation In the guide bar, disable Center.