Editing Table File Paths
This feature allows you to replace the tables you have loaded into your workspace so that you can work with the same set of data in a different location. This means you do not need to load the new table and repeat whatever operations you have carried out on the current one. Note that the replacement sources must have the same name as the original sources. In addition, this functionality does not work for tables obtained from combine or transformation operations.
Changing the path of a single table
You can replace the path of a single table from the table selector in three steps.
NOTE: If you edit the file path of a Monarch Report node, the Edit File Path dialog will include the paths of all reports (i.e., local and web) loaded in the node.
-
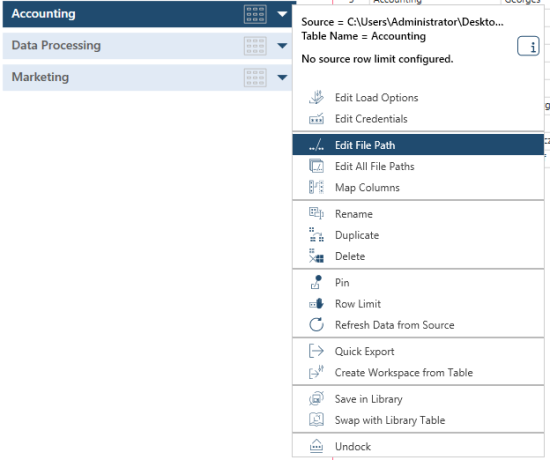
In the Prepare Window, click the drop-down arrow beside your table of interest and then select Edit File Path.
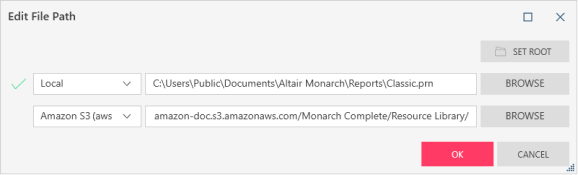
The Edit File Path dialog box displays.

-
Click the Browse button on this dialog to launch the Open dialog and locate the input source to replace your table with. If the path points to a cloud-based source (e.g., HTTP, HTTPS, FTP, SFTP, Amazon S3, Google Cloud Storage), a cloud browser displays. By default, the directory last used for the specific provider displays. You can set a root folder from which to obtain the replacement data source by clicking on the Set Root button. Note that if a missing file is not located in this root folder, you will need to use the Browse button (Open dialog or cloud browser) to locate the file. In addition, selecting a file updates the provider's last used directory.
A checkmark displays to the left of the file path if the path you selected is a valid one.
-
Click OK when you are finished.
Changing the paths of all tables
Data Prep Studio allows you to replace all of the tables in your table selector via a single dialog.
-
Select any table from the table selector, right-click on your mouse and then click Edit All File Paths.
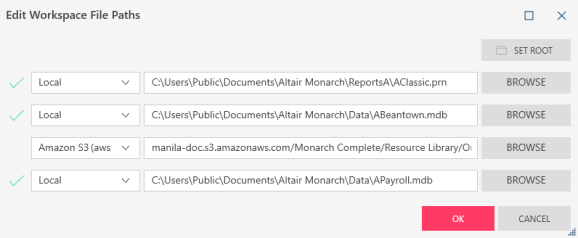
The Edit Workspace File Paths dialog displays.
-
Click the Browse button on this dialog to launch the Open dialog (or cloud browser) and locate input sources to replace your tables with. You can also set a root folder from which to obtain replacement data sources by clicking on the Set Root button.
A checkmark displays to the left of the file path if the path you selected is a valid one.
-
Click OK to close the dialog and load the workspace correctly.
Related Links
© 2025 Altair Engineering Inc. All Rights Reserved.