Store
Introduction
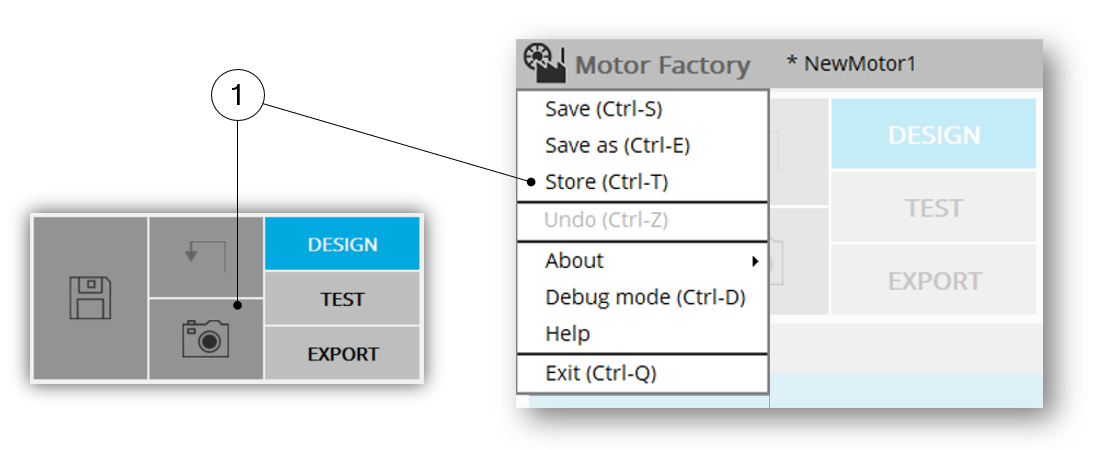
STORE” a project is possible directly from the top part of the Motor Factory (by using the camera) or via the top expanded menu.
 |
| “STORE” a project |
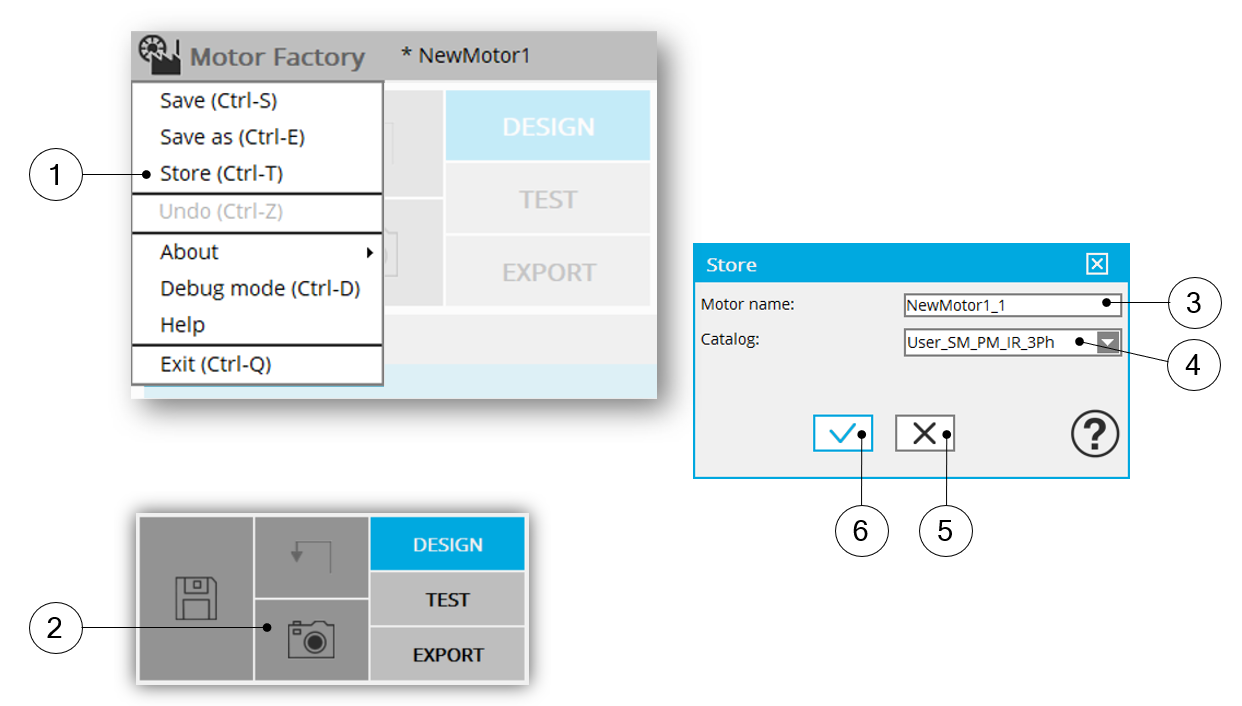
In any case, user has to give a new name of the motor and select an existing catalog in which the motor will be stored.
 |
|
| 1 | Access the top menu of Motor Factory to access the “STORE” function. |
| 2 | “STORE” the project by using the Camera located at top part of the Motor Factory. |
| 3 | Give a new name to the project. |
| 4 | Select an existing catalog in which the motor will be stored. |
| 5 | Button to cancel action and close the panel. |
| 6 | Button to apply inputs and close the panel. |
Store and continue
The conditions to use this function are described below.
 |
|
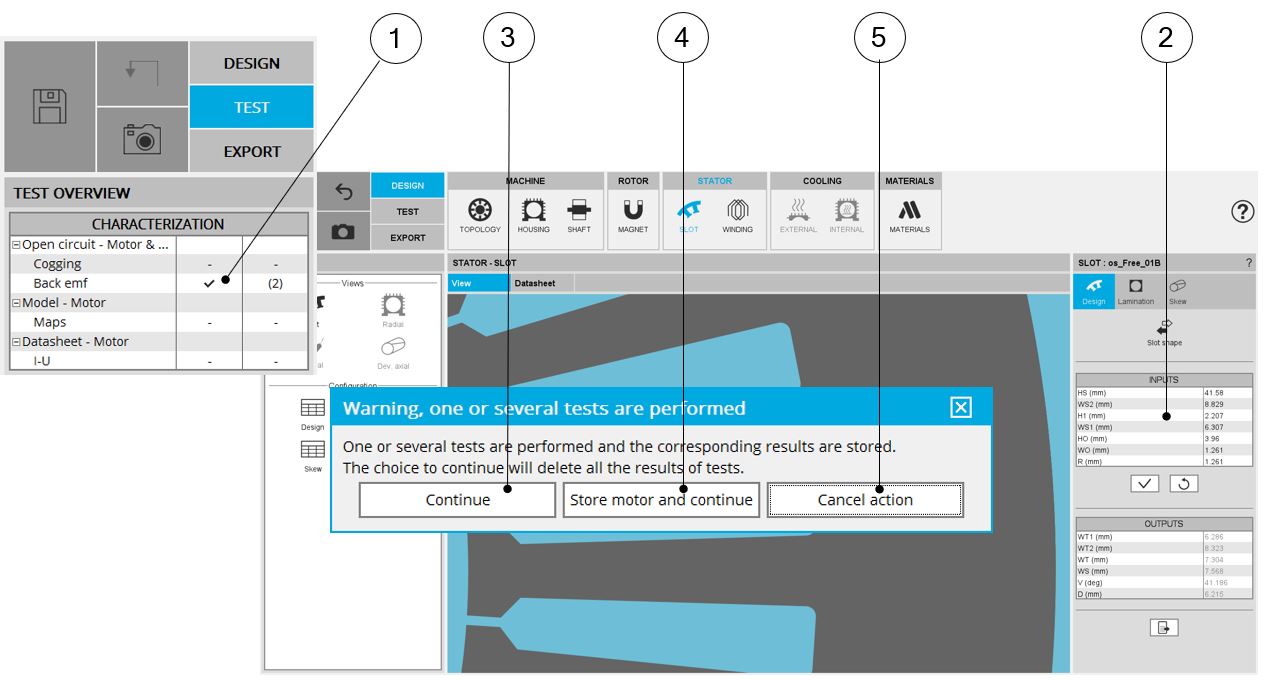
| 1 | One or several tests are performed. |
| 2 | Modification in DESIGN dealing with dimensions topology etc |
| 3 | “ Continue ” removes test results and considers the new modification and keeps the current name of the project. |
| 4 |
“ Store motor and continue ” allows the user to first store the current motor and then continue the design on the current motor.
See the dialog box which allows the storage of the motor below. |
| 5 | “ Cancel action ” closes the dialog box. Previous modifications are cancelled. |
 |
|
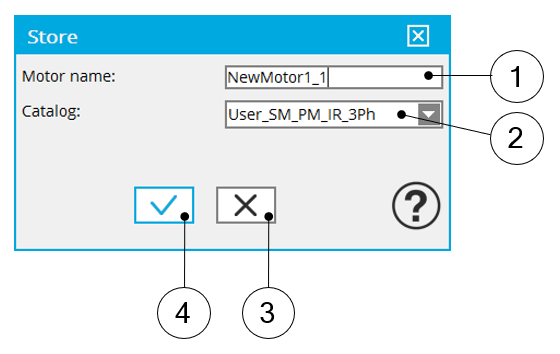
| Dialog box allowing to store a motor | |
| 1 | Give a new name to the project. |
| 2 | Select an existing catalog in which the motor will be stored. |
| 3 | Button to cancel action and close the panel. |
| 4 | Button to apply inputs and close the panel. |