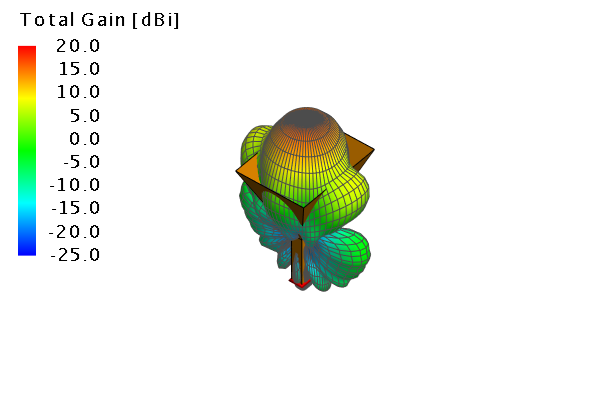
Viewing the Far Field Results (3D)
View the far field results in the 3D view.
- Select the 3D view window.
-
Add the far field result to the 3D view.
-
On the Home tab, in the Add results group, click the
 Far field icon. From the drop-down list, select
FarField1.
-
On the Home tab, in the Add results group, click the
-
Hide the near field result still displayed in the 3D view.
-
Add an annotation to the far field.
- Add an annotation to the desired location by pressing Ctrl+Shift+left click.
-
View the fields in dB.
- On the result palette, in the Quantity panel, select the dB check box.
-
Change the size of the far field compared to the geometry.


