Tutorial: Export an Embed Block from Activate
Export generated code both for simulation and inclusion of generated code in Embed for target deployment purposes.
Prerequesites for This Tutorial
The following software is required for this tutorial:
- Altair Activate
- Altair Embed
- Visual Studio Compiler for compiling generated code from Activate and to create an Embed block.
Overview
One of Activate's code generation options is to export the generated code both for simulation and inclusion of generated code in Embed for target deployment purposes. This tutorial captures the overall steps to set up and achieve a working setup for such a design flow.
Embed provides standard block APIs to define the block behavior for simulation and code generation. The code generation option Embed Block leverages these published APIs to automatically wrap the generated code from Activate.
When creating a simulation diagram in the Activate diagram, you can easily test the generated code in a target environment. The code is target agnostic and optimized, leveraging the inlined code generation option. Embed supports more than 1200 microcontroller targets. You can include the needed target specific drivers and schedule for execution using the visual interface from Embed. You can also customize the RTOS behavior and Software/Hardware Interrupt scheduling in Embed for testing in Processor In the Loop and Hardware In the Loop configurations.
Export an Embed Block
-
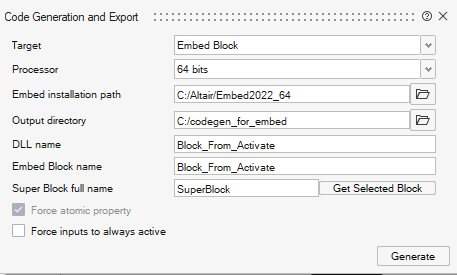
Set Target to be Embed Block. Set
Processor to 64 bits or 32
bits, depending on your Embed installation. Select the
Embed installation path and your desired
Output directory. Set the other name fields as
necessary.
-
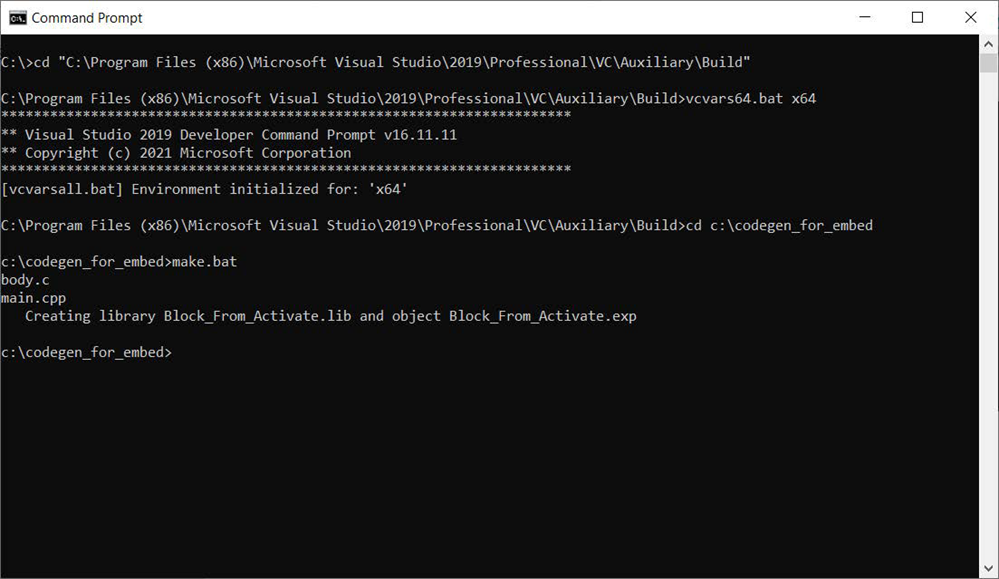
Change directory to the code generation output directory, and then call
make.bat.
If there are no errors, the invocation of the make.bat produces a dll that can be further registered in Embed.
Add the DLL to Embed
-
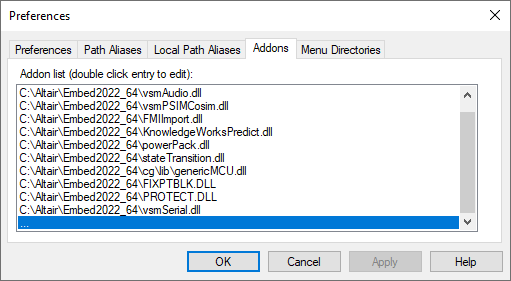
Open the Addons tab, and then double-click
... at the bottom of the list.
-
Select the DLL from the list, and then click OK.
The new block is added to the Blocks menu.
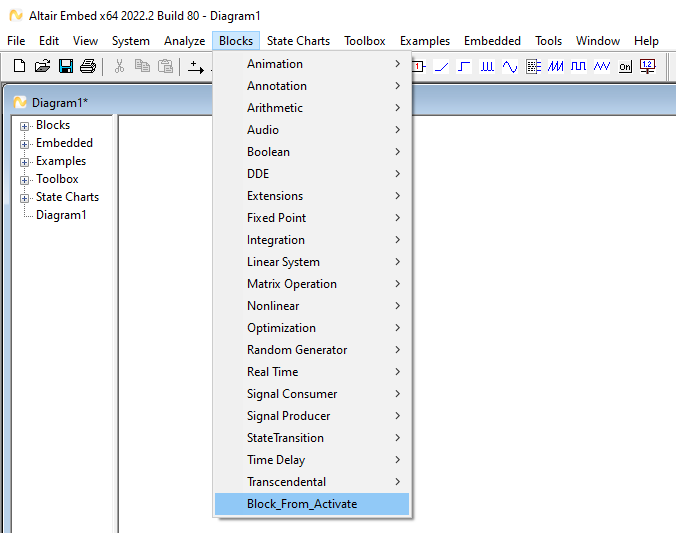
You can use the new block for simulation and code generation.