
Tutorial: Deformation
Tutorial Level: Intermediate Inspire Studio has some powerful deformation tools that allow you to tweak the shape of a simple primitive object or a complex surface with a few clicks. In this tutorial, we'll start with a simple cube and turn it into the temple of an eyeglass frame.
In this lesson, you will learn about: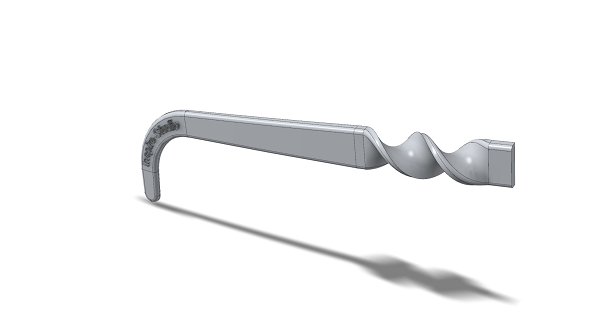
- Linear Stretch
- Taper
- Twist
- Bend
- Stretch
- SurfDrape
Create the Basic Shape
-
Start Inspire Studio. Or if it is already open, click the
New model tool on the File
icon.

- Turn on Grid Snap #2 (Alt+2).
- Draw a cube that is 1x1x1 cm.
-
Change the width to 0.25 cm.
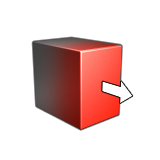
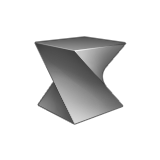
Linear Stretch
-
On the Deform tab, select Linear
Stretch.
- Select the top face of the cube.
- In the Control Panel, Set Global Axes to Z.
- In the guide bar, for Stretch Length, enter 24 cm.
-
Right-click and mouse through the check mark to exit, or double-right-click.
Taper
- Switch to the Front view.
-
On the Deform tab, select
Taper.
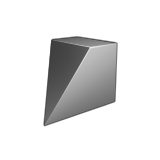
- Select the object.
- By default, a 1:1 taper is applied along the entire length of the body global axis (in this case along Z). We want the taper to affect part of the object.
- Click the blue line depicting the taper length and set it to 17 cm.
-
Right-click and mouse through the check mark to exit, or double-right-click.
Add a Round
-
On the Modify tab, in the Modify
tool group, select the Round tool.
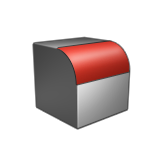
- Apply a round of 0.5 cm to the first set of edges.
-
Apply a second round (but don't add an edge set) to the two faces as shown and
make the radius 0.2 cm.
Twist
-
On the Deform tab, select
Twist.
-
In the modeling window, select the final Round object.
A default twist is applied along the entire length of the body.
- We want the twist to affect only part of the object. Using the Start and End handles, set the twist to affect the portion of the body without any taper.
-
Right-click and mouse through the check mark to exit, or double-right-click.
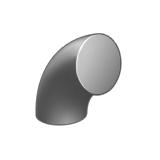
Bend
-
On the Deform tab, select
Bend.
-
Select the Twist object.
A default bend is applied along the entire length of the body.
- Edit the bend by moving the Start and End handles.
- Edit the Reference direction by clicking the graphic manipulator and entering a value of 180.
-
Use the Angle graphic manipulator to apply the required
bend as shown in the video.
Stretch
- Switch to the Top view.
- Create a NURBS curve of 3 points as shown in the video.
-
On the Deform tab, select
Stretch.

-
Select the input object:
- Select the Bend object from the previous step.
- Right-click to confirm.
-
Select the stretch curve:
- Select the NURBS curve created earlier.
- Right-click to confirm.
-
In the guide bar:
- Set the Global Axes to X.
- Enable Move to Curve.
- Enable Stretch Along Curve.
Note: If you want to stretch an object in place, the Move to Curve option can be disabled. You can also use the Start and End handles to customize the stretch to affect only a portion of the input object.
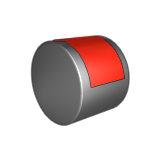
SurfDrape
-
On the Surfaces tab, select
Text.

- For Text, enter Inspire Studio.
-
Extrude the text:
- In the Control Panel, select Extruded.
- Set the Extrusion Length to 0.25 cm.
- Click the check mark to confirm.
-
On the Deform tab, select
SurfDrape.
-
Select the object to deform:
- Select the Bend object from the previous step.
- Right-click to confirm.
-
In the guide bar:
- Set the mapping to UV mapping.
- Enable Reverse to orient the drape correctly.
-
Click the Scale graphic manipulator and set the scale to
0.65.