Apply a Material from the Render Library
You can choose from a variety of preset materials. If you can't find exactly what you want, you can choose something similar and modify it. You can also reuse a custom material that you have previously saved.
-
On the ribbon, select the Rendering tool.
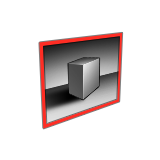
The Render Library is displayed. -
Select the Materials tab.
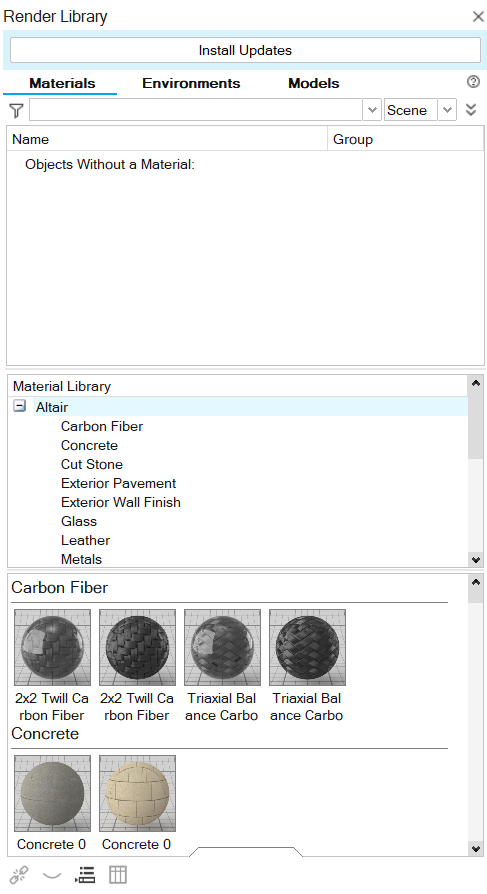
-
Apply the material to your object:
- Select an object, then double-click the material to apply it.
- Drag and drop the material over the object.
- Box select or hold Ctrl while clicking to select multiple objects, then drag and drop the material over any of the selected objects.
Tip: In your list of materials under the Materials tab, you can hover over the material icon to see it enlarged.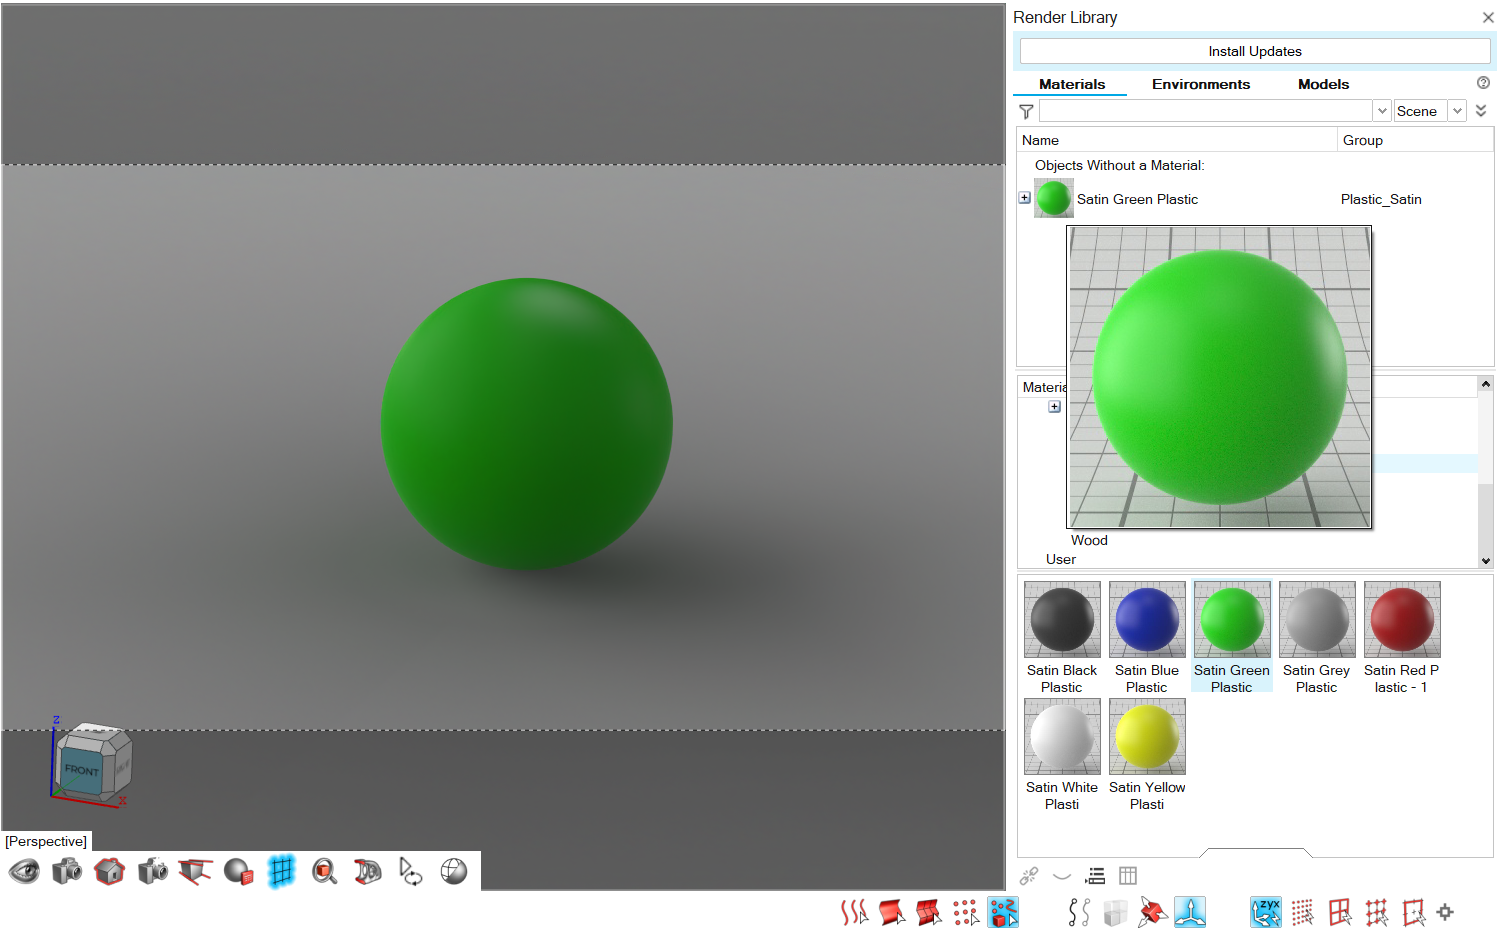
- Optional:
To modify a material:
- Select the object where the material has been applied.
- On the Rendering tab, select the Editors tool to open the Render Editor
-
Select the Material tab.
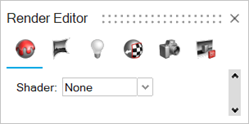
- Define the parameters. For more information, see Create a Material.