Apply, Edit, and Position Labels
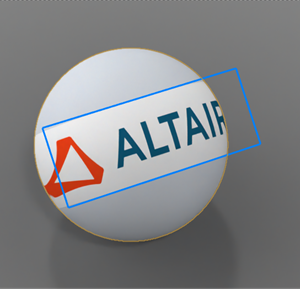
A label is a special type of texture that allows you to layer an image over an existing material. It is useful for applying logos or bar codes to objects in your scene.
-
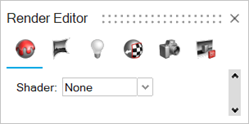
On the Rendering tab, select the
Editors tool.
The Render Editor appears.
-
Select the Labels tab.
-
Click
 .
.
-
Click to place the label.
-
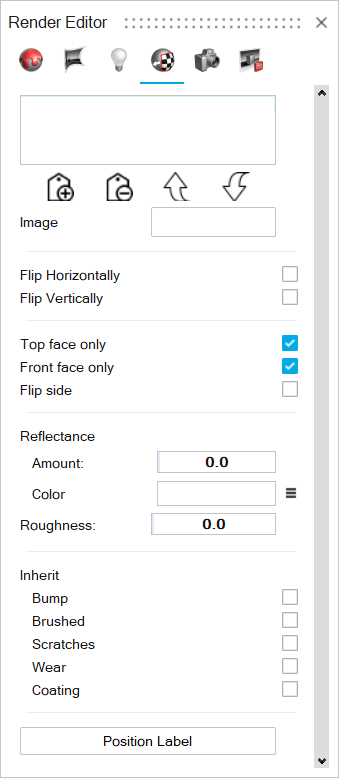
Use the Render Editor to further refine the label settings and position:
To Do this Delete a label - Select the label you would like to remove.
- Click the Remove icon
 .
.
Move a label up or down a layer - Move up- To move the label up or down a layer, click the label name, and then click Move Up
- Move Down- To move the label up or down a layer, click the label name, and then click Move Down.
Flip the label position - Flip Horizontally
- Flip Vertically
Limit or invert the label projection - Top face only-Limit image projection from back faces.
- Front face only-Limit image projection from back faces.
- Flip side-Invert image projection to the opposite side.
Adjust the label Reflectance - Amount- Increase or decrease how much light the label reflects.
- Color- Choose a color for the labels reflection.
Adjust the label roughness - Enter a value for Roughness.
Roughness adds texture to the material at a microscopic level. When you modify the roughness, the surface texture still looks the same; however, tiny changes invisible to the naked eye have occurred, affecting reflectivity.
0 can produce a perfect mirror reflection.
Lower values produce crisper and brighter reflections.
Higher values produce blurrier, dimmer reflections. Increasing the roughness spreads and distributes reflections over the surface and creates a more matte surface.
At values approaching 100, light becomes so scattered that reflections are barely visible, if at all.
Configure label settings to inherit material settings for blending - Enable the following switches:
- Bump
- Scratches
- Wear
- Coating
Open the Control Panel Click Position Label.