Modify the Environment

Modify the background, lighting, and shadows. A default global environment is included in Inspire Render to place your model in a 3D context for rendering, but you can also customize the background image. Customize the illumination, reflection, and background.

The environment places your model in a 3D context for rendering; it controls all aspects of the rendering environment: illumination, the background, and the reflection. By default, the environment is the HDR image Default. You can choose from a number of HDRs, IBLs, and JPGs to use as environment maps.

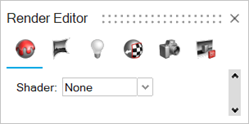
  1. On the Rendering tab, select the Editors tool.
    The Render Editor appears.

  2. Select the Environment tab.
  3. Select the Map preview image.
    A dialog box is displayed, with a limited number of default environments.

  4. Do one of the following:
    • Select a default environment from the dialog box.
    • Click the Browse button, and then select a custom environment.
    • Select an environment from the Render Library, which has a greater variety of default environments.
      1. In the Render Library, select the Environments tab.
      2. Drag and drop an environment into the scene.
  5. Adjust the environment:
    Option Description
    Wrapping (available for IBL files) Change how the image is projected onto the objects in your scene.
    • Spherical: Use for rectangular images. Projects the image around your scene in the shape of a sphere.
    • Hemispherical: Use for rectangular images. Projects the image around the upper half of the sphere. This is useful for depicting objects on a ground plane, so that reflections do not show underneath.
    • Angular Probe: Use for images taken with a fisheye lens.
    Rotation Rotate the map to affect how the scene is illuminated.
    Intensity Define the brightness of the map.

    Type a value from 0 to 1, where the default value of 1 corresponds to 100% intensity. Lower values darken the scene, while higher values brighten the scene.

    Tip: Decrease the intensity if you plan to add lights or emitters to your scene.
  6. Optional: To add your own custom background, turn on Custom background.
    Option Description
    Image Choose an image you would like to use for the background.
    1. Select the icon.
    2. Select Library.
    3. Choose a method to import a custom image:
      • Click Show Assets to select an image from the assets, then click the image you'd like to apply. The image is automatically applied to the background.
      • Click Browse to browse to an image saved on your device. Click the image you'd like to apply, then click Open. The image is automatically applied to the background.
    Color
    1. Select the icon.
    2. Click Select a Color.

      The Color window appears.

    3. Choose a color you would like to apply to the background.
      The color is automatically applied to the background.
      Note: If you select a color for the background and you already have a background image applied to the background, you won't be able to see it. Select the icon in the Image section, then click Remove to remove the background image, and view the color applied to the background map.
    Wrapping Define how the image is projected around the objects in your scene:
    • Spherical: Use for rectangular images. Projects the image around your scene in the shape of a sphere.
    • Hemispherical: Use for rectangular images. Projects the image around the upper half of the sphere. This is useful for depicting objects on a ground plane, so that reflections do not show underneath.
    • Angular Probe: Use for images taken with a fisheye lens.
    Rotation Rotate the map to affect how the scene is illuminated.
    Intensity Define the brightness of the map.

    Type a value from 0 to 1, where the default value of 1 corresponds to 100% intensity. Lower values darken the scene, while higher values brighten the scene.

  7. For Background Mode, select Infinite Sphere or Finite Dome. If you selected Finite Dome, the scene is surrounded by a dome with a ground plane and the background image is mapped to the dome as a texture. Click Edit Dome to define the following parameters:
    Option Description
    Diameter Define the diameter of the finite dome.
    Stretch Stretch the dome by the desired factor.
    X Origin Define the x coordinate of the origin.
    Y Origin Define the y coordinate of the origin.
    Viewer elevation Define the height of the mapping center above the ground plane, which affects the appearance of the background image. Increase this value to move the background up, or decrease this value to move the background down. If this value is too low, part of the image above the horizon will be mapped to the ground.
    Note: To restore the default values, click Default Dome.
  8. To insert a ground plane, which catches shadows from objects in your scene, select Ground. You can then define the following parameters:
    Option Description
    Ground Position Define the position of the ground plane.
    Note: The Ground Position parameter is not supported in Performance.
    Scene Elevation The default value is 0. Increasing the value moves the ground plane in the positive z direction. Decreasing it will move the ground plane in the opposite direction, along the negative z-axis.
    Reflectivity % Define the strength of the reflections.

    Enter a value of 0-100, where 100 produces perfect mirror reflections and 0 produces the weakest reflections.

    Roughness % Roughness adds texture to the material at a microscopic level. When you modify the roughness, the surface texture still looks the same; however, tiny changes invisible to the naked eye have occurred, affecting reflectivity.

    0 can produce a perfect mirror reflection.

    Lower values produce crisper and brighter reflections.

    Higher values produce blurrier, dimmer reflections. Increasing the roughness spreads and distributes reflections over the surface and creates a more matte surface.

    At values approaching 100, light becomes so scattered that reflections are barely visible, if at all.

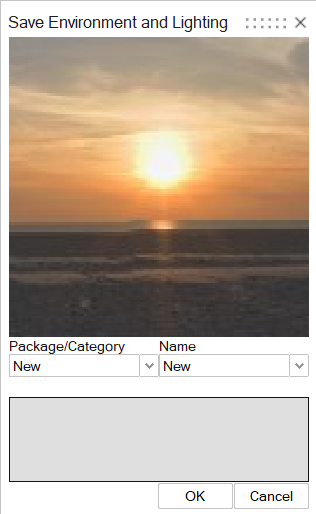
  9. To save the environment and lighting parameters to use as a preset later, click Save Environment and Lighting.
    The Save Environment and Lighting window appears.
  10. Enter a name for the Package/Category and Name fields, then click OK.

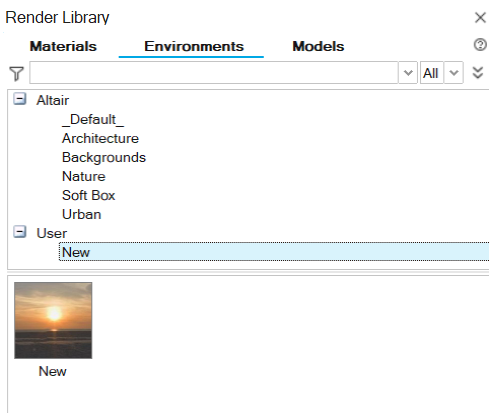
    The environment you saved appears under the User category in the Environments tab of the Render Library.

What Are HDR and IBL?

Definitions of high dynamic range and image-based lighting images, used for environment maps.

What is HDR?

High Dynamic Range images provide highly realistic lighting, especially when it comes to reflection and refraction. If you select a HDR image as your global environment, the exact same image is used for illumination, the background, reflection, and refraction.

What is IBL?

IBL stands for Image-Based Lighting. If you choose an IBL, three different versions of the same image will be used:
  • Illumination: A slightly blurred HDR
  • Reflection and Refraction: A wide JPG
  • Background: A high-resolution square JPG