Construction History
View and edit the construction history of your model.
When you create, modify, move, or delete geometry in your model, or group parts together in the Model Browser, Inspire PolyFoam records the action in your model’s construction history.
History Browser
Use the History Browser to explore variations on your model’s design without creating additional models.
You can edit existing features to change their parameters, or roll your model back to an earlier point in its construction, insert new features, and roll forward to see how the change affects the finished model.
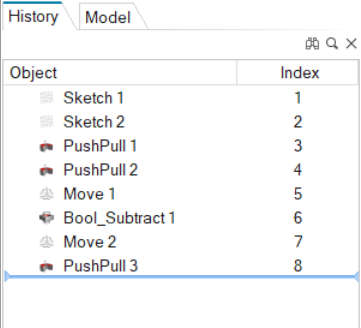
In the History Browser, the editable entities are called construction features (CFs).
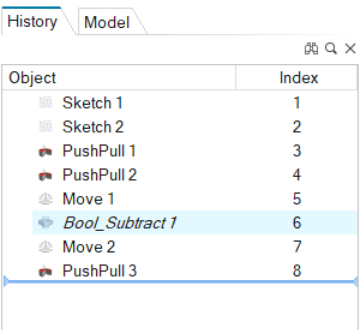
The construction features appear in sequential order from top to bottom.
 |
 |
Roll Back and Roll Forward
Add a new construction feature at an earlier point in the model’s construction history.
-
In the History Browser, move the blue end marker to the point where you wish to
add a new construction feature.
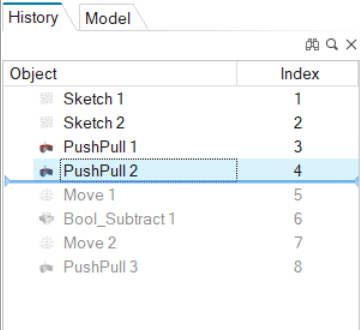
- Use one of the tools on the Sketch or Geometry ribbons to add modify your geometry. This will add a new construction feature.
-
Move the blue end marker to the bottom of the History Browser.
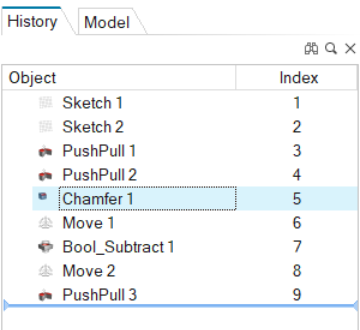
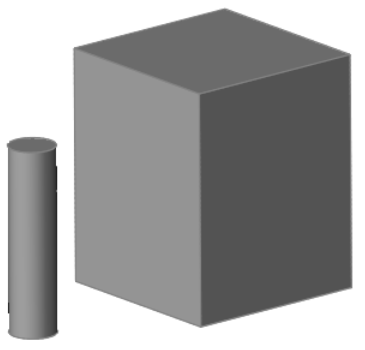
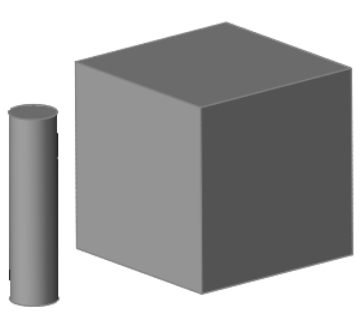
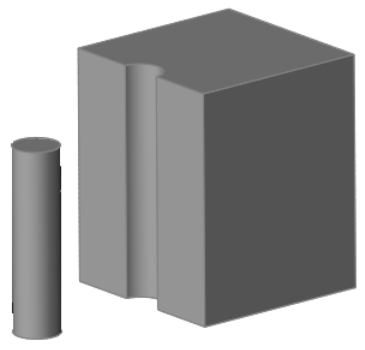
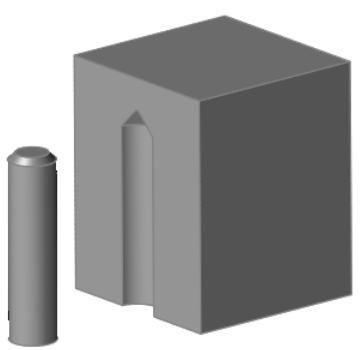
Note: You can also use the end marker to advance through the model’s construction history step by step.In the example above, we added a chamfer to the top of the cylinder prior to the Boolean subtract construction feature.Inspire PolyFoam automatically recomputes the subsequent Push/Pull construction feature, taking the added chamfer into account. Note that the top of the cylindrical cutout is conical in the final model.
- A warning icon
 next to a construction feature indicates that
Inspire has only partially computed the construction feature.
 - An error icon
 next to a construction feature indicates a failure in computation.
Ideally, your model should have no computation failures or warnings.
Context Menu Options
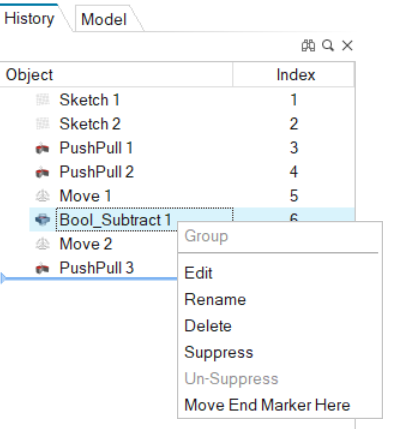
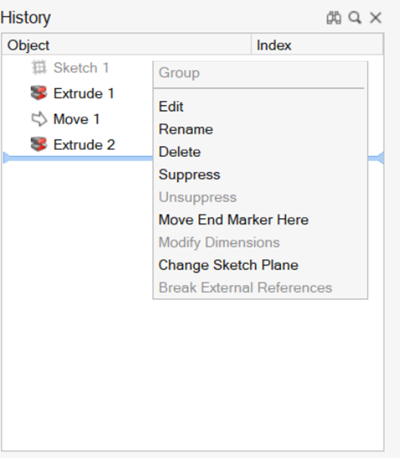
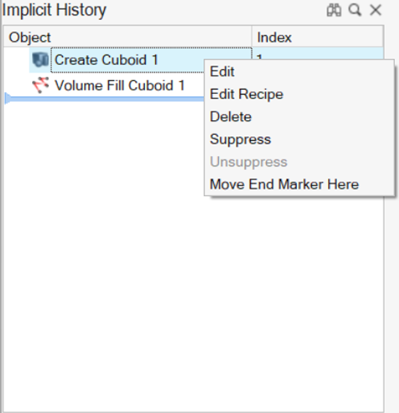
The right-click context menu in the History Browser contains the following options for editing the construction history.
Delete vs Delete Without History
Learn the difference between deleting construction features and deleting without history.
In the Model Browser and the modeling window, the context menu for some entities includes the options Delete and Delete Without History.
-
Delete removes the part from the model and records the deletion in the model’s construction history.
- Delete Without History removes the part from the model without recording the event in the model’s construction history.
Delete Without History is only available for parts or assemblies with no dependencies.
The only way to recover an entity after using Delete Without History is to undo it. (To undo, select or press Ctrl+Z on your keyboard).
Deleting a construction feature in the History Browser removes that construction feature from the model’s construction history. If you then delete the Delete construction feature in the History Browser, the deleted entity will be restored in the Model Browser and modeling window.
If you select the Remove History option for a Delete Parts construction feature, the effect is the same as if the entity had been deleted with the Delete Without History option in the Model Browser.
Legacy Files and Construction History
Legacy .stmod files created in Inspire version 2021 and earlier do not have construction history.
When you open a legacy Inspire stmod file, the History Browser will show a construction feature with the name StmodImport, which will work the same way as a CAD import. You can roll back, roll forward, suppress and delete this construction feature, and the model will retain all boundary conditions and results.
In previous versions of Inspire that did not offer construction history, there were no separate sketch entities in the Model Browser. Sketches were considered to be on the surface of a part, and could be edited by double-clicking twice to enter sketch editing mode. With the introduction of construction history in version 2021, this behavior has changed. Sketch entities are now shown separately in the Model Browser and are edited using the History Browser.
When you import a legacy stmod file containing PolyNURBS, the History Browser will show a construction feature with the name StmodImport, followed by construction features with the name PolyNURBS. In Inspire 2021.1, you can create only one PolyNURBS part per construction feature, so several PolyNURBS parts may be listed. For example, if the legacy stmod file contains three PolyNURBS parts, you will see the following construction features in the timeline:
- StmodImport 1
- PolyNURBS 1
- PolyNURBS 2
- PolyNURBS 3
