Unpivoting Columns
Unpivoting allows you to turn a short/wide table into a tall/skinny one by distributing columns into rows.
Consider the example below:
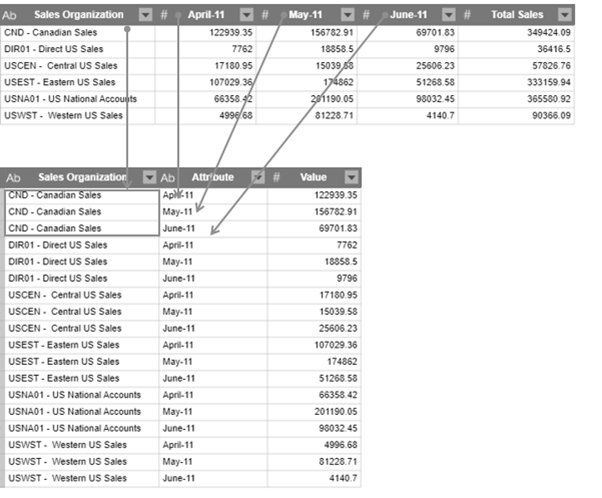
We can unpivot the month columns (April, May, and June) so these become attributes of Sales Organization and are distributed as row values instead.
Unpivoting Columns
You can only unpivot columns from the Prepare Window.
-
In Prep Data, select the table you want to transform.
-
Select Transform on the Data Prep Studio Toolbar.
A dialog box allows you to select a transformation.
-
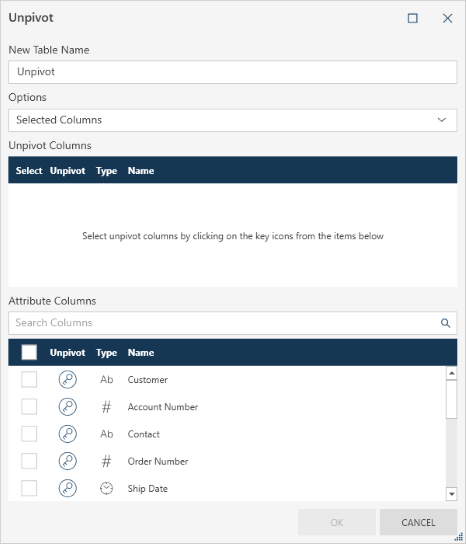
Select UnPivot to display the UnPivot dialog:
-
Enter a pivot name.
By default the resulting table will be named Unpivot. If such a table already exists, the tables will be named Unpivot(1), and so forth. You can then rename the table as needed.
-
Select the column(s) to unpivot. You can:
-
-
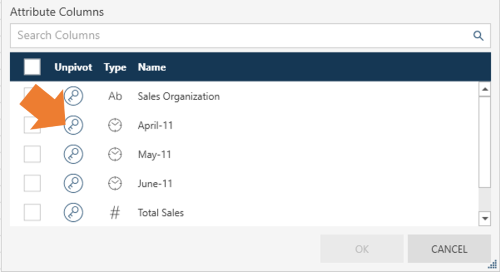
Select individual columns by ticking the check box beside the key icon of the columns on the Attribute Columns panel, or
-
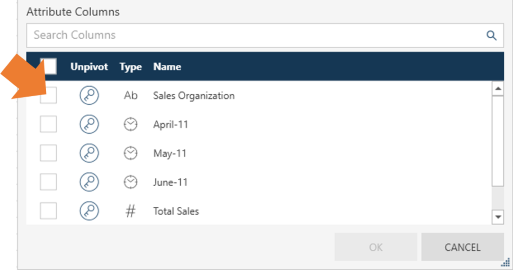
Select all columns by ticking the check box in the column header. Note that this check box is disabled if you are selecting columns via a column search (essentially filtering columns).
-
Columns you designate as unpivot columns are moved to the Unpivot Columns panel.
-
Select the Attribute columns by clicking on the box beside a column on the Attribute Columns panel.
-
Select OK.
© 2025 Altair Engineering Inc. All Rights Reserved.