
Add/Edit Overflow
If you haven't designed any overflows in a CAD tool, you can create and edit virtual overflows in Inspire Cast.
- Click the Casting tab.
-
Click the Components icon.

-
On the Overflow icon, click Add/Edit
Overflow.

-
Click a surface to create an overflow.
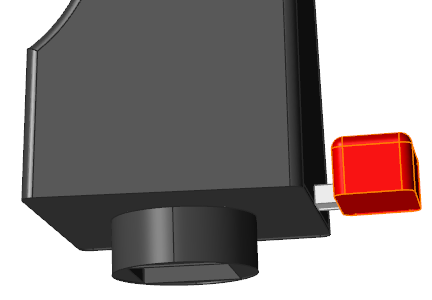
- Optional: Use the microdialog options to define the position and dimensions of the overflow's neck.
- Optional: Select the overflow. Use the microdialog options to define the overflow's volume, height, width, depth, and fillet radius.
- Optional: To create more overflows, click a surface.
- Right-click and mouse through the check mark to exit, or double-right-click.
Microdialog Options
Define the position and dimensions of the overflow's neck; define the dimensions of the overflow.
| Neck Option | Description | |
|---|---|---|
| Move |
 |
Click to move the overflow. |
| H | 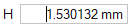 |
Enter the neck's height. |
| W | 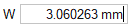 |
Enter the neck's width. |
| D | |
Enter the neck's depth. |
| Overflow Option | Description | |
|---|---|---|
| Volume |
 |
Enter the overflow's volume. |
| Height |  |
Enter the overflow's height. |
| Width |  |
Enter the overflow's width. |
| Depth |  |
Enter the overflow's depth. |
| Fillet Radius |  |
Enter the overflow's fillet radius. |