Working with Data Sources
Monarch Data Prep Studio can connect to a number of disparate source repositories, including files, databases, and message buses. Although the process of retrieving a data table is similar, connectors may have different user interfaces.
Data connectivity to third-party products is based on general available versions. Typically new versions are supported within one calendar year of release, although the timing of including the new version in support is dependent on customer demand. New versions of popular data sources within our customer base are generally supported quickly after general availability.
Data retrieved into Monarch Data Prep Studio is converted into one of three possible data types:
-
Number (Double)
-
Text (Unicode)
-
Timestamp (Millisecond accuracy)
Date type conversion is specific to each data connector, and ODBC/JDBC driver for database sources. However typical data type mappings are as follows:
|
Data Type |
Mapping |
|
Boolean |
Text |
|
Integer |
Number |
|
Date |
Timestamp |
|
Date Time |
Timestamp |
|
Time |
Timestamp |
|
GUID |
Text |
Sources that support time at a nano-second accuracy have data retrieved as millisecond accuracy. Sources must support Unicode to be able to retrieve Unicode-based text.
Connecting to a data source
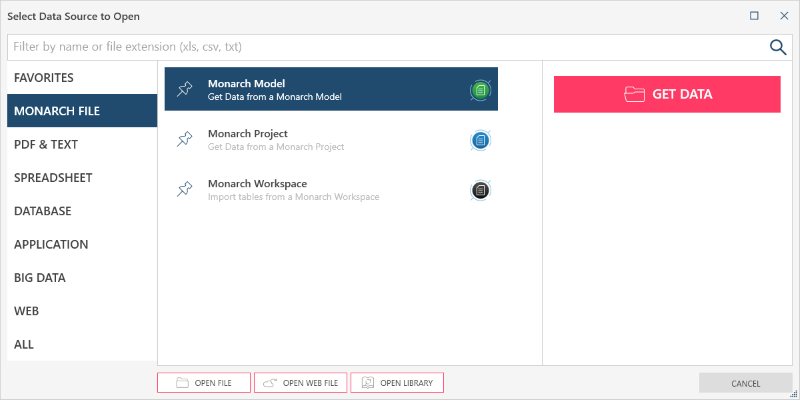
Use the Select Data Source to Open dialog box to select and open a data source.
Steps:
-
Do one of the following:
-
Go to the Start Page and select Open Data, or
-
Select a data source group (e.g., Monarch Complete File) on the left-most panel of the dialog to display the data sources under that group.
-
Delimited Text
-
Text Report
-
Do one of the following:
-
Double-click on a data source, or
-
Select the data source and then Get Data.
-
The Vertica data source only displays if you have the Vertica data source driver is installed. You can install the Vertica driver from this link.
-
The Teradata data source is not displayed on the Select Data Source to Open dialog box. You can connect to Teradata using the ODBC connector. Before you can use the Teradata connector, you must install the driver first.
-
Fill out the corresponding connection dialog.
-
Select OK to confirm the selection and retrieve the record set into the Monarch Data Prep Studio Preview.
The Select Data Source to Open dialog box displays:

You can also display data sources specific to a file type or extension by entering the extension on the filter bar at the top of the dialog.
For instance, you can enter txt as filter criteria to display the following as candidate data sources:
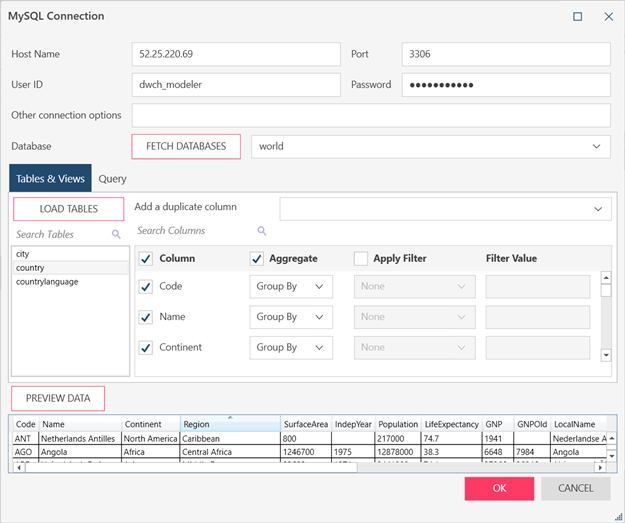
A Connection Settings
dialog displays, similar to the one below:

Select a data source link below to display the dialog box options for that data source:
|
Group |
Data Source |
|
Favorites |
Displays all data sources you pin as favorites. Refer to Working with Data Source Favorites below. |
|
Monarch File |
|
|
|
|
|
|
|
|
PDF & Text |
|
|
|
|
|
|
|
|
|
|
|
Spreadsheet |
|
|
|
|
|
|
|
|
|
|
|
Database |
|
|
|
|
|
|
|
|
Application |
|
|
|
|
|
|
|
|
|
|
|
|
|
|
|
|
|
|
|
|
Big Data |
|
|
|
|
|
|
|
|
|
|
|
|
|
|
|
|
|
|
|
|
|
|
|
|
|
|
|
|
|
|
|
|
Web |
|
|
|
|
|
|
|
|
|
|
|
All |
Displays all data sources in alphabetical order. |
Notes:
Working with favorite data sources
Monarch Data Prep Studio keeps track of the data sources you use most often, and provides favorites features to help you connect to these data sources more easily.
Favorites group
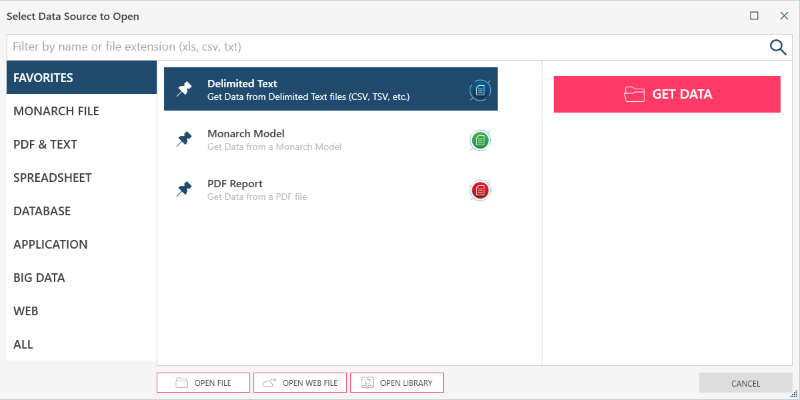
Monarch Data Prep Studio has a Favorites group that can display the data sources you use the most:

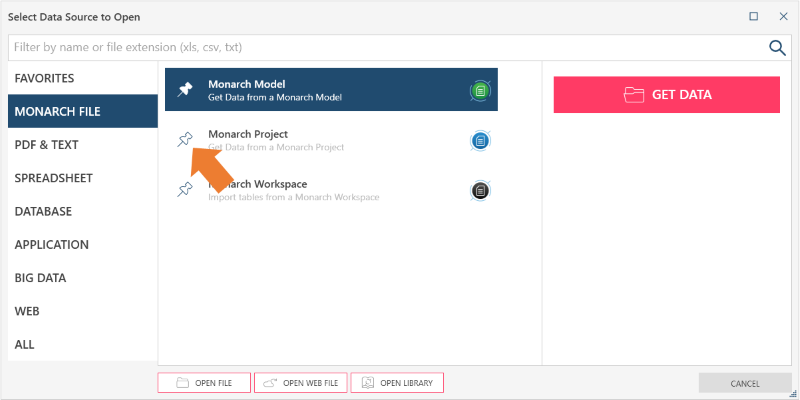
To add a data source to Favorites, click on the Pin icon beside the data source:

Once pinned, the data source becomes available on the Favorites group as well.


