Tutorial: Animation
Learn about key frame animation and how to render an animation.
In this lesson you will learn about:
- Setting key frames
- Key frame options
- Animation options
- Rendering animations
Open the File
-
The scene is loaded.
Set Up the Animation Options
-
On the Animation tab, select the Animation Options
tool.

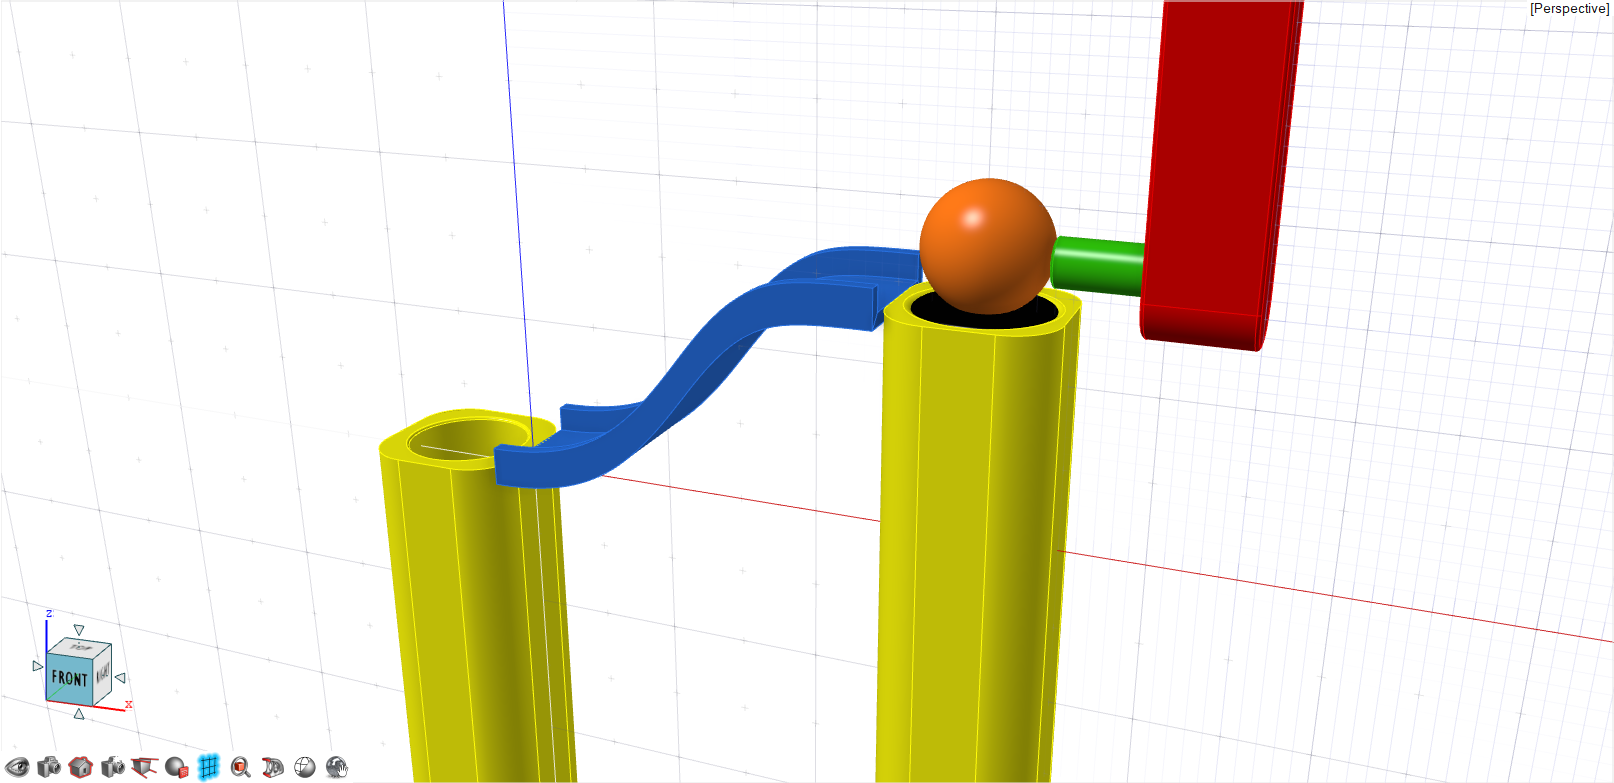
Animate the Putter
The putter basically recoils and moves forward to strike the ball. The goal is to recoil slowly and hit the ball quickly.
Animate the Ball
The ball will start moving the moment the putter strikes it and will continue to gain momentum down the slide. Once it reaches the bottom, it strikes the pillar and drops into the hole. We will then animate the ball to return through the hole in pillar 1 while riding on the left.
Animate the Lift
Change the Keyframe Options
Play the Animation
-
Click
 .
.
Export the Animation
-
On the Animation ribbon, select the Render in
Real Time tool.
