Adding a Numeric Range Action Slider
The Numeric Range Action Slider allows sliders of two parameters. Whenever the slider values are changed, the associated action is executed.
- After double-clicking or drawing a rectangle on the dashboard canvas, scroll to the bottom of the Part Types pane and select Numeric Range Action Slider
 .
.
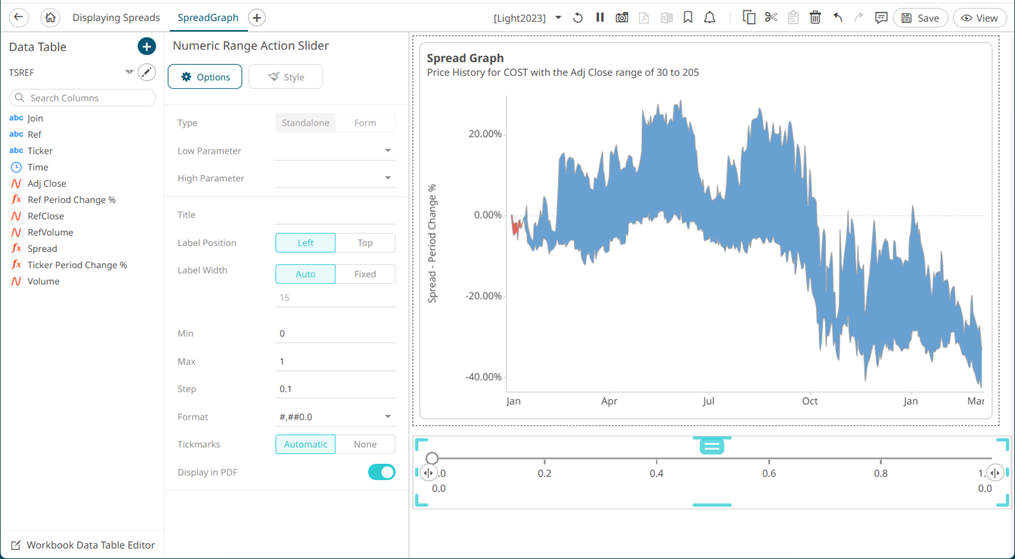
The Numeric Range Action Slider pane is displayed, and the Numeric Range Action Slider part is added on the dashboard canvas.
For this example, the following parameters are defined:
Parameter Name Type Default Value Ticker
Text
COST
AdjCloseMin
Numeric
30
AdjCloseMax
Numeric
205
These parameters are used on the Title of the Line graph (e.g., Price History for {Ticker} with the Adj Close range of {AdjCloseMin} to {AdjCloseMax}).
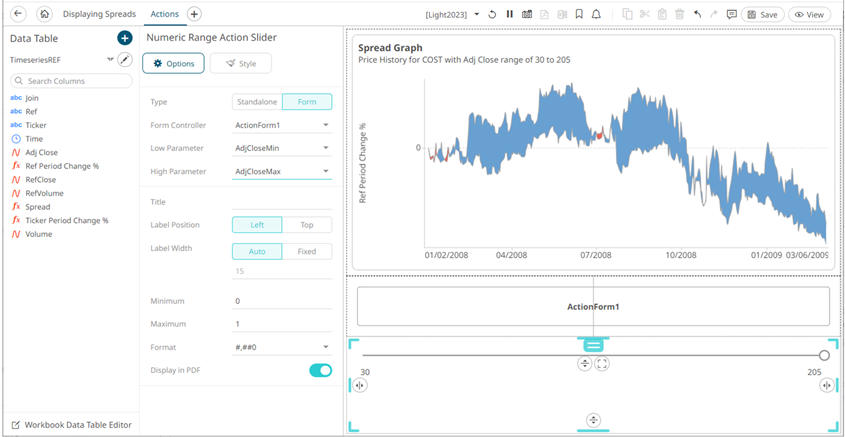
- The numeric range action slider can be configured to either be a Standalone or a Form component.
When set to Form, the numeric range action slider can be connected to any form controller on the same
dashboard. The parameters that the action part can set depends on how the form is configured.NOTE: An action form part must be defined first to associate the numeric range action slider
as a component Refer to Adding an Action Form more information.A line connects the component to the associated form.
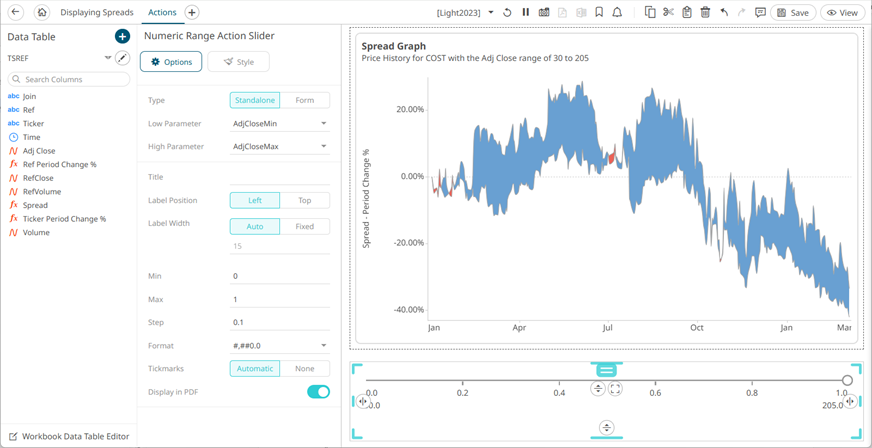
If the numeric action slider should not be connected to a form, it can be set to Standalone instead. Select the Low Parameter and High Parameter that will be updated by this action part.
- Enter the Title of the numeric range action slider.
- Select the Label Position: Left or Top.
- For the Left label position, select the Label Width:
- Auto, or
- Fixed then enter the width (default is 15).
- You can opt to enter the allowed Min and Max values.
- The default Step value is 0.1. Modify the value if required.
NOTE:
- The Step value can’t be greater than the range (difference between Min and Max) and it can’t be less than zero.
- The Step value will display Continuous if zero is entered or it’s left blank. A step of zero would mean that the slider handle would not be snapping, it would show the exact value at its current position.
- If the Min limit is greater than the Max limit, the Numeric Action Slider will behave as an inverted slider.
- Enter the Format that the numeric value will be displayed. Default value is #,##0.0.
- Select if the Tickmarks will be Automatic or None.
- Tap the Display in PDF slider to turn it on and include the numeric range action slider in the PDF output.
- To set the style of the Numeric Range Action Slider, click Style
 .
.
The page updates to display the Style pane.
See Defining the Style of General Parts for more information.
- Click Update Style
 and select any of the following options:
- Set current as default – Save the changes and set it as the default.
- Create custom style – Save the changes and set it as a custom style.
The Style pane updates to display the Title control.
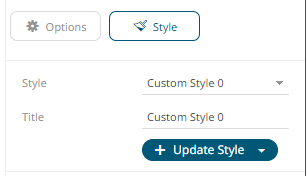
- Enter the custom style's Title.
- If there are additional changes made, click Update Current Style in the Update Style drop-down.
The new custom style is added to the Workbook > Theme > Custom Styles list.
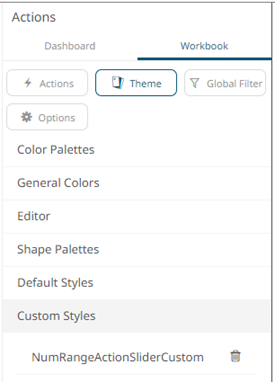
If published, the custom style configuration of the Numeric Range Action Slider will be added to the Global custom styles list and can be applied to other parts.
- Reset to default – Revert to the original default settings.
- Click the Save
 icon on the toolbar to save the changes.
(c) 2013-2025 Altair Engineering Inc. All Rights Reserved.