Upgrading Deprecated Data Sources
Several data sources available in previous versions of Data Prep Studio (i.e., versions 2022.1 and older) were deprecated in the 2023 version of the application and replaced with new ones. Thus, workspaces and library files containing tables obtained using older data connectors will not open properly unless these connectors are upgraded. You can perform either a manual upgrade of these deprecated tables as described below or a bulk upgrade using Monarch Utility.
Upgrading Deprecated Tables in Workspaces
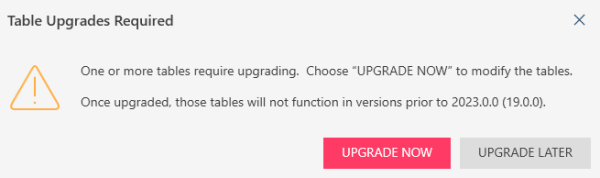
When a workspace containing a deprecated data source is opened in Data Prep Studio, the following popup displays:
If you choose Upgrade Later, the workspace opens but the following warning displays in the table selector:
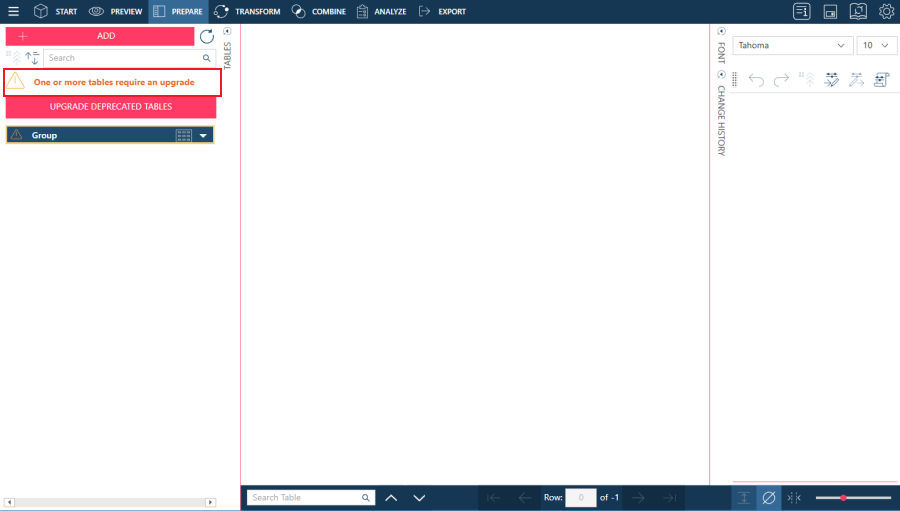
To continue working with the workspace, you must upgrade the data source.
Click Upgrade Deprecated Tables. The Upgrade Connection dialog displays. This dialog also displays when you click Upgrade Now in the popup that displays as soon as you open the workspace in Data Prep Studio.
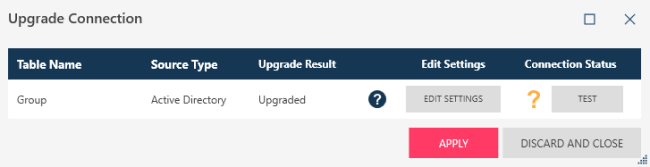
The Upgrade Connection dialog includes details of the tables requiring an upgrade, the source type, the upgrade result, and two buttons that you can use to update the data source settings and test the connection status.
The following upgrade results may be returned:
- Upgraded - This result means the required values in the new connector driver match those in the old connector driver.
- Missing Information - This result means the connection settings may be correct but more information is needed to display the table correctly.
- Missing JVM - This result means the connector requires a Java Virtual Machine (JVM) to work correctly, and the JVM is not installed in the machine.
- Cannot upgrade - This result is returned when the data source is no longer supported in Data Prep Studio (e.g., Jira, Zendesk, Box Cloud Storage, etc.)
Use the following guide to upgrade your tables:
Upgrade Result: Upgraded
- If the upgrade result is Upgraded but the application has determined that the table requires an upgrade, click Edit Settings. The Data Source Connection dialog displays.
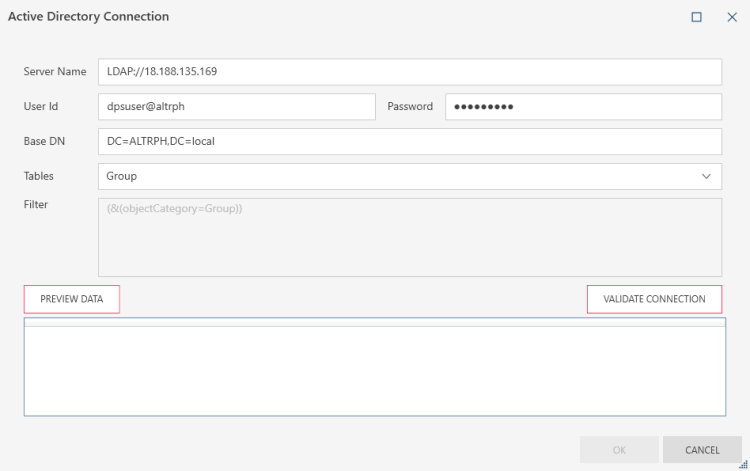
- Check that the connection settings and table name are correct. You can test the connection by clicking the Validate Connection button and preview the table by clicking Preview Data. Depending on the connector, you can also modify settings for Tables & Views and Query. Click OK when done.
- Click Apply in the Upgrade Connection dialog. The table should now display correctly in the workspace.
Upgrade Result: Missing Information
- If the upgrade result is Missing Information, click Edit Settings. The Data Source Connection dialog displays.
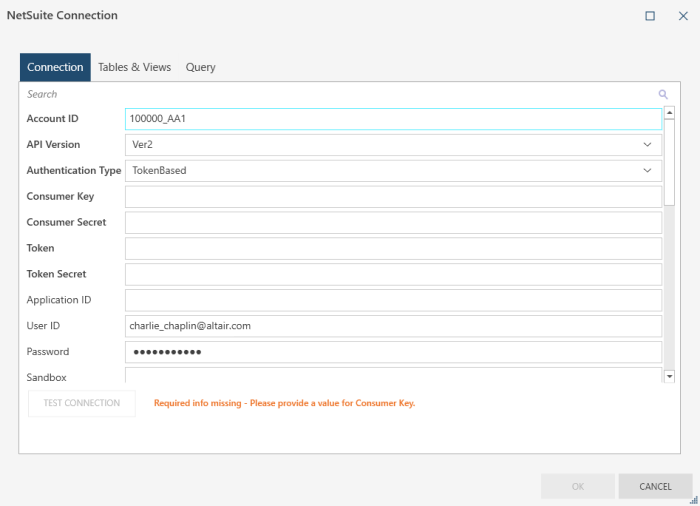
- Provide the missing information (i.e., all fields in bold). Messages at the bottom of the dialog will prompt for any missing information required by the connector. Note that if any required field is left blank, you will not be able to save the connection settings or test the connection. Depending on the connector, you can also modify settings for Tables & Views and Query.
- You can test the connection by clicking the Test Connection button. Click OK when done.
- Click Apply in the Upgrade Connection dialog. The table should now display correctly in the workspace.
Upgrade Result: Missing JVM
Perform the steps outlined here and then check whether other errors occur.
Upgrading Deprecated Tables in Library Files
Deprecated tables in library files can be upgraded in the same manner described above. If your library file contains deprecated tables, the following warning displays:
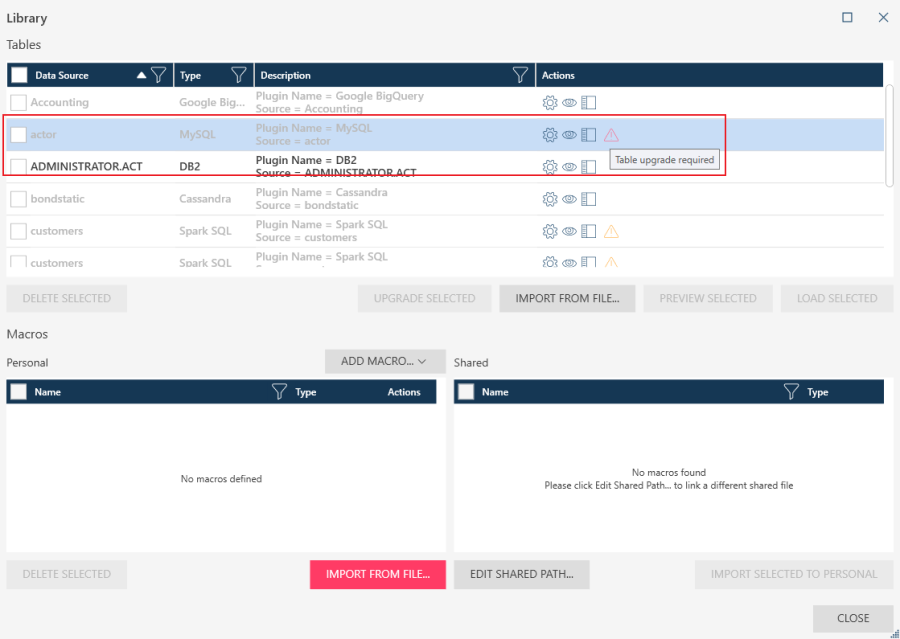
Upgrade the deprecated table by selecting it and then clicking Upgrade Selected. You can select multiple tables and upgrade them at a single time.
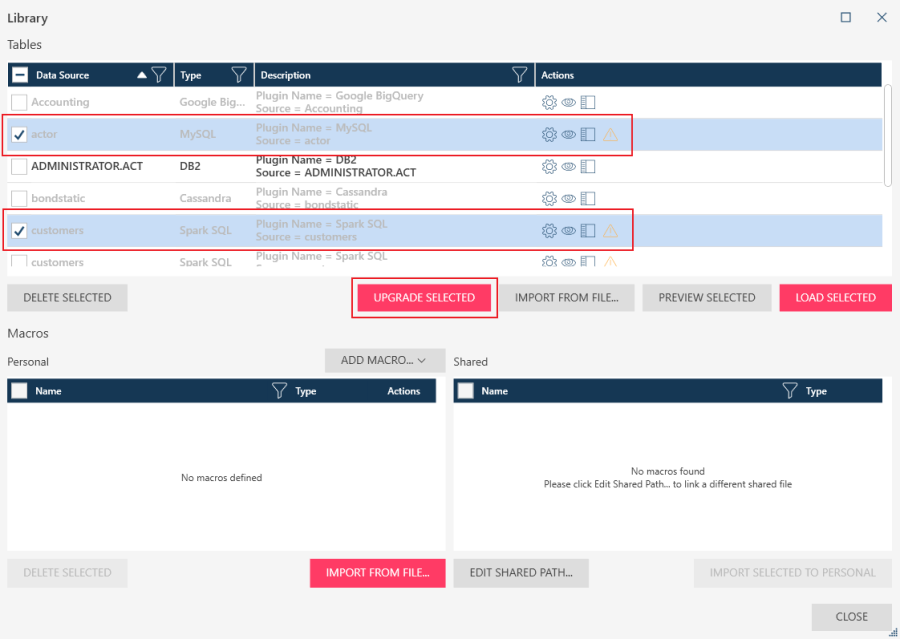
The Upgrade Library Connections dialog displays. This dialog contains information similar to that in the Upgrade Connections dialog.

Click the Edit Settings button adjacent to the table you wish to upgrade and then provide the necessary details or update the given settings in the dialog that displays to ensure that the connection is correct. Messages at the bottom of the dialog will prompt for any missing information required by the connector. Note that if any required field is left blank, you will not be able to save the connection settings or test the connection. If available, you can test connections by clicking on the Test/Validate Connection button or preview tables using the Preview Data button. Depending on the connector, you can also modify settings for Tables & Views and Query. Click OK when done.
Once upgraded, you can save the tables as new library items or replace the existing library items.
© 2025 Altair Engineering Inc. All Rights Reserved.