All About Traps and Columns
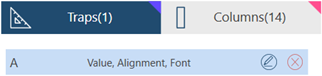
A trap is a set of properties that uniquely identify a cell (or column of cells) among all others in the worksheet. Property sets include the following:
-
Value
-
Font
-
Alignment
-
Cell Properties
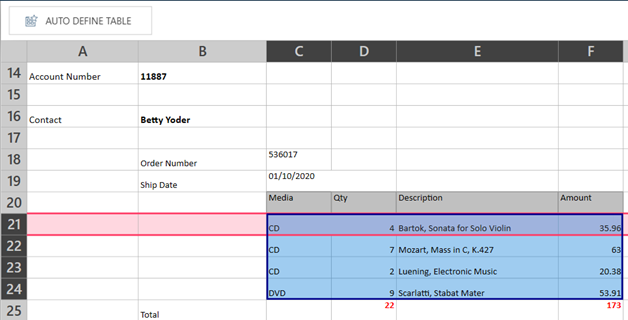
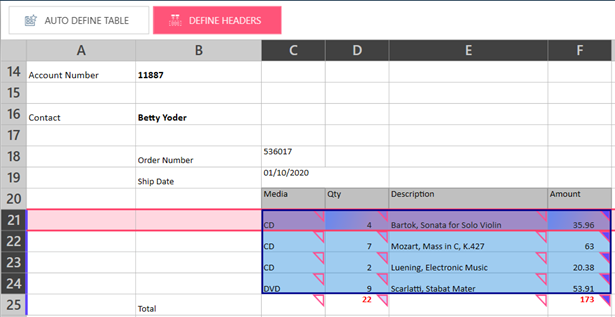
For example, traps can be defined as discussed below given the sample data in this worksheet:
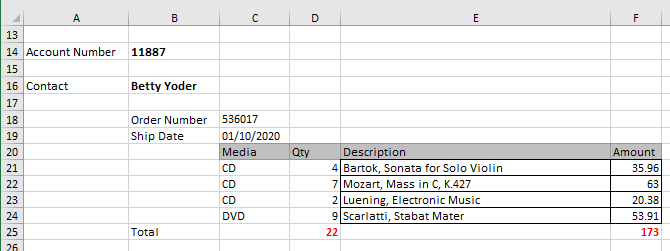
Order Number
We can trap Order Number (cell C18) with the following properties:
-
Value: is number and non-blank
-
Font: name= calibre, size = 11, color = black
-
Alignment: horizontal alignment = left
Ship Date
We can trap Ship Date (cell C19) with the following properties:
-
Value: is date
-
Font: name= calibre, size = 11, color = black
-
Alignment: horizontal alignment = left
Media
We can trap Media (cells C21-C24) with the following properties:
-
Value: is non-blank
-
Font: name= calibre, size = 11, color = black
-
Alignment: horizontal alignment = left
Note:
-
A demonstration of how to capture and refine data is provided here.
-
Worksheet Design can differentiate and extract all values from cells in column C, even if these have the same font and alignment properties, because they have different value types.
-
Worksheet Design can differentiate between the header (cell C20) and values (cells C21-C24), even if these have the same value type, because they have different Cell Background values.
-
Use the Cell Information panel, at the right of the Worksheet Design Window, to view cell properties and help you adjust your traps:
-
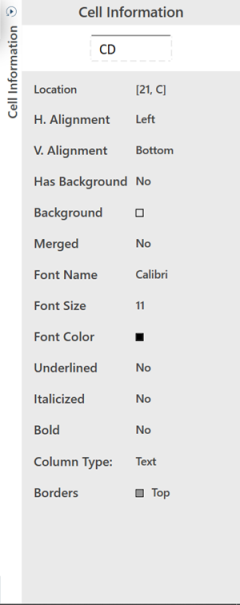
Defining Traps Manually
You have several options to define traps manually:
-
Trap on a single cell
-
Add Columns
-
Auto-define Table
Trapping on a Single Cell
This is the most basic method for defining a trap: select a cell and then use the Add Trap tool.
-
Select a cell. The cell will be highlighted.

-
Right-click and select Add Trap from the context menu or select the Add Trap tool:
The following happens:
-
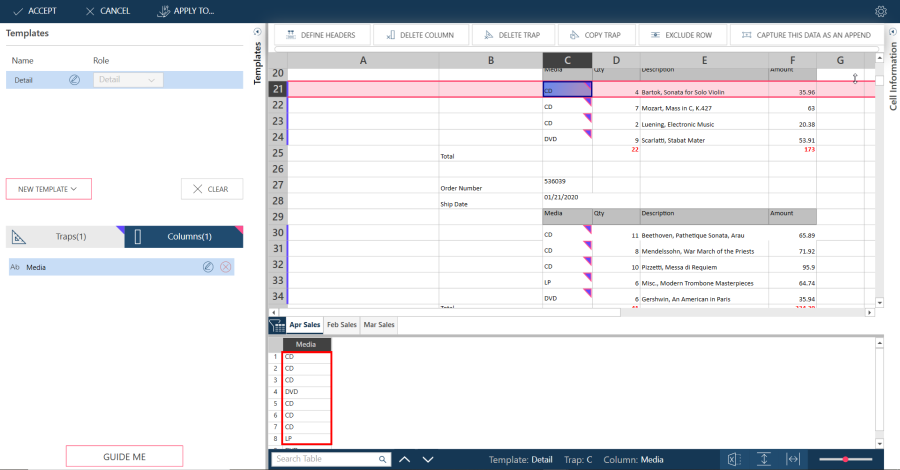
Worksheet Design traps the cell based on its properties. Cells on the column with the same properties are also trapped:
-
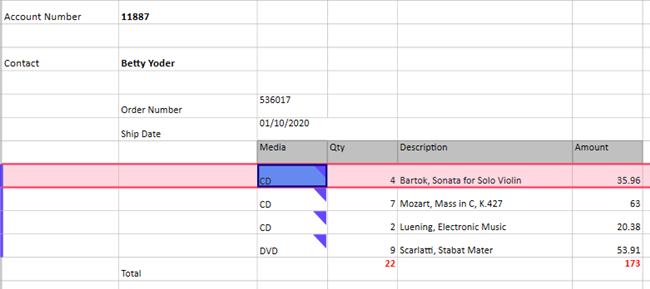
This is indicated by the solid triangle at the upper-corner of the trapped cells.
-
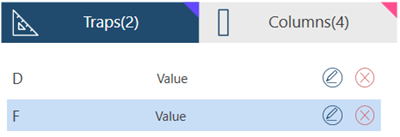
The trap definition is added to the trap list for the current template:
-
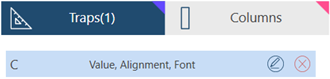
-
-
Review and refine the trap.
As mentioned earlier a trap has several property components. You can refine these further to narrow down or expand the cells that can be trapped. Also, you can scroll down your worksheet and determine if any cells were not included, or if some cells you did not want to trap are included.
Refine the trap as needed to include or exclude the right cells. Refer to Refining Traps below for details on how you can do so.
-
Add columns. Select cells, right-click and select Add Column from the context menu or select the Add Column tool:
As you add columns, values are displayed on the Preview Grid.
Trapping by Adding Columns
An easy alternative for trapping many columns is to highlight a row and trap all the columns on that row.
-
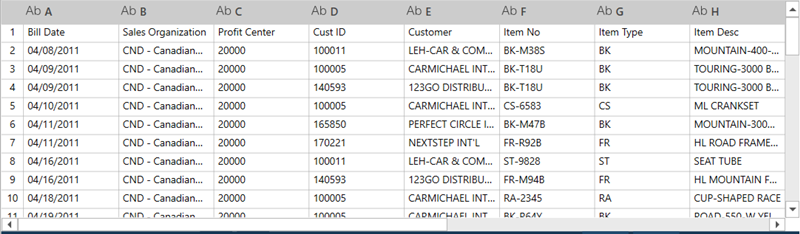
Select a row on the worksheet:
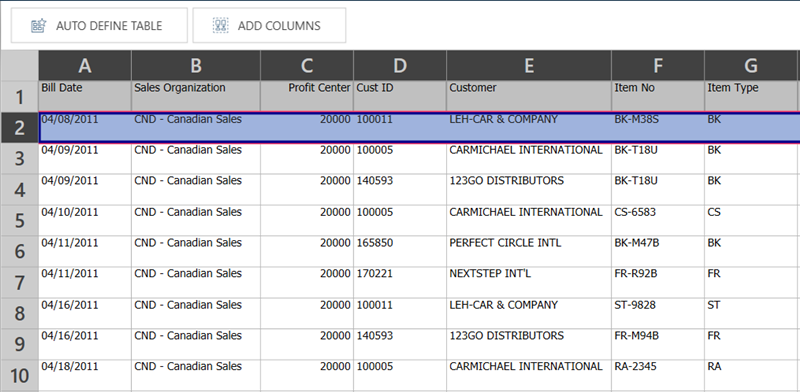
-
Right-click and select Add Columns from the context menu or select the Add Columns tool:

The following happens:
-
Worksheet Design traps cells on the row based on their properties.
-

-
The traps and columns are added and included in the traps and columns list for the current template:
-
-
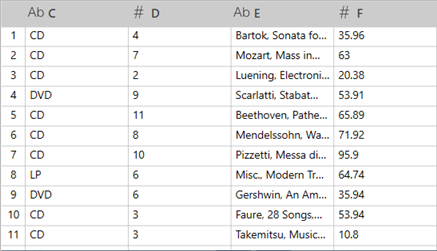
Sample extracted data is displayed on the Preview Grid:
-
Note that the header was included. You can just select that row and exclude it, or set it as the header using the Define Headers tool.
-
-
Review and refine the traps and columns.
As mentioned earlier a trap has several property components. You can refine these further to narrow down or expand the rows that can be trapped. You can scroll down your worksheet and determine if any rows were not included, or if some row you did not want to trap are included as well. In the example above for example, the header row was included so you can just exclude this.
Refine the trap as needed to include or exclude the right rows. Refer to Refining Traps below for details on how you can do so.
Trapping by Auto-Defining a Table
You can also highlight a table and have Worksheet Design define the traps and columns automatically. This method works best if you have blocks of cells that contain data.
-
Highlight the table you want to trap.
-
Right-click and select Auto-Define Table from the context menu or select the Auto Define Table tool:
The following happens:
-
Worksheet Design traps cells on the table:
-
-
The traps and columns are added to the traps and columns list of the current template:
-
-
Sample data are displayed on the Preview Grid:
-
-
-
Review and refine the traps and columns.
As mentioned earlier a trap has several property components. You can refine these further to narrow down or expand the cells that can be trapped. Refer to Refining Traps below for details on how you can do so.
Trapping Multi-line Columns
Worksheet Design allows you to trap several columns contained in multiple lines.
In the example below, we will define an area and trap two types of columns:

-
regular column (Customer Name)
-
multi-line column whose value spans several rows (Customer Address)
A demonstration of how to trap column data spanning multiple cells is shown here.
-
Select the first line in your multiple-line area:
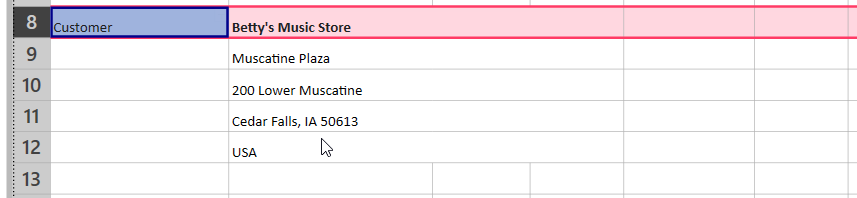
You will see the line shaded by a "stencil", indicated by a pink highlight. This serves as a visual guide to let you know which line (or group of lines) has been selected.
-
Drag the stencil (pink area) down to the last line of mutli-line region you want to trap:

-
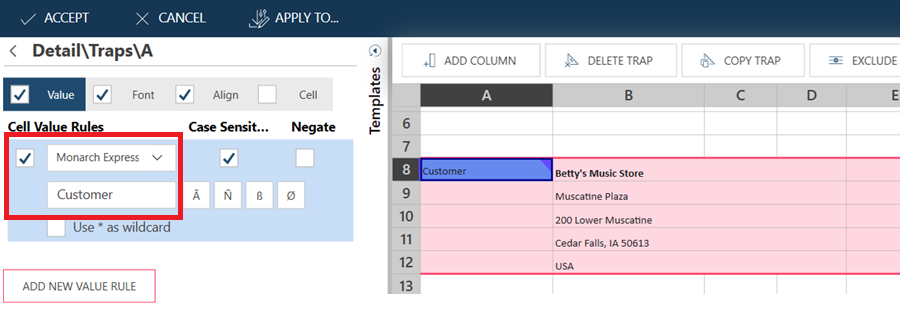
Trap the on the first cell (Customer) in the stencil area.
You can use any appropriate trap, but in this case, we can use a Monarch Expression, and set a literal trap. Use "Customer":
-
Click on the Customer Name value (Betty's Music Store in the example) and add the Customer Name column.
-
Add the Customer Address column.
In this case, Customer Address is a multi-line column, to define this:
-
Select the first line of the column and select Add Column
-
Edit the column properties and click enable multi-cell. This tells Data Prep Studio to look for values down the line and consolidate these into one value:

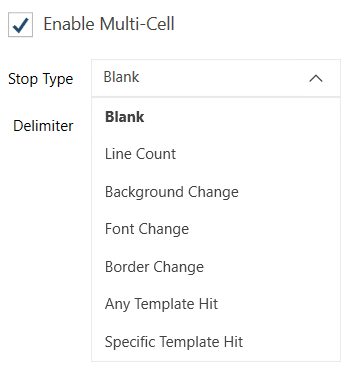
Select one of the following Stop Type options to indicate where the multi-line column ends:
-
Blank: Select to terminate the column when a blank cell is encountered.
-
Line Count: Select to terminate the column after a fixed number of lines. This option should be used whenever all instances of the column have the same number of lines. Enter the number of lines in the box that displays after you select this option.
-
Background Change, Font Change, Border Change: Select one of these to terminate the column when any of these format property values change.
-
Any Template Hit: Select to terminate the column when Data Prep Studio encounters another template, including another instance of this template.
-
Specific Template Hit: Select to terminate the column when Data Prep Studio encounters a specific template. Select the template from the drop-down that displays after you select this option.
Select one of the following Delimiter options to indicate how to separate the column values:
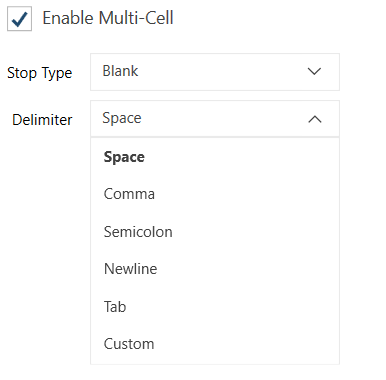
In our example we can select space so that the final value looks like on continuous address.
If you select Custom, enter the custom delimiter that displays after you select this option.
Defining Traps by Capturing Appends
This technique works only after you have defined your detail template.
-
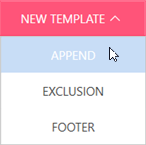
Select Append from the New Template drop-down:
-
Select a cell above a detail or existing append. The cell will be highlighted.

-
Right-click and select Capture this Data as an Append from the context menu or select the Capture Data as an Append tool:

The trap is added and included in the trap list for the current template:
-
Review/refine the trap.
As mentioned earlier a trap has several property components. You can refine these further to narrow down or expand the cells that can be trapped. Refer to Refining Traps for details on how you can do so.
-
Define headers as needed. To do so, follow instructions here.
© 2025 Altair Engineering Inc. All Rights Reserved.