Python API Recording#
The recording tool lets you quickly transform the interactive actions performed in the HyperMesh client into a Python code. The recorded functions can be reviewed, parametrized and the generated code can be printed in the Python console or saved as a file.
From the Developer ribbon, click on Recording to activate the Recording toolbar. If the Developer ribbon is not active, you can activate it via View > Ribbons.
Figure 1. Developer ribbon with Recording.
The toolbar will appear at the bottom of the graphics area, next to the Visualization toolbar.

Figure 2. Recording toolbar.
Python recording works on an on-demand basis, i.e. you need to start and stop the recording to capture only the desired sequence of actions. The recorded code will be generated in a form of a main function.
Python recording also captures the logic used in the Advanced Selection when selecting the entities. For example, selecting elements by property by ID will record the following code:
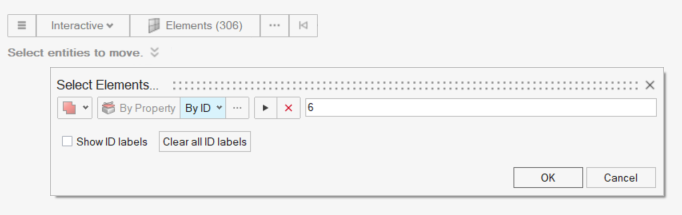
Figure 3. Advanced entity selection.
properties_collection = hm.Collection(model, hm.FilterByEnumeration(ent.Property, ids=[6]))
collection = hm.Collection(model, hm.FilterByCollection(ent.Element, ent.Property), properties_collection)
Note
The mechanism is limited to the context guidebars with a single selector and to the Entity Editor selectors. Apart from capturing the logic of selecting entities “by” other entities, it also captures reverse, by attached, by adjacent, and attached faces.