Upload a File or Folder
Upload a file or folder stored on your local machine to the remote server.
-
Click + Upload.
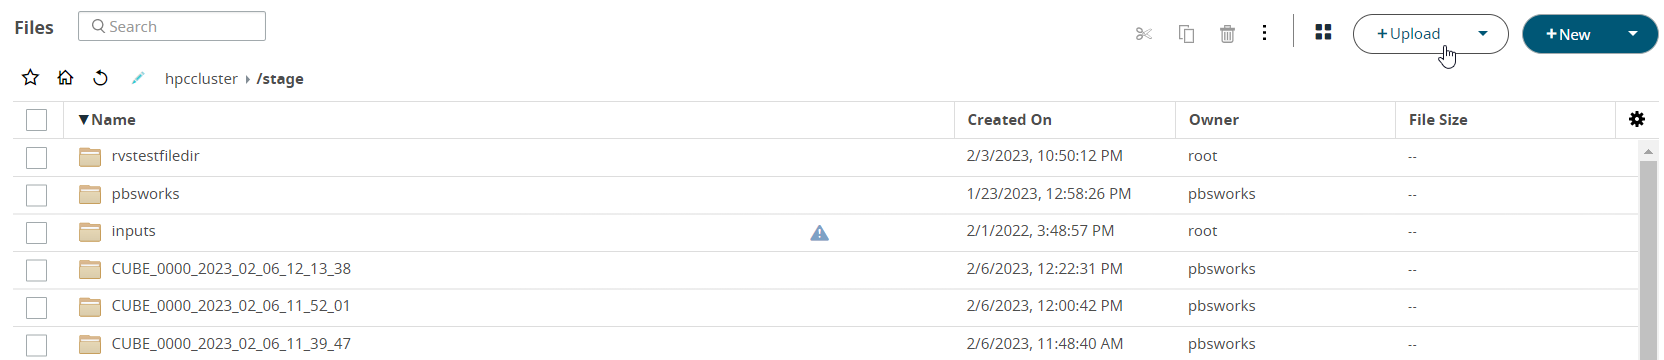
Figure 1. Upload a File -
Select File from the drop-down menu.
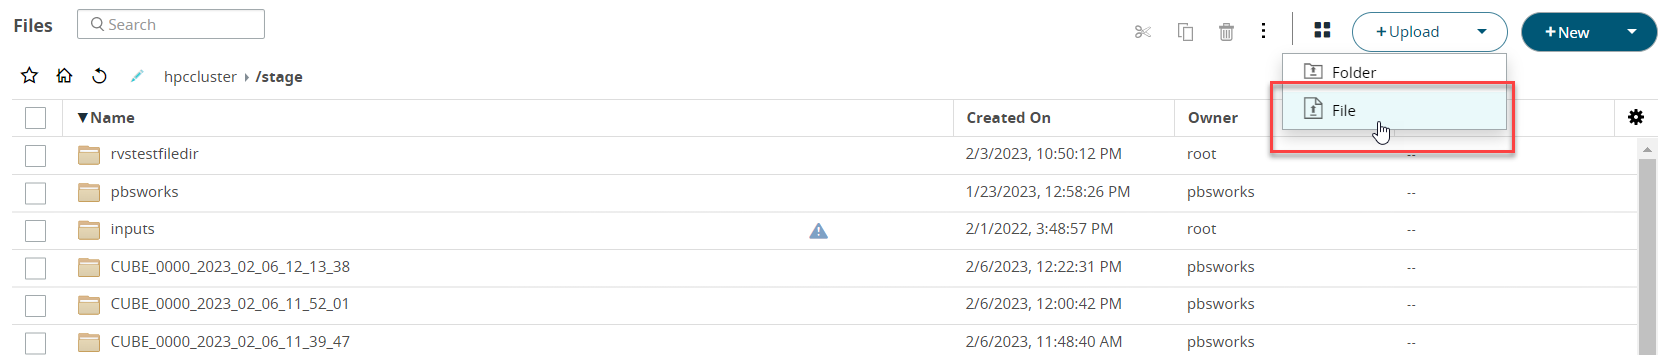
Figure 2. Upload OptionNote: Select Folder if you want to upload a folder.A File Upload dialog box is displayed. -
Browse and select the file to upload.
If you are uploading a zip file, an option is provided to extract the contents of a zip file.
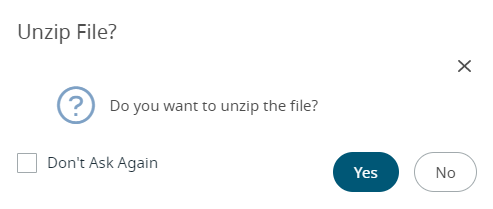 Figure 3. Unzip File OptionNote: This option is displayed when you are uploading a single zip file.Note: Select Don't Ask Again to disable the confirmation message.
 -
Click Open.
You can also drag the file from your local system to the folder to upload.
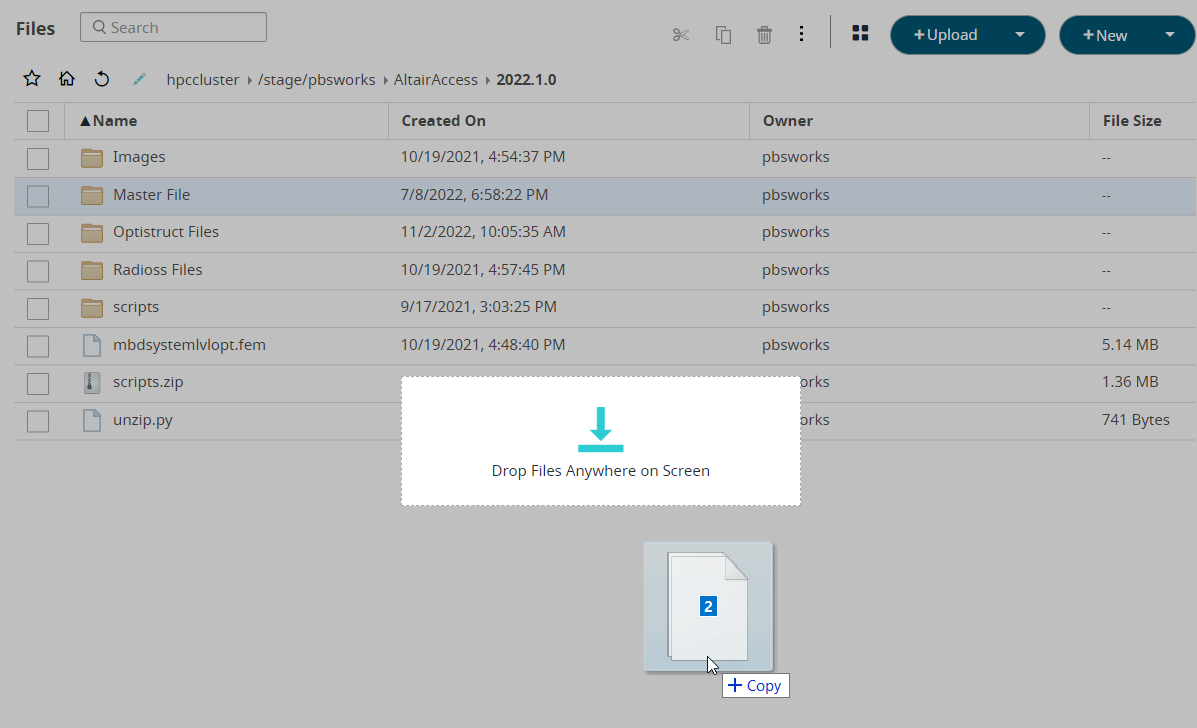
Figure 4. Drag the File to UploadThe file starts to upload. A progress bar is displayed in the lower right-hand side of the page indicating the progress of the upload. A notification message is displayed when the upload is complete.Tip: When you hover over the progress bar, you will get an option to terminate the file upload.