Selecting and Defining the Data Connector File Source
Several connectors including JSON, SVG, Text, XML, and Streams Simulator, allow selection from a File, Web URL, or Text source.
Follow the steps below to select and define the file source for the connector you are using.
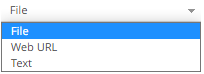
Select the connector file source.
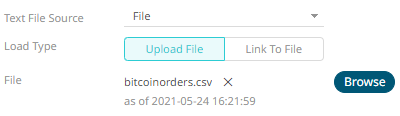
File
You can either:
- Upload a data source snapshot by clicking Upload File
 then Browse
  to browse to the file source.
After selecting the file, it is displayed with the timestamp of the snapshot.
The data source is placed in the repository and locked, synchronized, and bundled with the workbook version.
To change the data source, click
 then Browse to browse to a new version of the file, which is uploaded into the repository, and create a new version of the workbook that reads it.
 - Link to a data source file by clicking Link to File
 and entering a File Path.
The supported file types for the connector are displayed as guide (e.g., for the Text connector they are .CSV, .TXT, and .TSV).

Ensure that in a cluster, you need to use a shared path or put it on every node and use a path that resolves every node. You can update its contents whenever you want.
NOTE:
- An error notification displays upon fetching sheets/column generation when the File Path is blank.
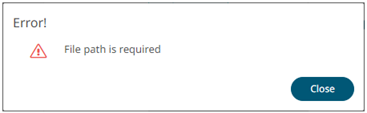
Click Close and enter the file path.
- Upload File and Link to File options are not available on the SVG and Stream Simulator connectors.
- An error notification displays upon fetching sheets/column generation when the File Path is blank.
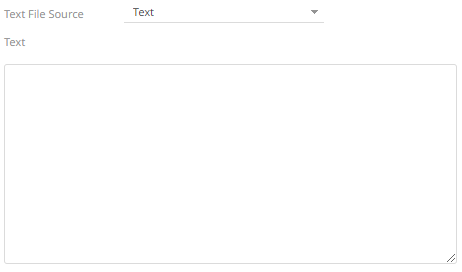
Text
Then enter the text block to be parsed.
NOTE:
- In the Text connector, the column names can be up to 128 characters. If the length of the column names are more than 128 characters, they are truncated to 128 characters.
- An error notification displays upon column generation when the Text box is blank.
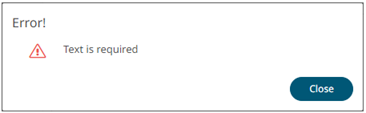
Click Close and enter the text block.
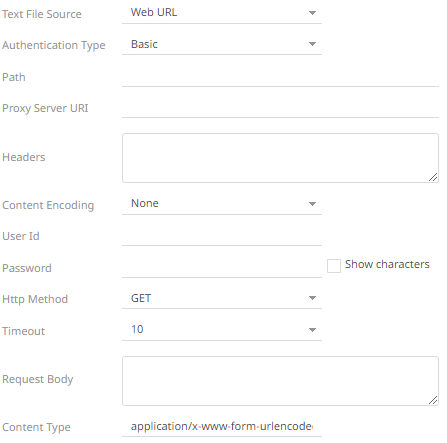
Web URL
The dialog changes to allow specification of the following:
| Property | Description |
|
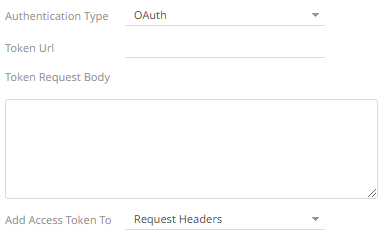
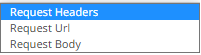
Authentication Type |
NOTES:
|
|
Path |
The absolute path includes HTTP where the file is located. |
|
Proxy Server URI |
The HTTP Proxy setting will allow the connector to reach the endpoint.
|
|
Content Encoding |
Select the Content Encoding with the HTTP Header: None, GZip, Deflate, or GZip and Deflate |
|
User Id |
The user Id that will be used to connect to the connector’s service. |
|
Password |
The password to connect to the connector’s service. Select the Show Characters checkbox to display the entered characters. |
|
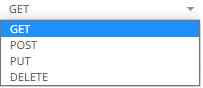
HTTP Method |
Select the appropriate HTTP method for the request from the following options:
|
|
Timeout |
The length of time to wait for the server response (10 to 300). Default is 10. |
|
Request Body |
The Request Body for the HTTP POST. |
|
Content Type |
The required Content Type. Default is application/x-www-form-urlencoded |
|
Record Path |
The record path that will be queried by the connector’s path (e.g., myroot.items.item). |
NOTE: An error notification displays upon column generation when the Path is blank.

Click Close and enter the web path.
(c) 2013-2025 Altair Engineering Inc. All Rights Reserved.