Creating a Workbook
A user with a Designer role can create new workbooks and publish them into folders to which the user has permission.
- Create a workbook by doing one of the following:
- Click
 on the Welcome or Workbooks page.
 - Right-click on a folder or sub-folder then select New Workbook in the context menu on the Workbooks page.
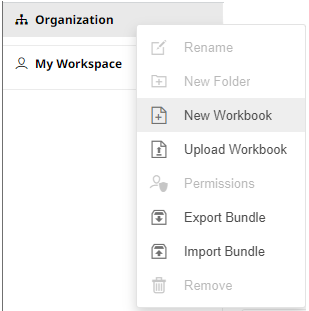
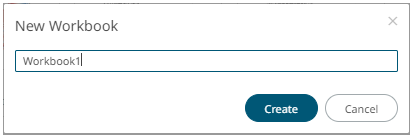
The New Workbook dialog displays.
- Click
- Enter the name of the workbook then click
 .
.
The new workbook with a dashboard page (named Dashboard1) is displayed with the Add Data Table wizard on the Open Workbook in Design Mode.
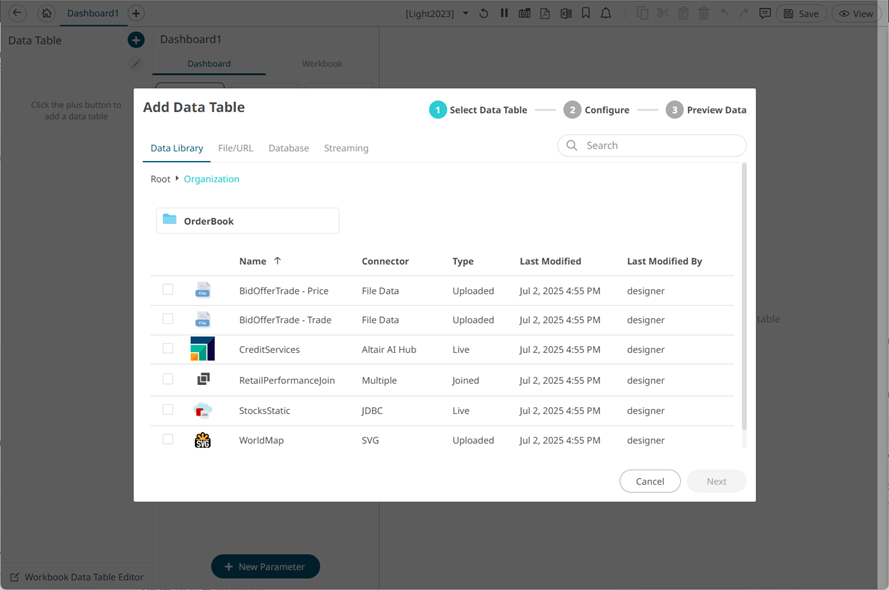
See Working with Add Data Table Wizard for more information.
(c) 2013-2025 Altair Engineering Inc. All Rights Reserved.